Flordeliz Guest House
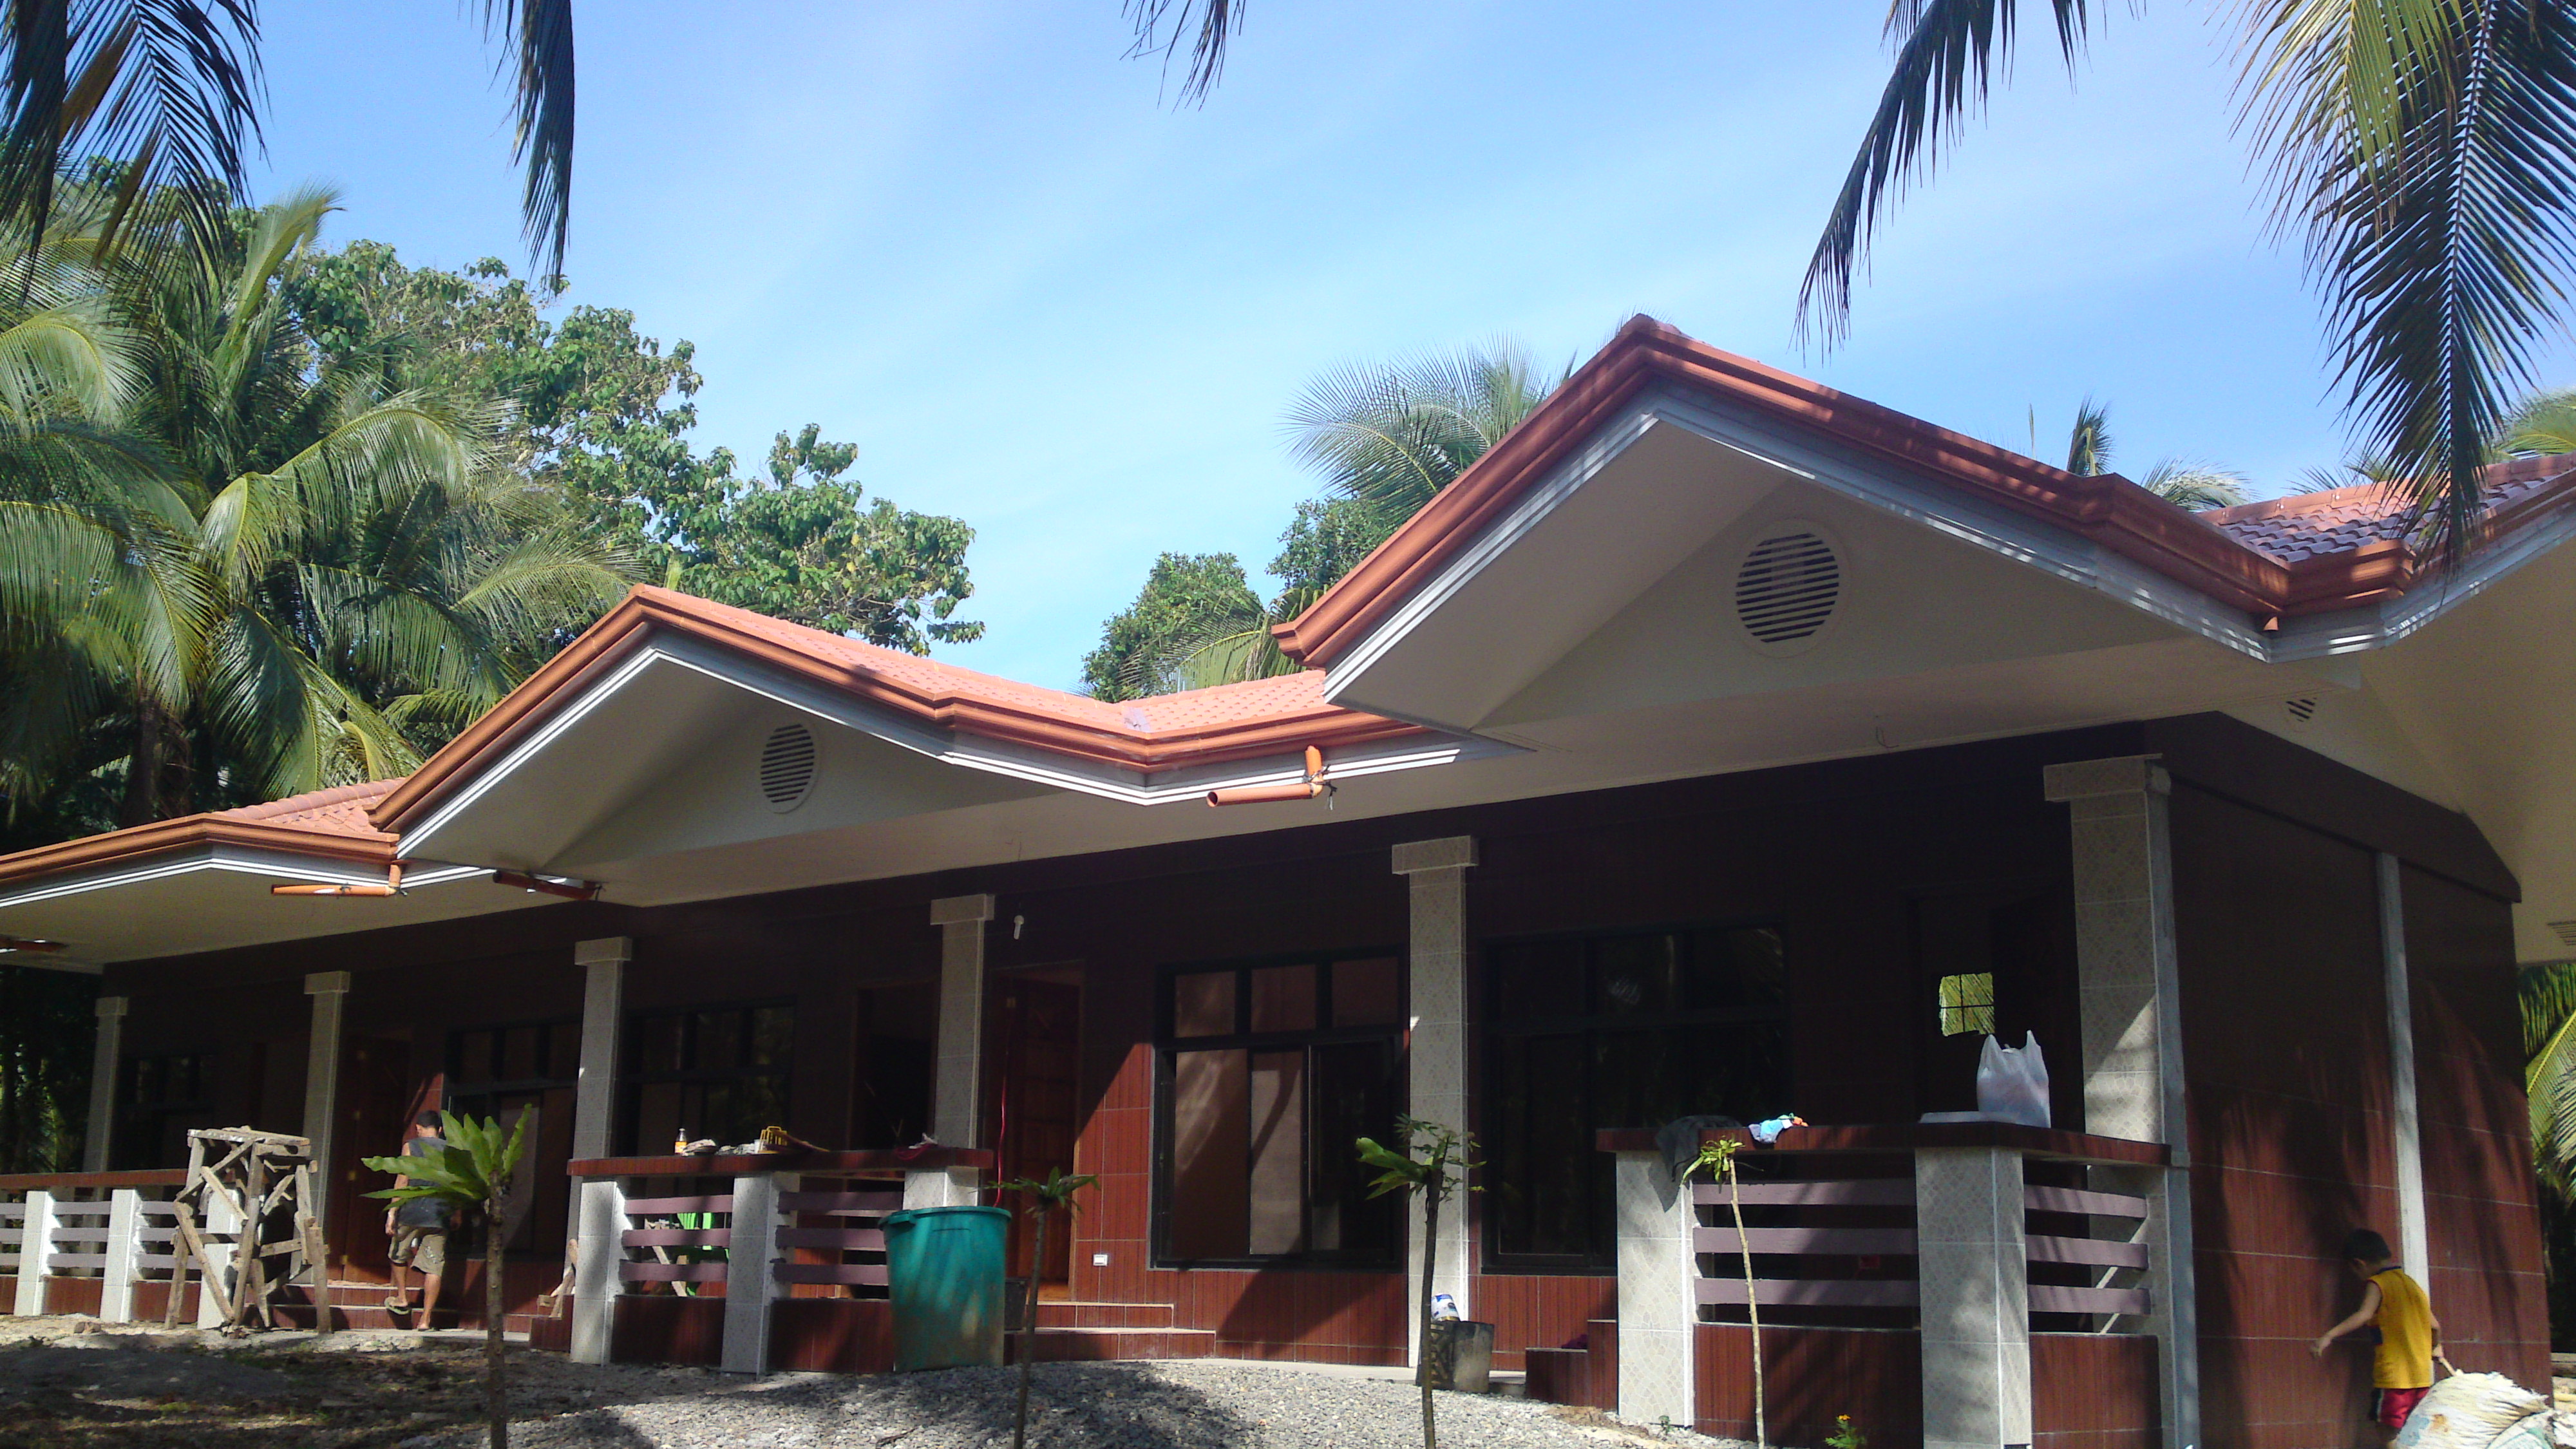
Flordeliz Construction Photos
May to End-June 2013 - Page 13
Flordeliz Guest House Construction - Page 1
Flordeliz Guest House Construction - Page 2
Flordeliz Guest House Construction - Page 3
Flordeliz Guest House Construction - Page 4
Flordeliz Guest House Construction - Page 5
Flordeliz Guest House Construction - Page 6
Flordeliz Guest House Construction - Page 7
Flordeliz Guest House Construction - Page 8
Flordeliz Guest House Construction - Page 9
Flordeliz Guest House Construction - Page 10
Flordeliz Guest House Construction - Page 11
Flordeliz Guest House Construction - Page 12
Flordeliz Guest House Construction - Page 14
Flordeliz Guest House Construction - Page 15
Flordeliz Guest House Construction - Page 16
Flordeliz Guest House Construction - Page 17
Flordeliz Guest House Construction - Page 18
Flordeliz Guest House Construction - Page 19
Flordeliz Guest House Construction - Page 20
Started construction on the 20m x 10m Flordeliz Guest House in December 2010. This is the 13th page starting
in May of 2013. Click on the links above to see the earlier pictures.

May 27, 2013
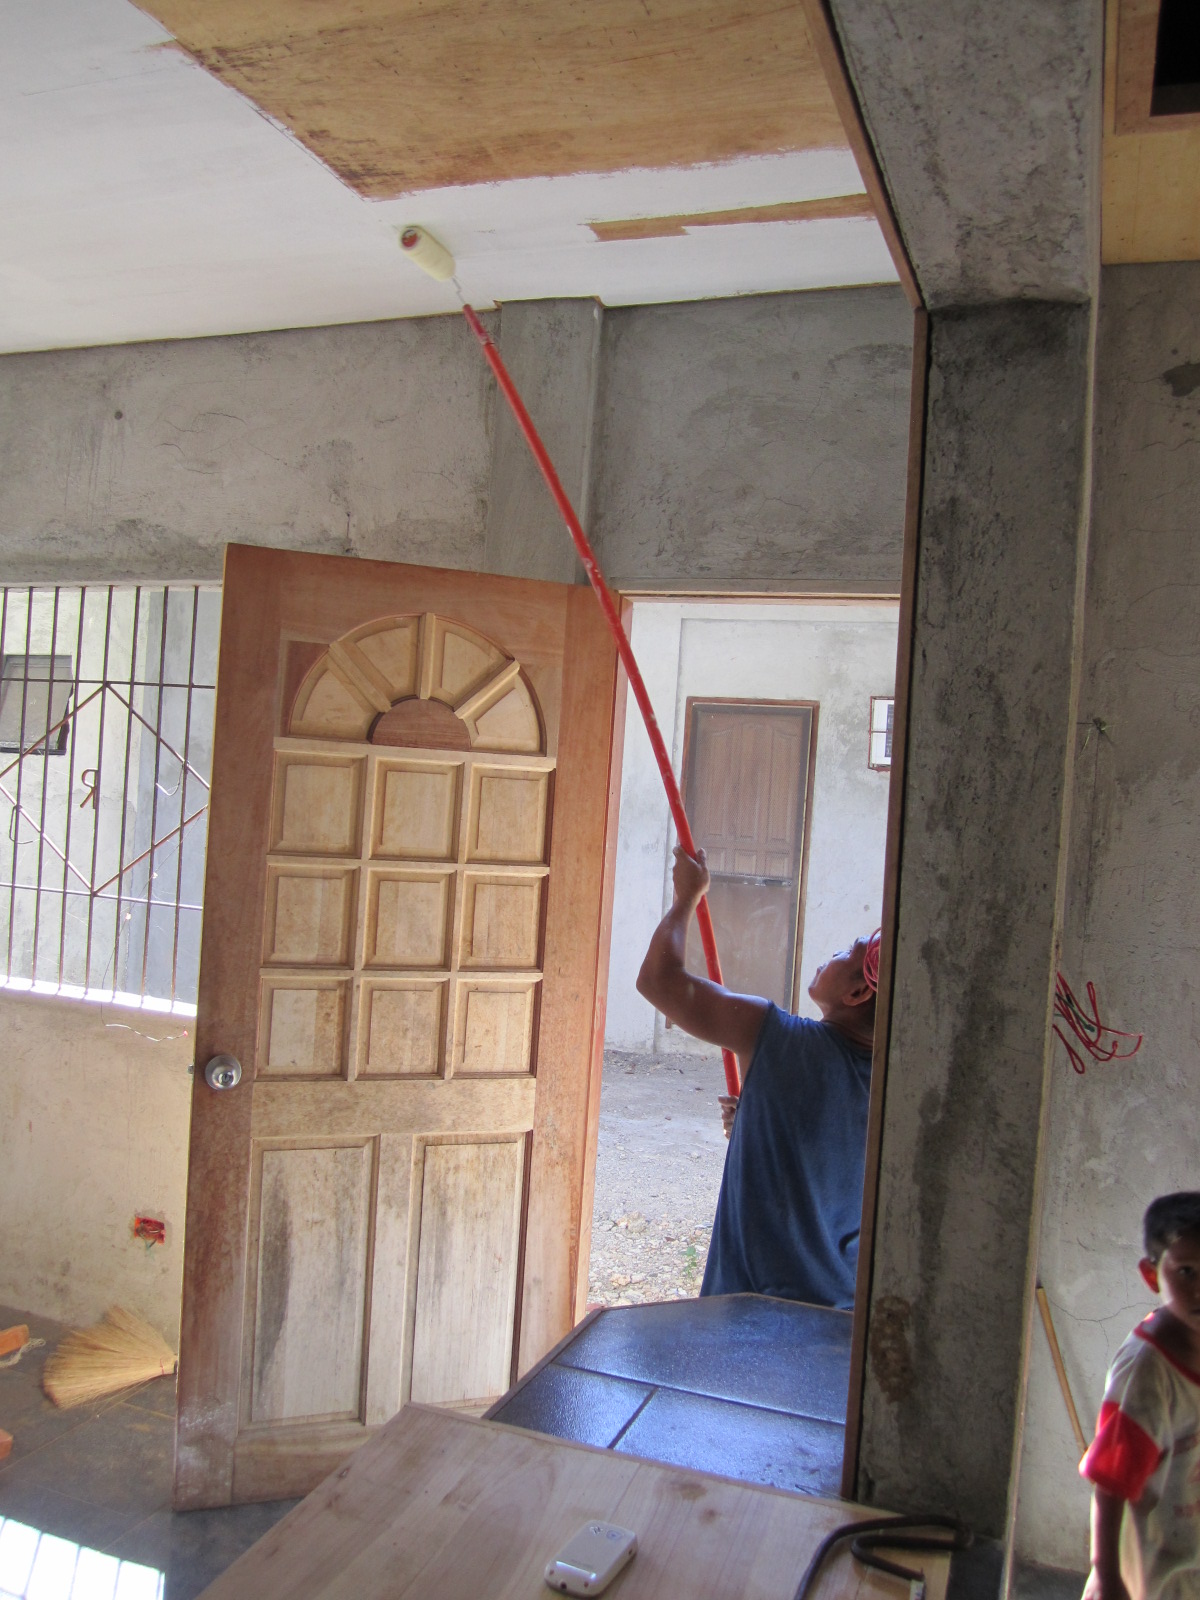
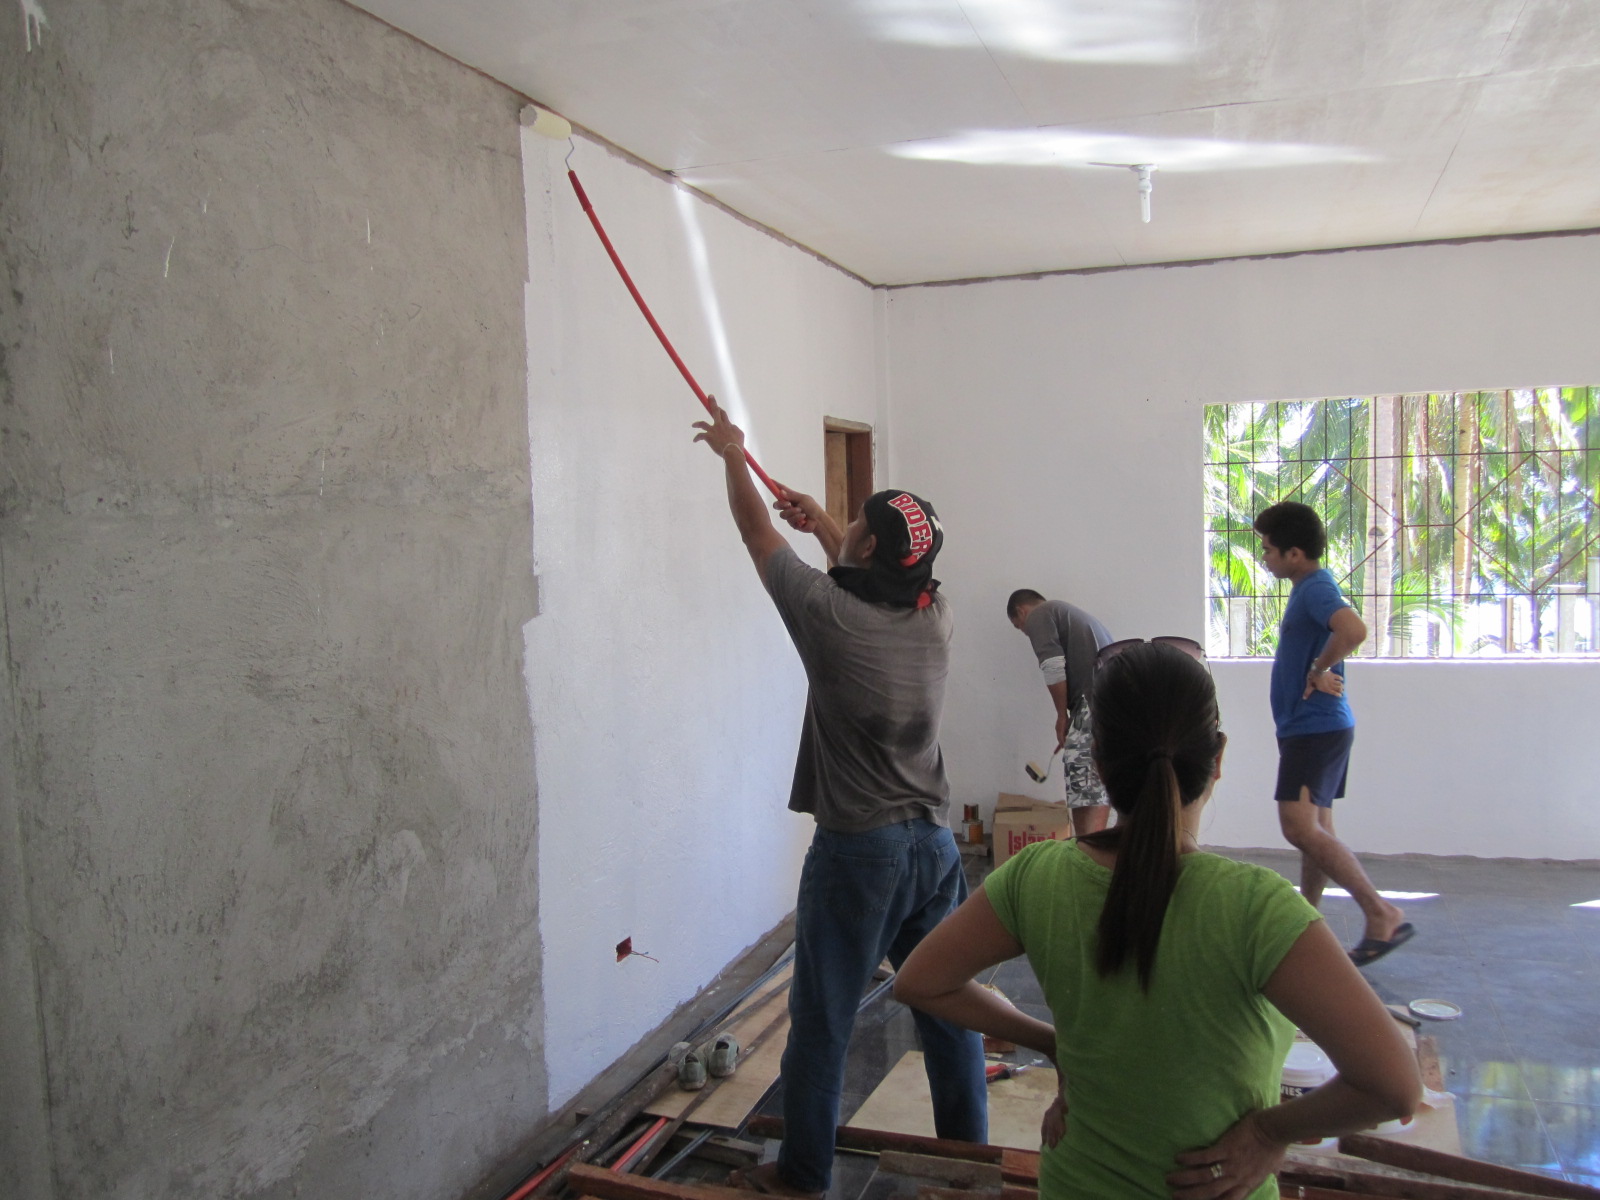
May has been a VERY busy month. In May, painting of the kitchen started. First, the white primer layer is applied. By the end of the month, all inside and outside areas
have the primer coat. The new deck area next to the hut has the concrete pad completed and the fence pillars have been constructed. It has
been decided to also put in a pad covering 75% of the front are of the hut toward the ocean wall. A small part, about 1/4, of the are will
be left in volcanic rock as a garden area. The iron fencing has begun installation in the last two weeks of May. It will not be completed
until mid June. Then the painting and decoration process begins. The main gate area with the driveway gate and walkway gate are being installed
now. The concrete fence fine finishing has completed around 1/2 of the property. Essentially the North and West sides are done.
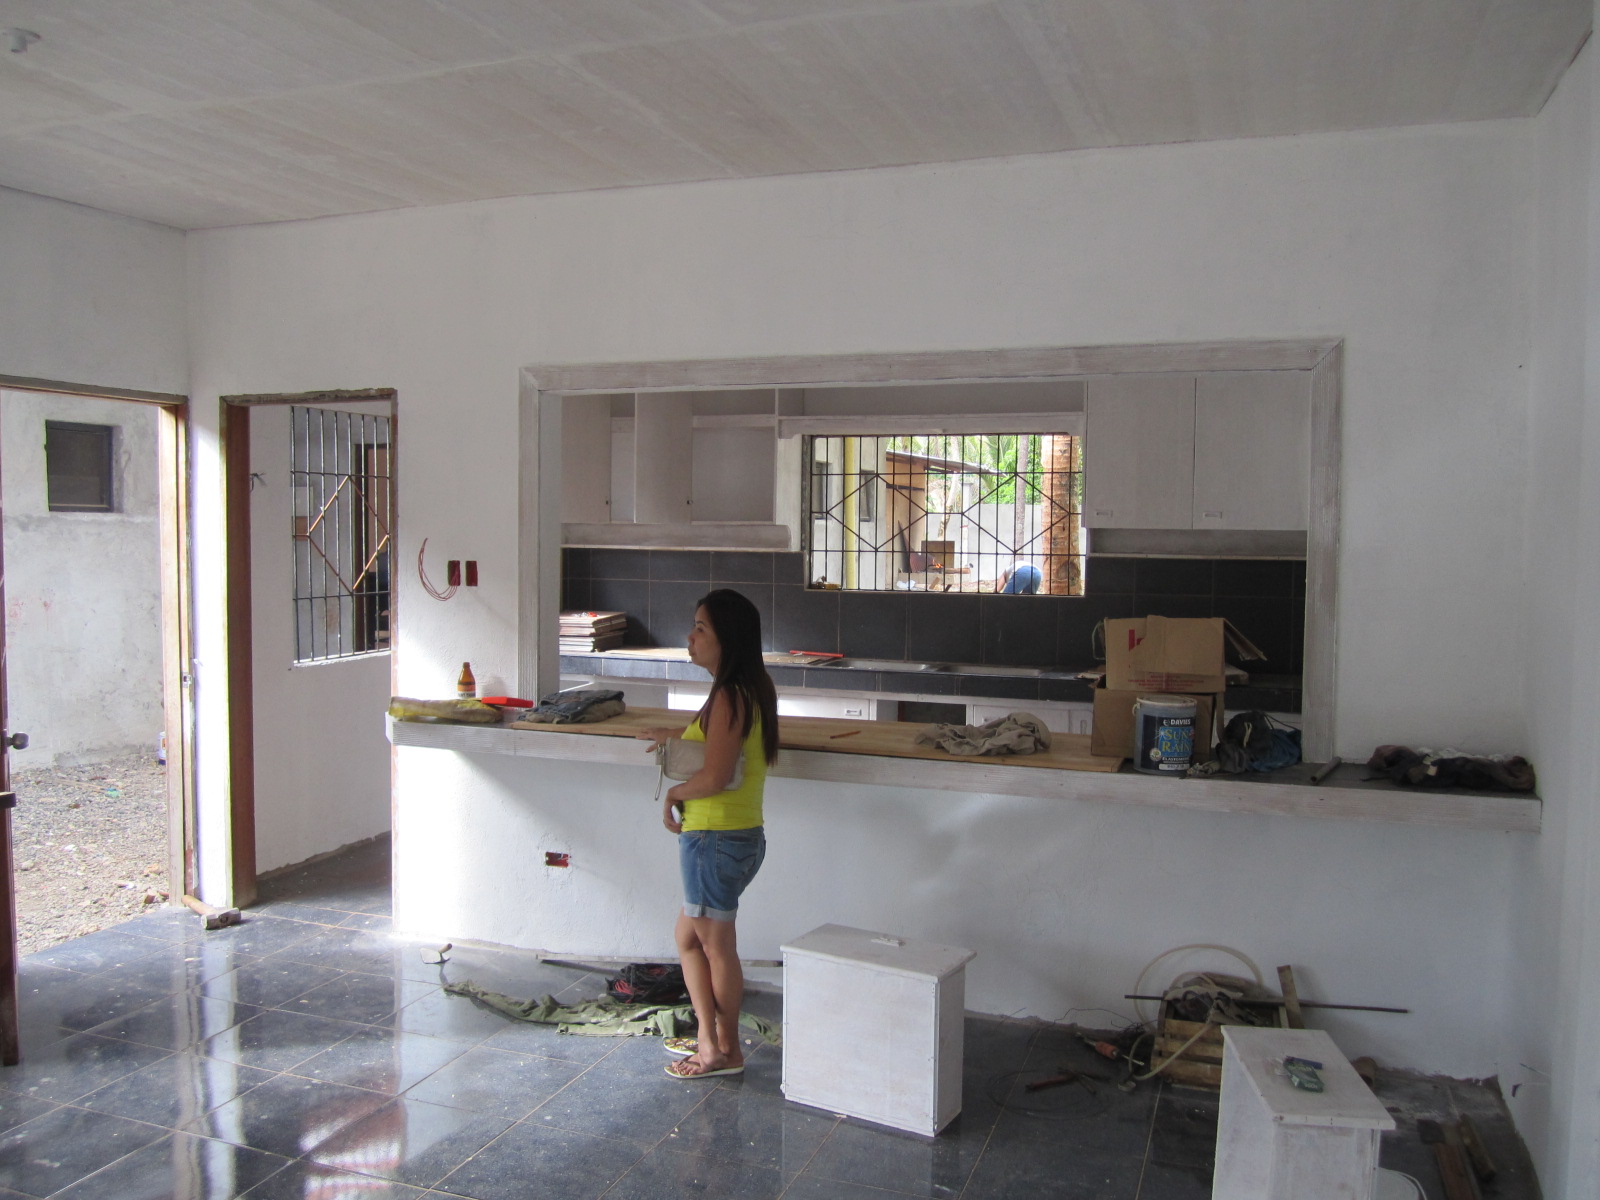
The first 3 photos of the first row show the start of the kitchen interior painting. The last 3 photos show the interior priming completed.
The 5th photo shows the doorway to the kitchen bathroom. Nothing has been installed in the bathroom yet. Water and sewer lines are installed.
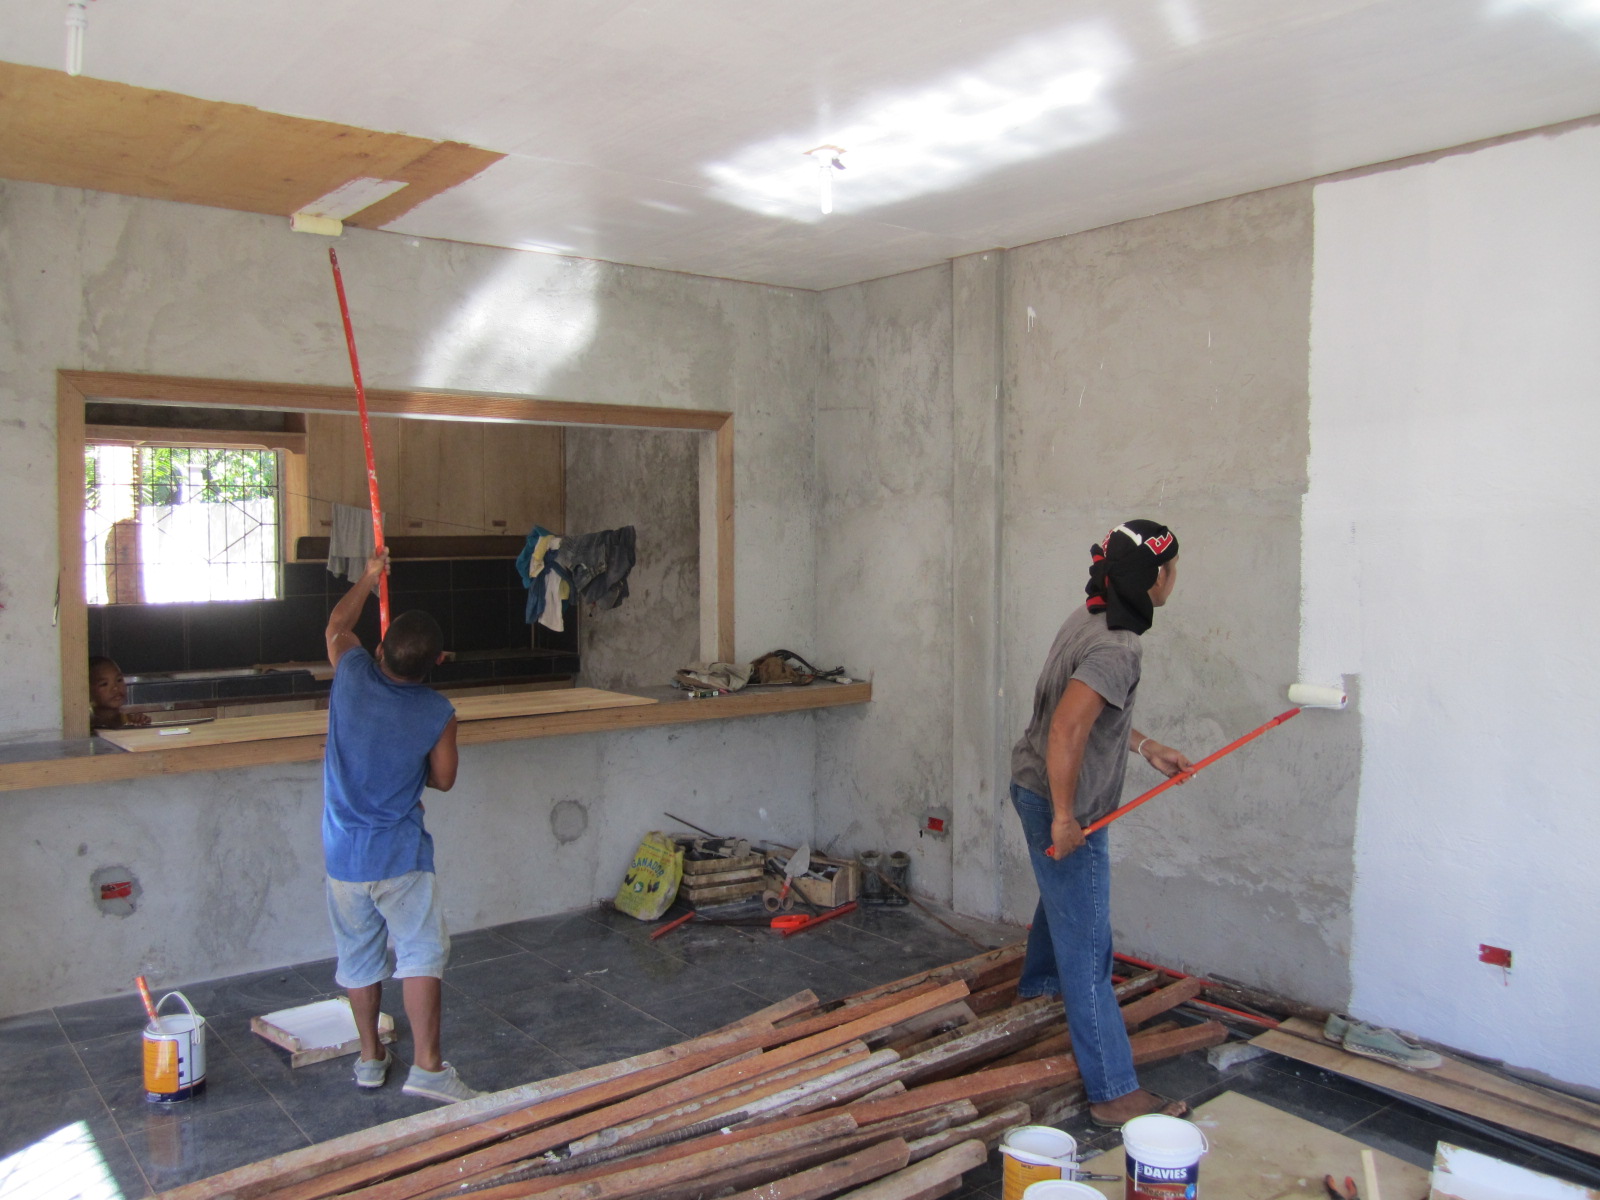
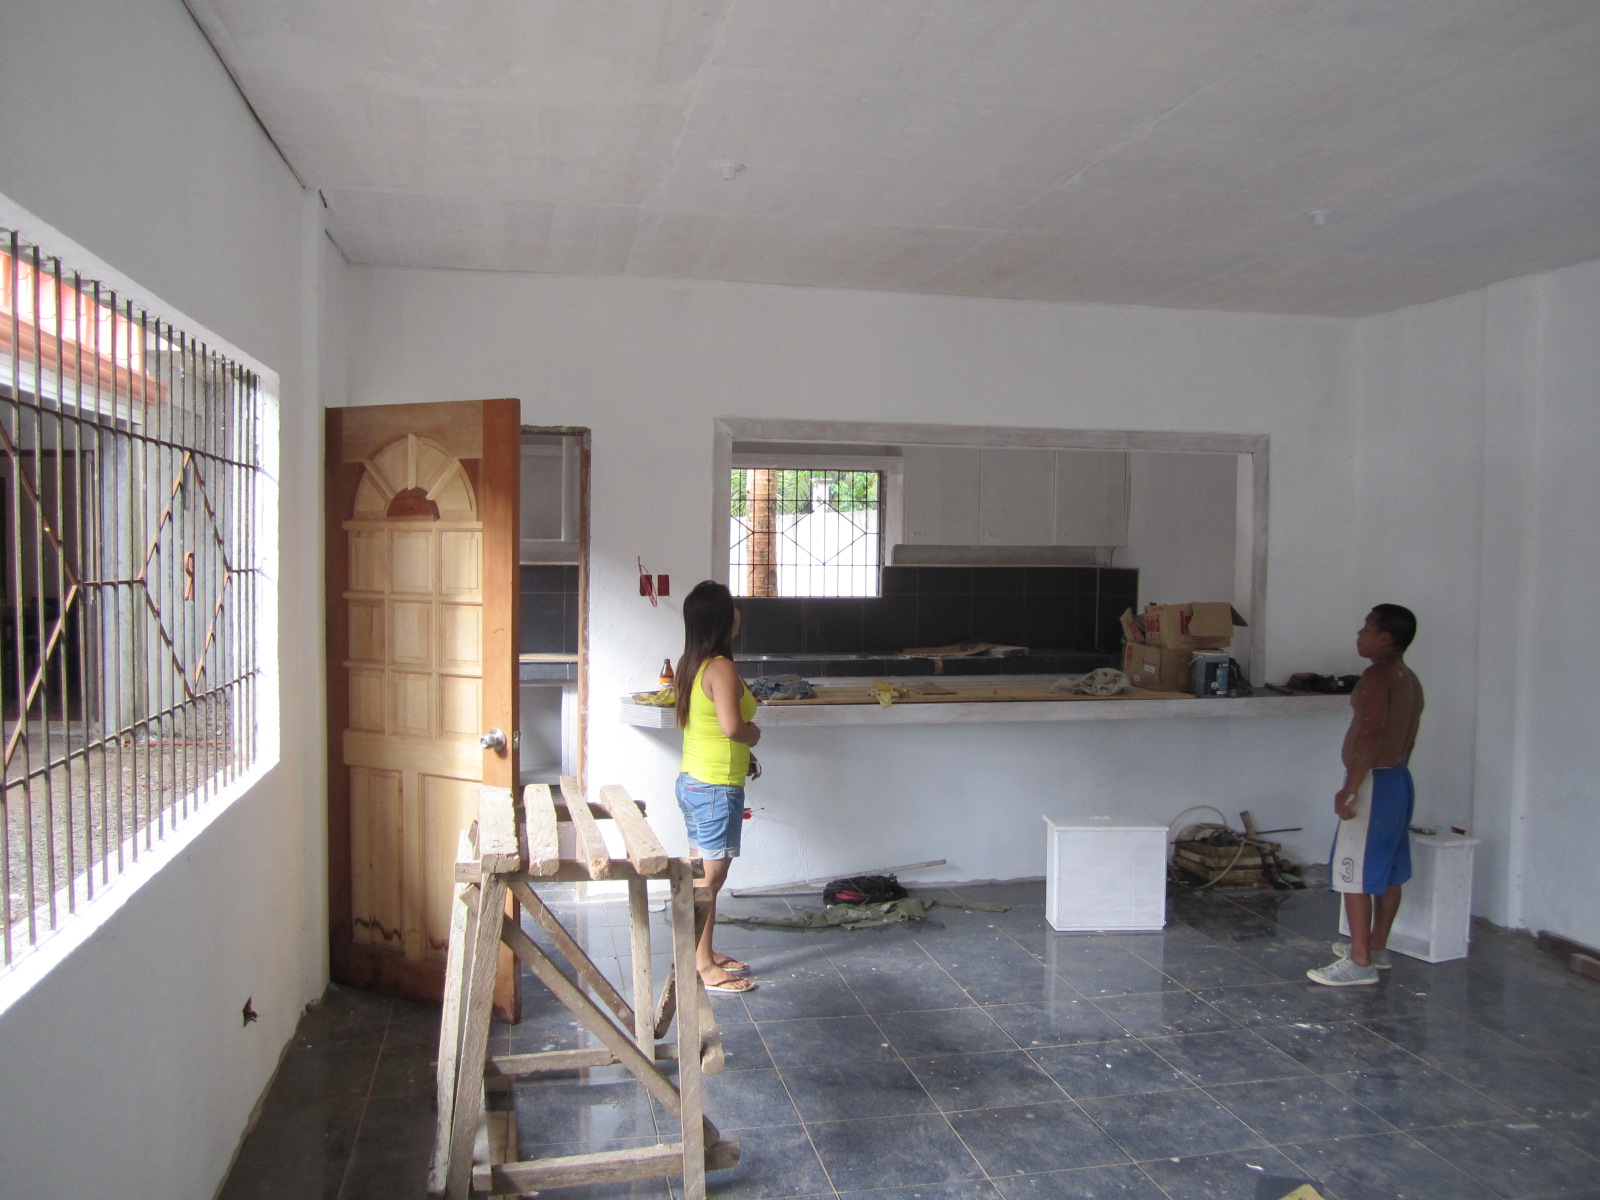
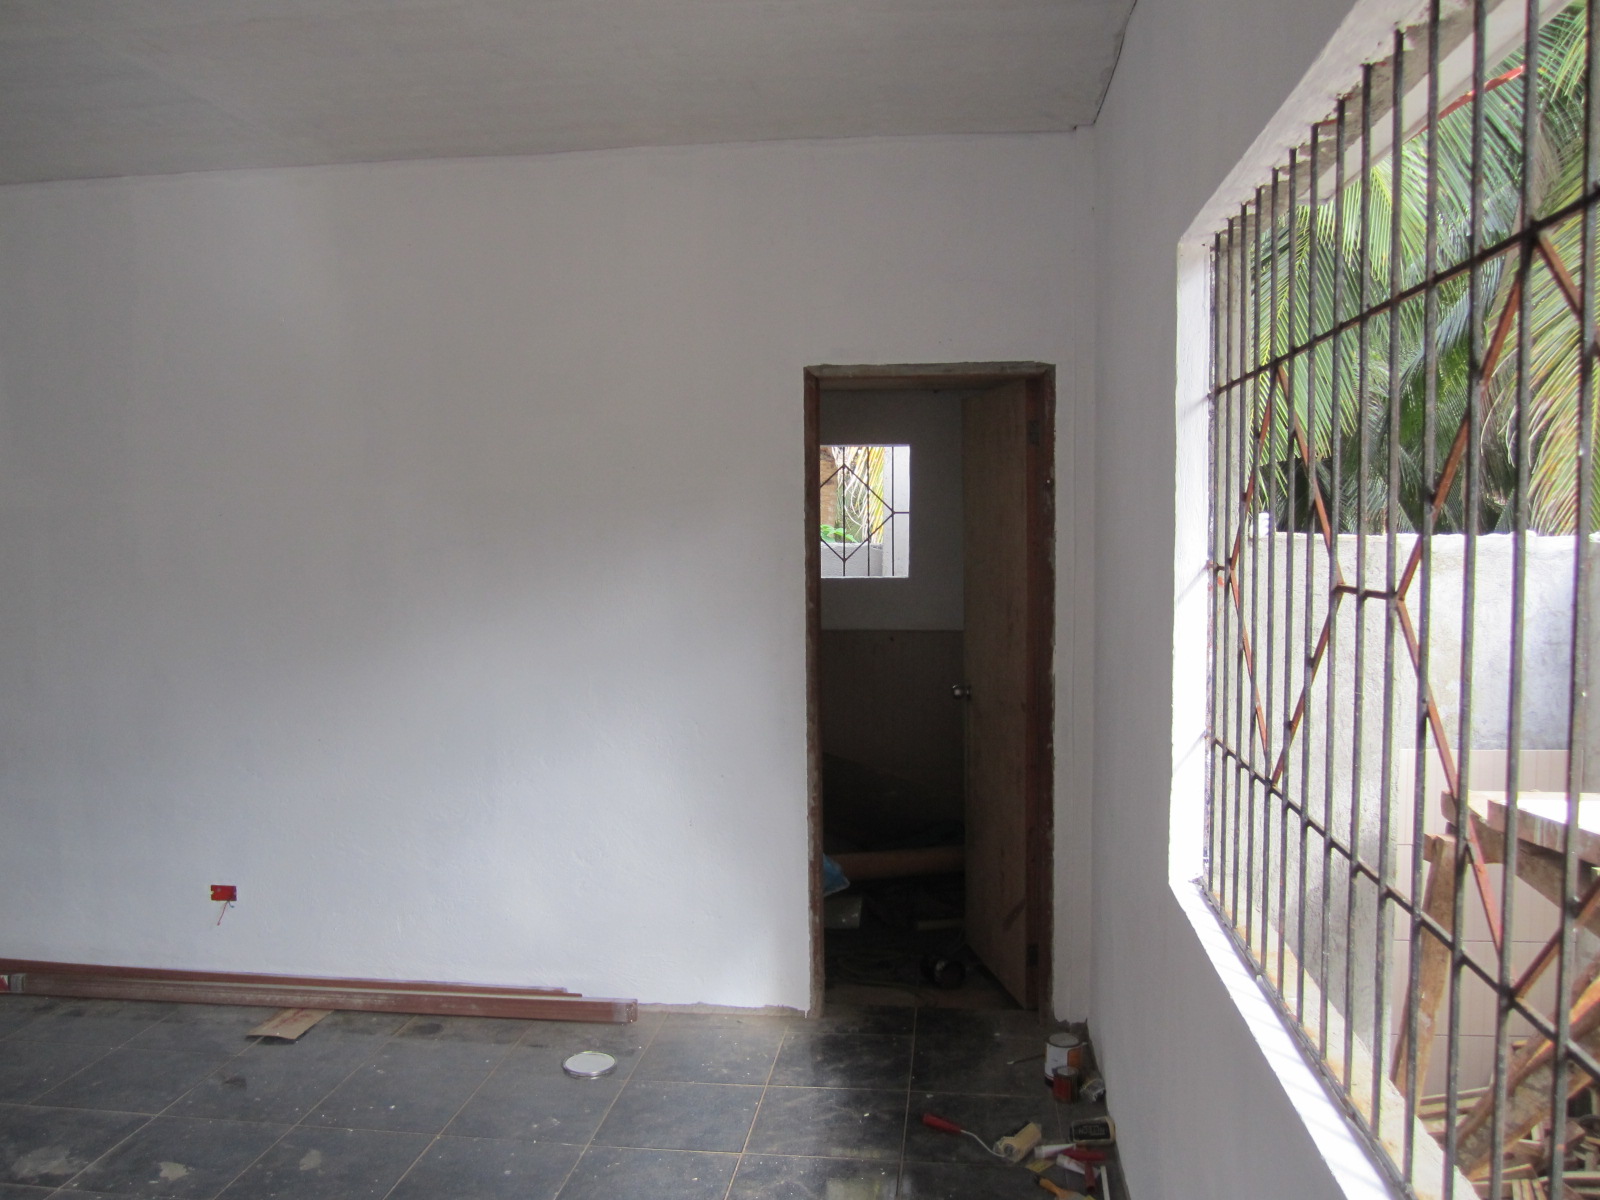
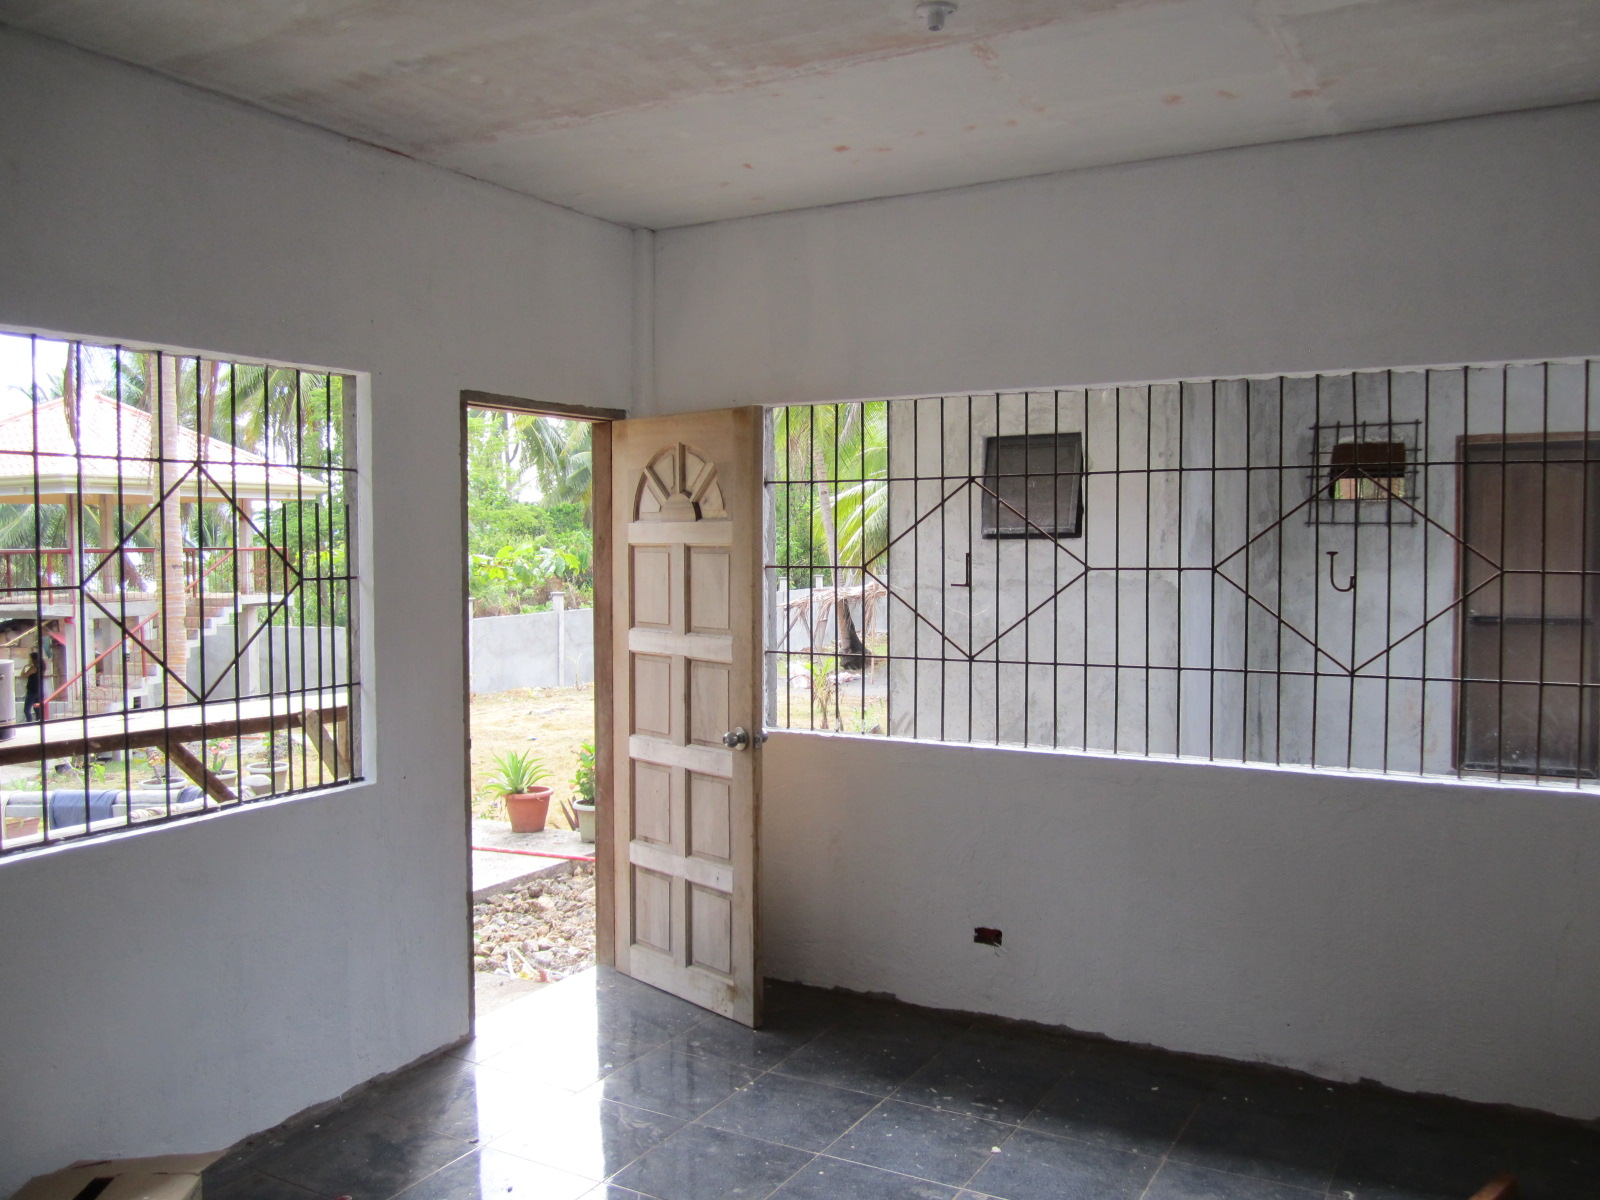
The second row of photos show the actual kitchen area of the kitchen building. The cabinets will eventually be a brown color. They were not stained because they are
just plywood construction. This was done because the kitchen building is open to the environment; therefore, marine plywood is essential for any wood inside. Also,
paint helps protect the wood as well. The mahogany doors, of course, do quite well with just stain. The serving counter now shows quite well. There will be bar stools
on the outside of the serving portal for small meals. The main area of the kitchen will have a table for dining as well as an entertainment area (TV, Karaoke, etc.).
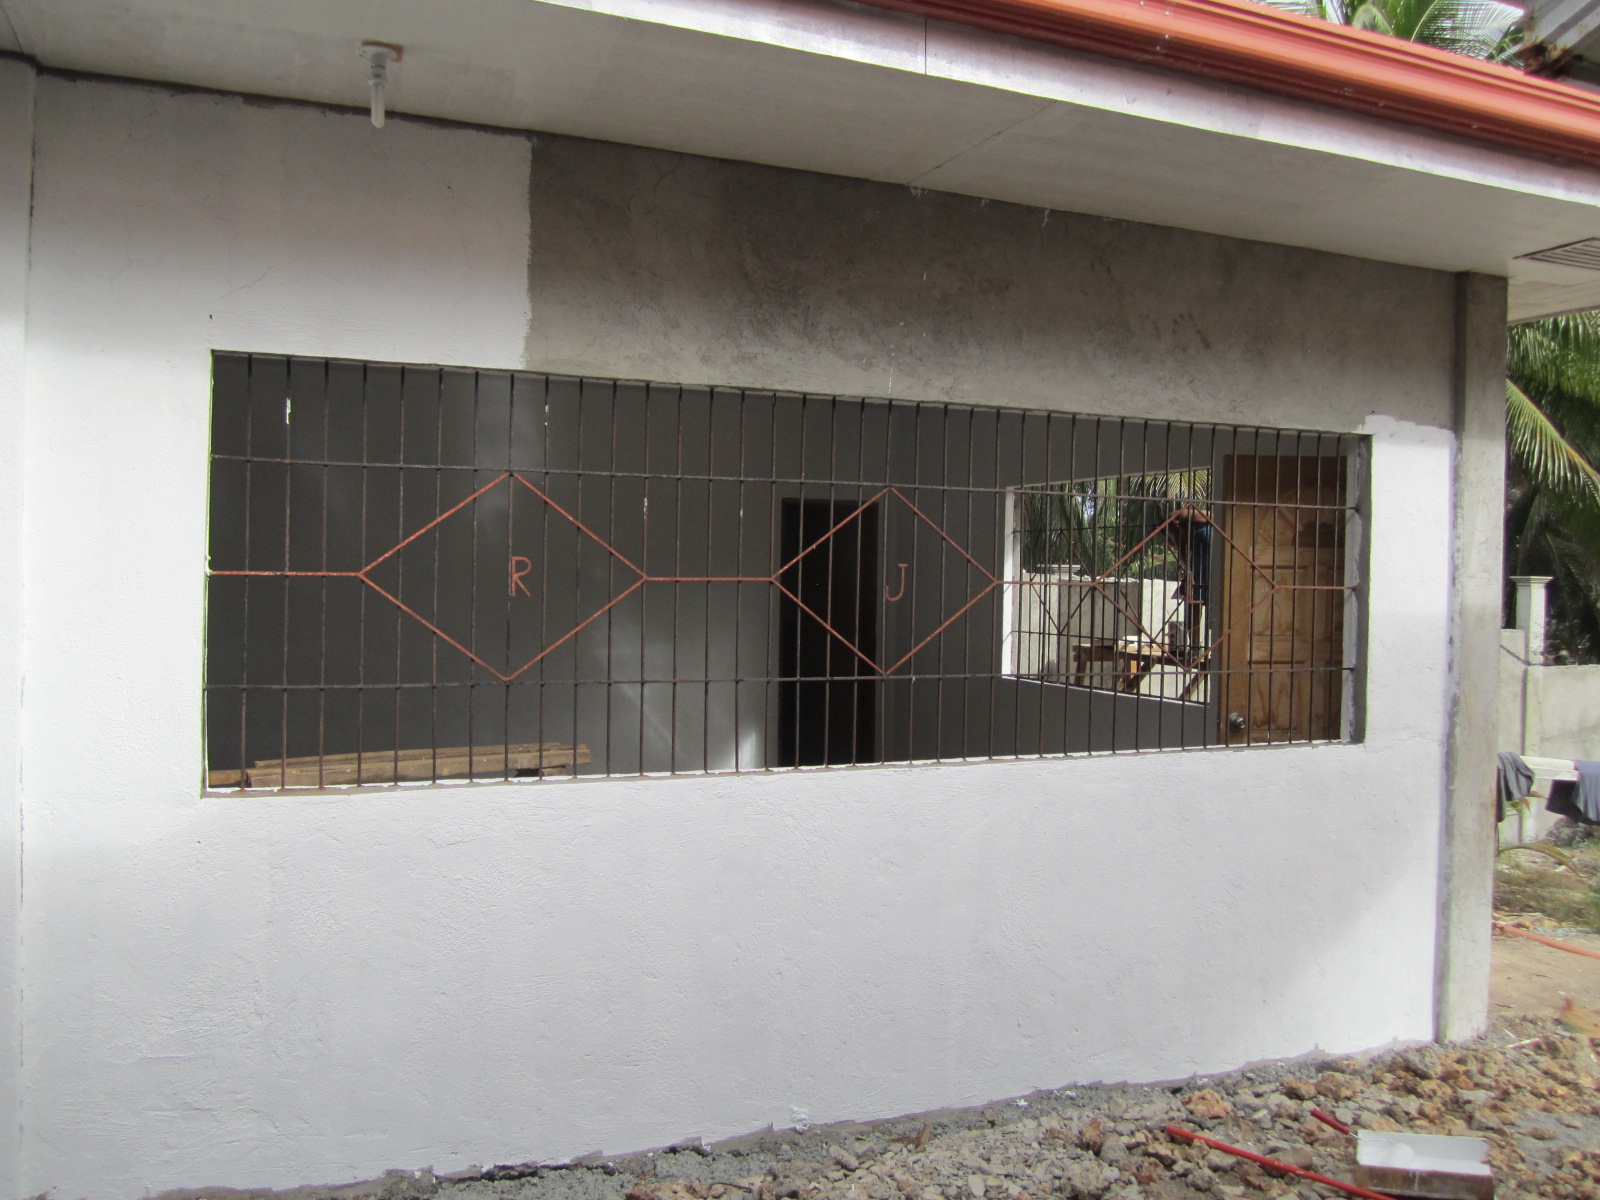
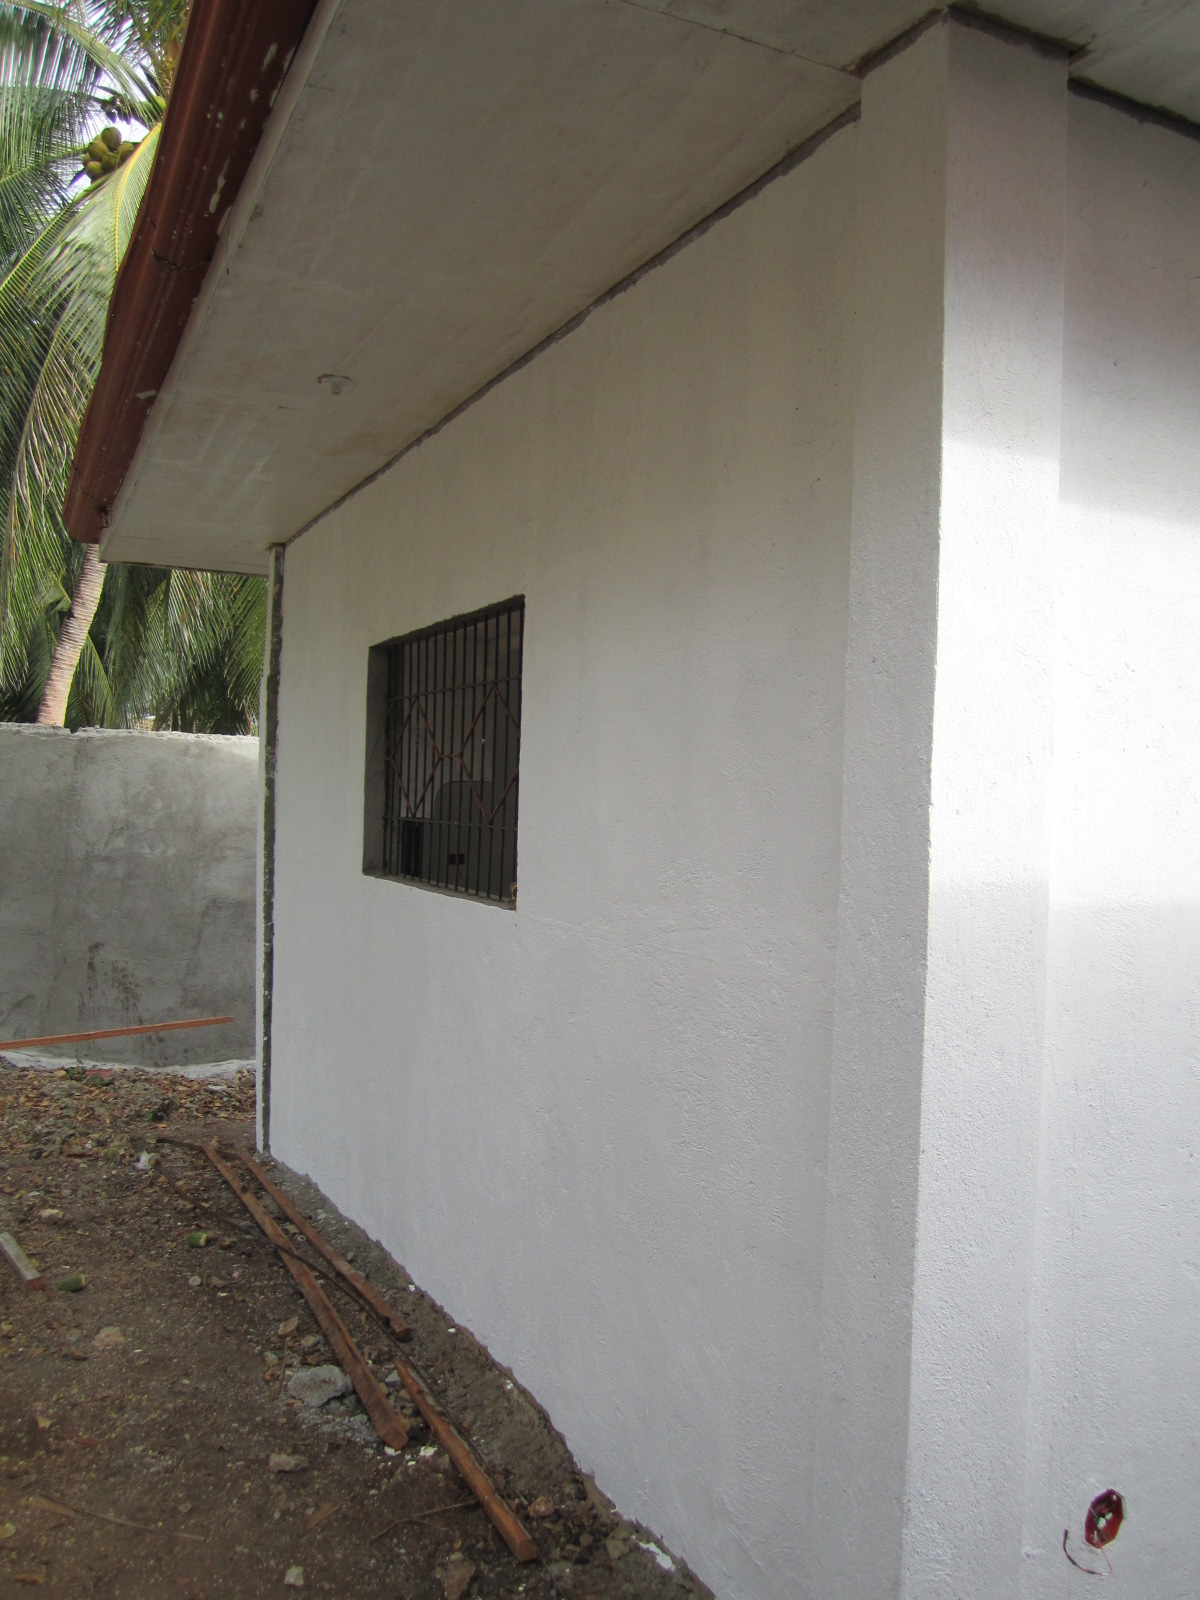
The last photo shows the primer on the outside of the kitchen at the east end. Note that the ironwork will be 2 colors. The background will be brown and the central
portion will be yellow or orange.
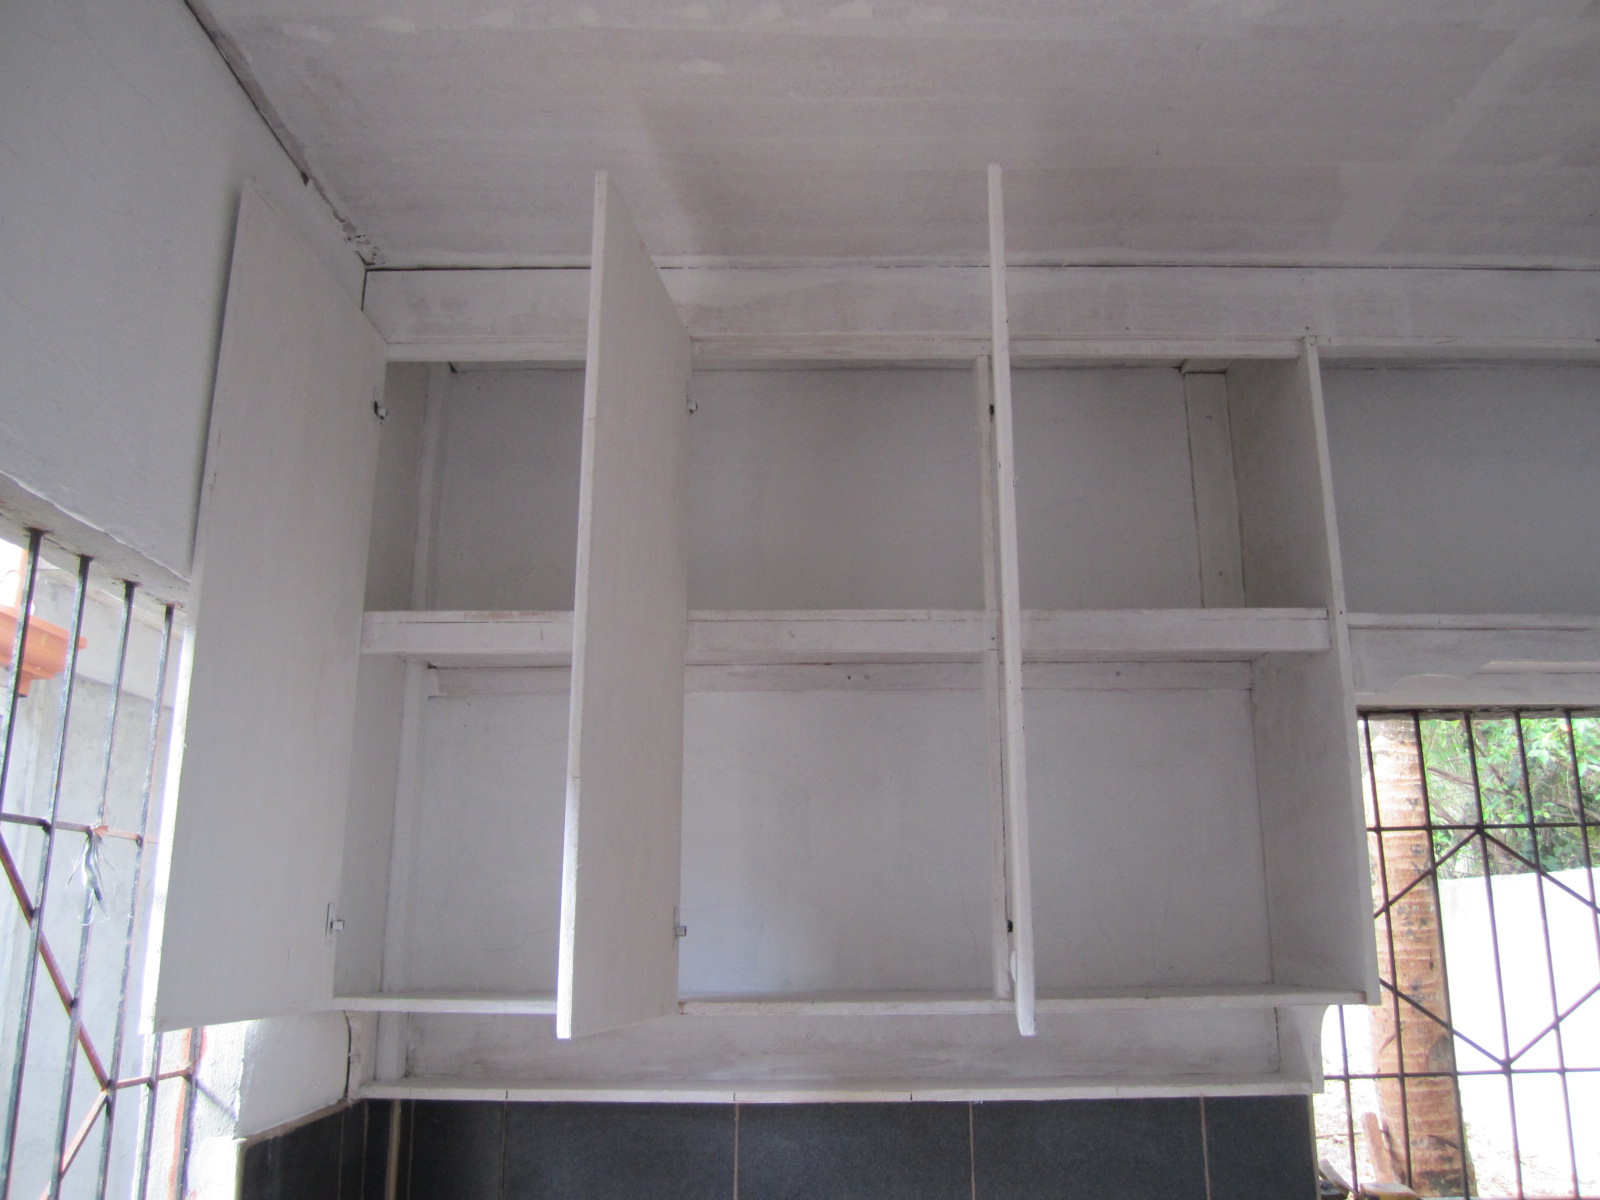
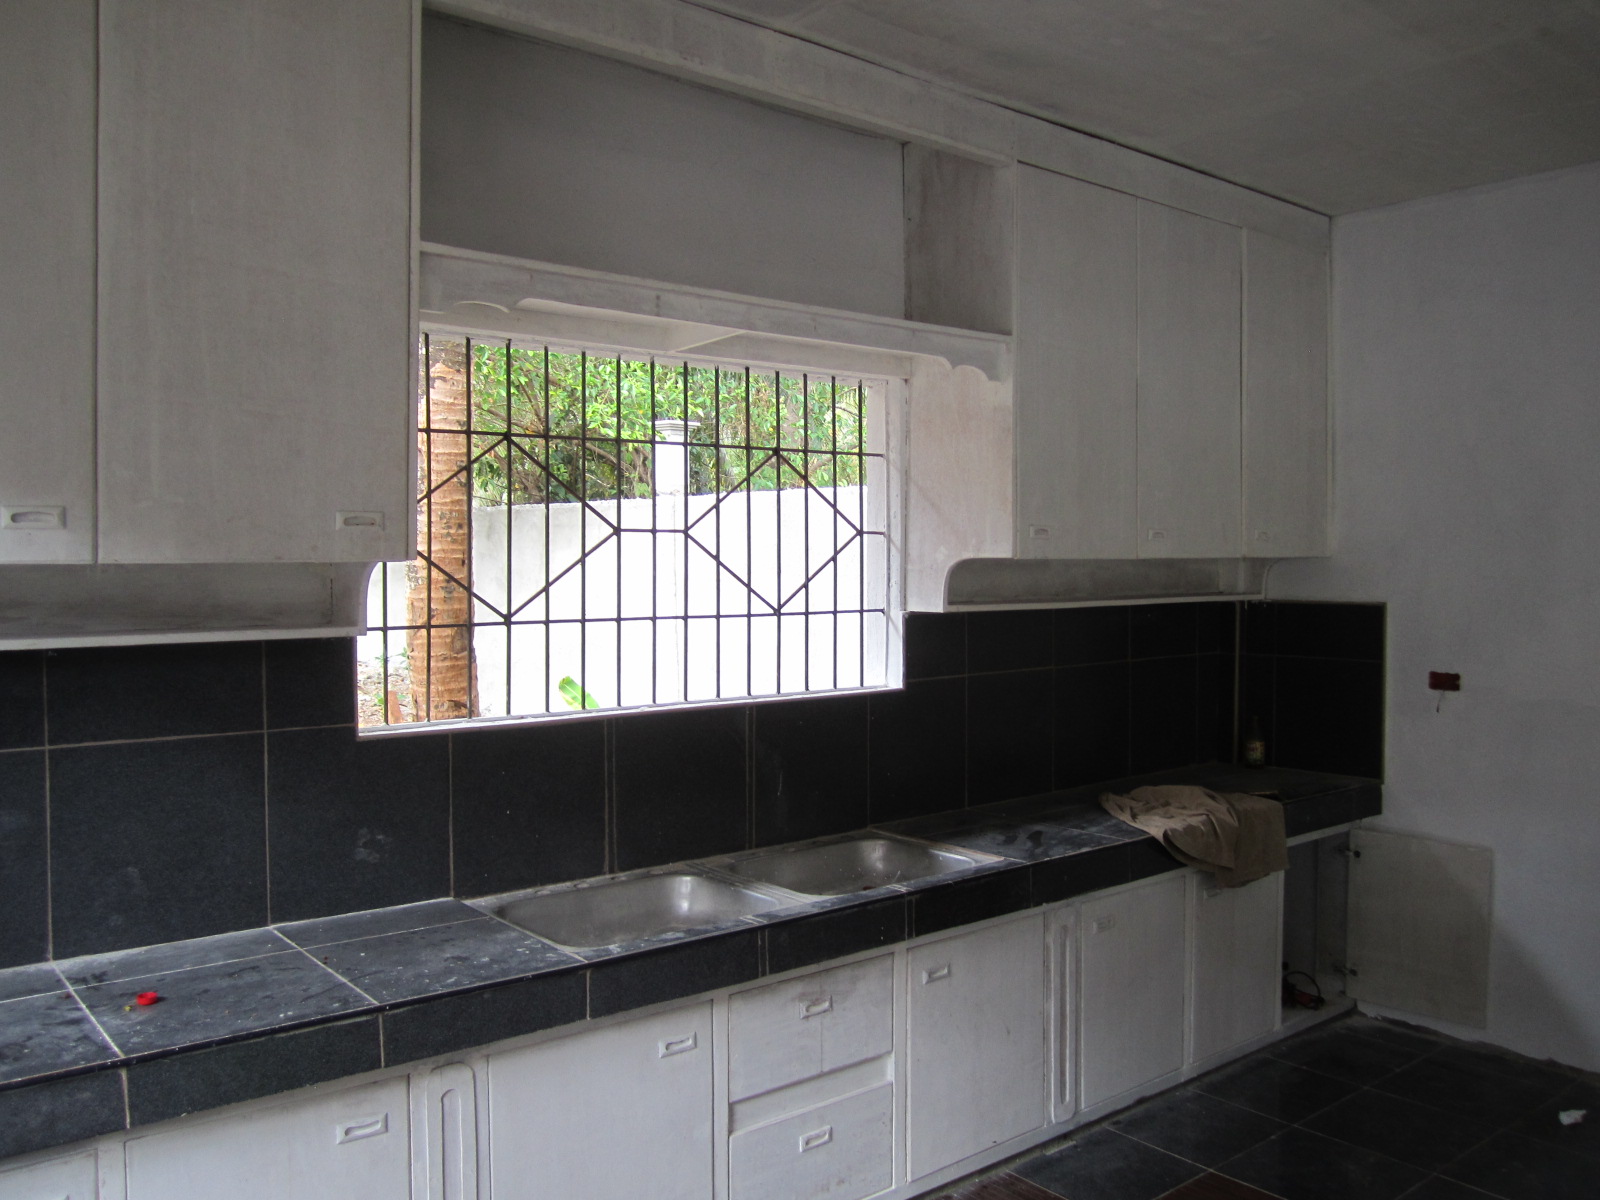
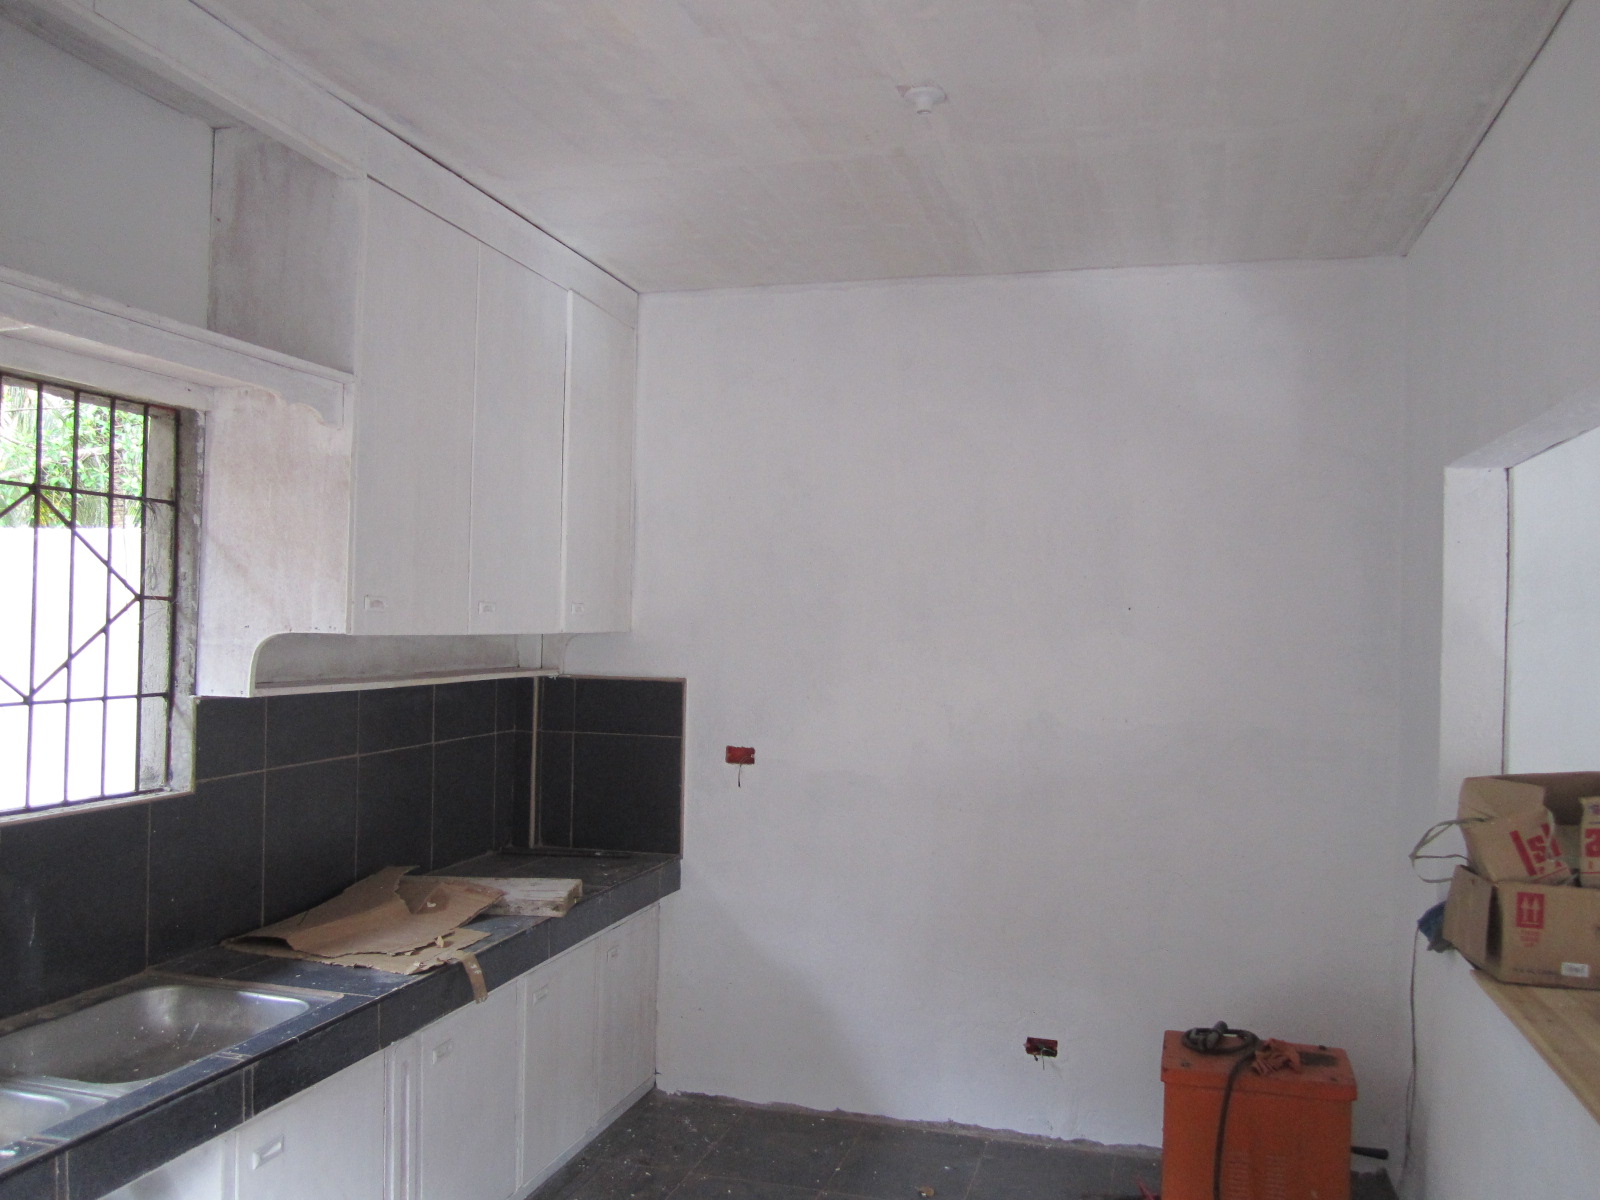
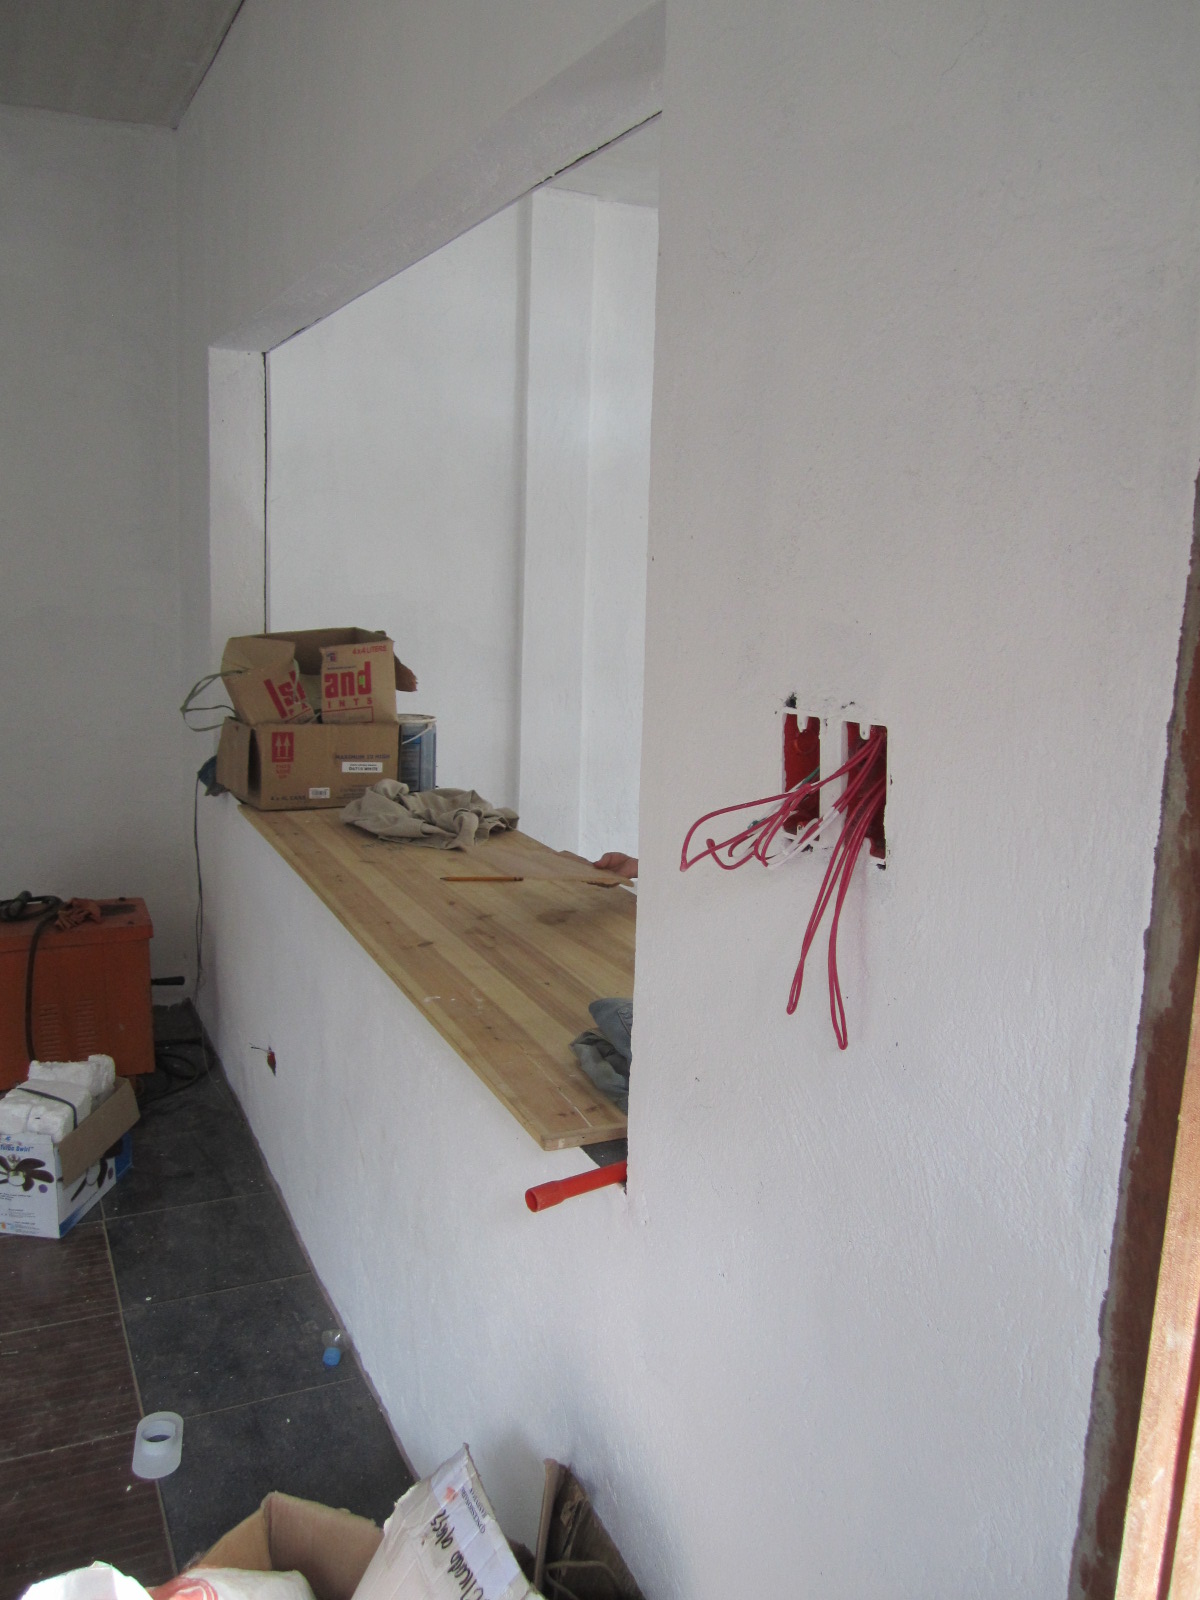
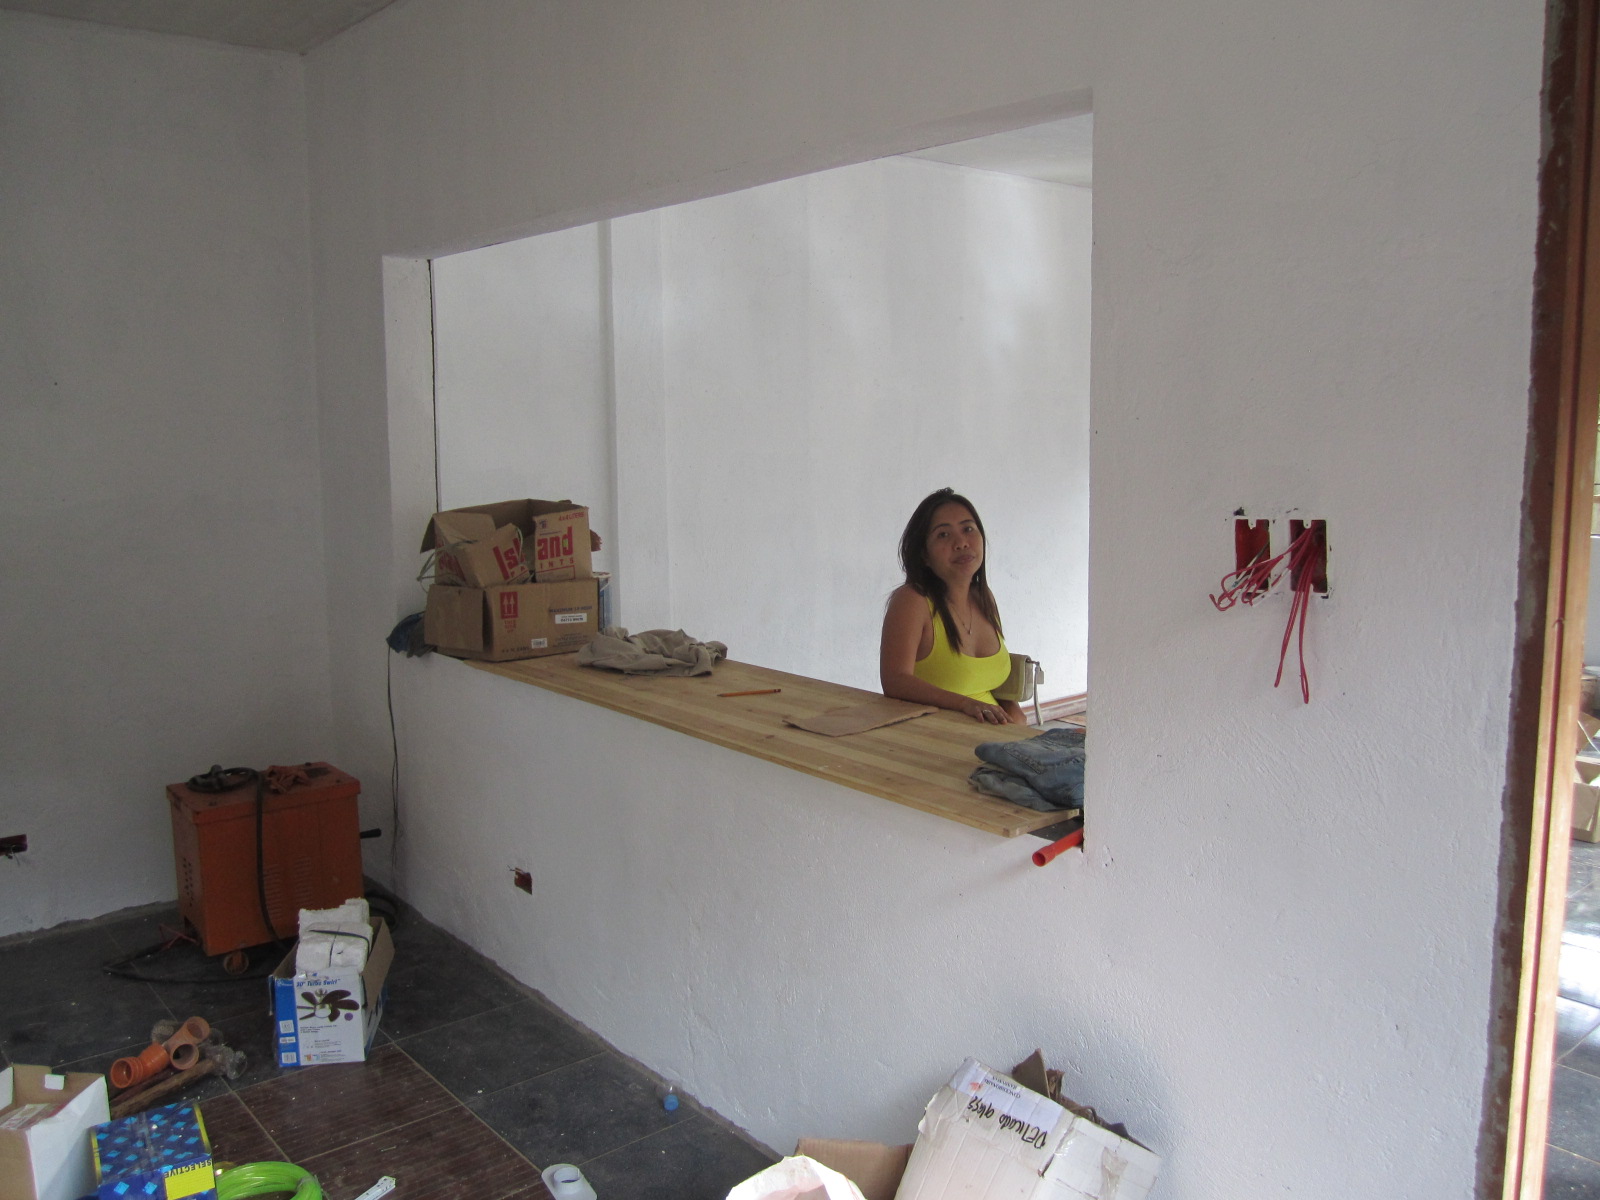
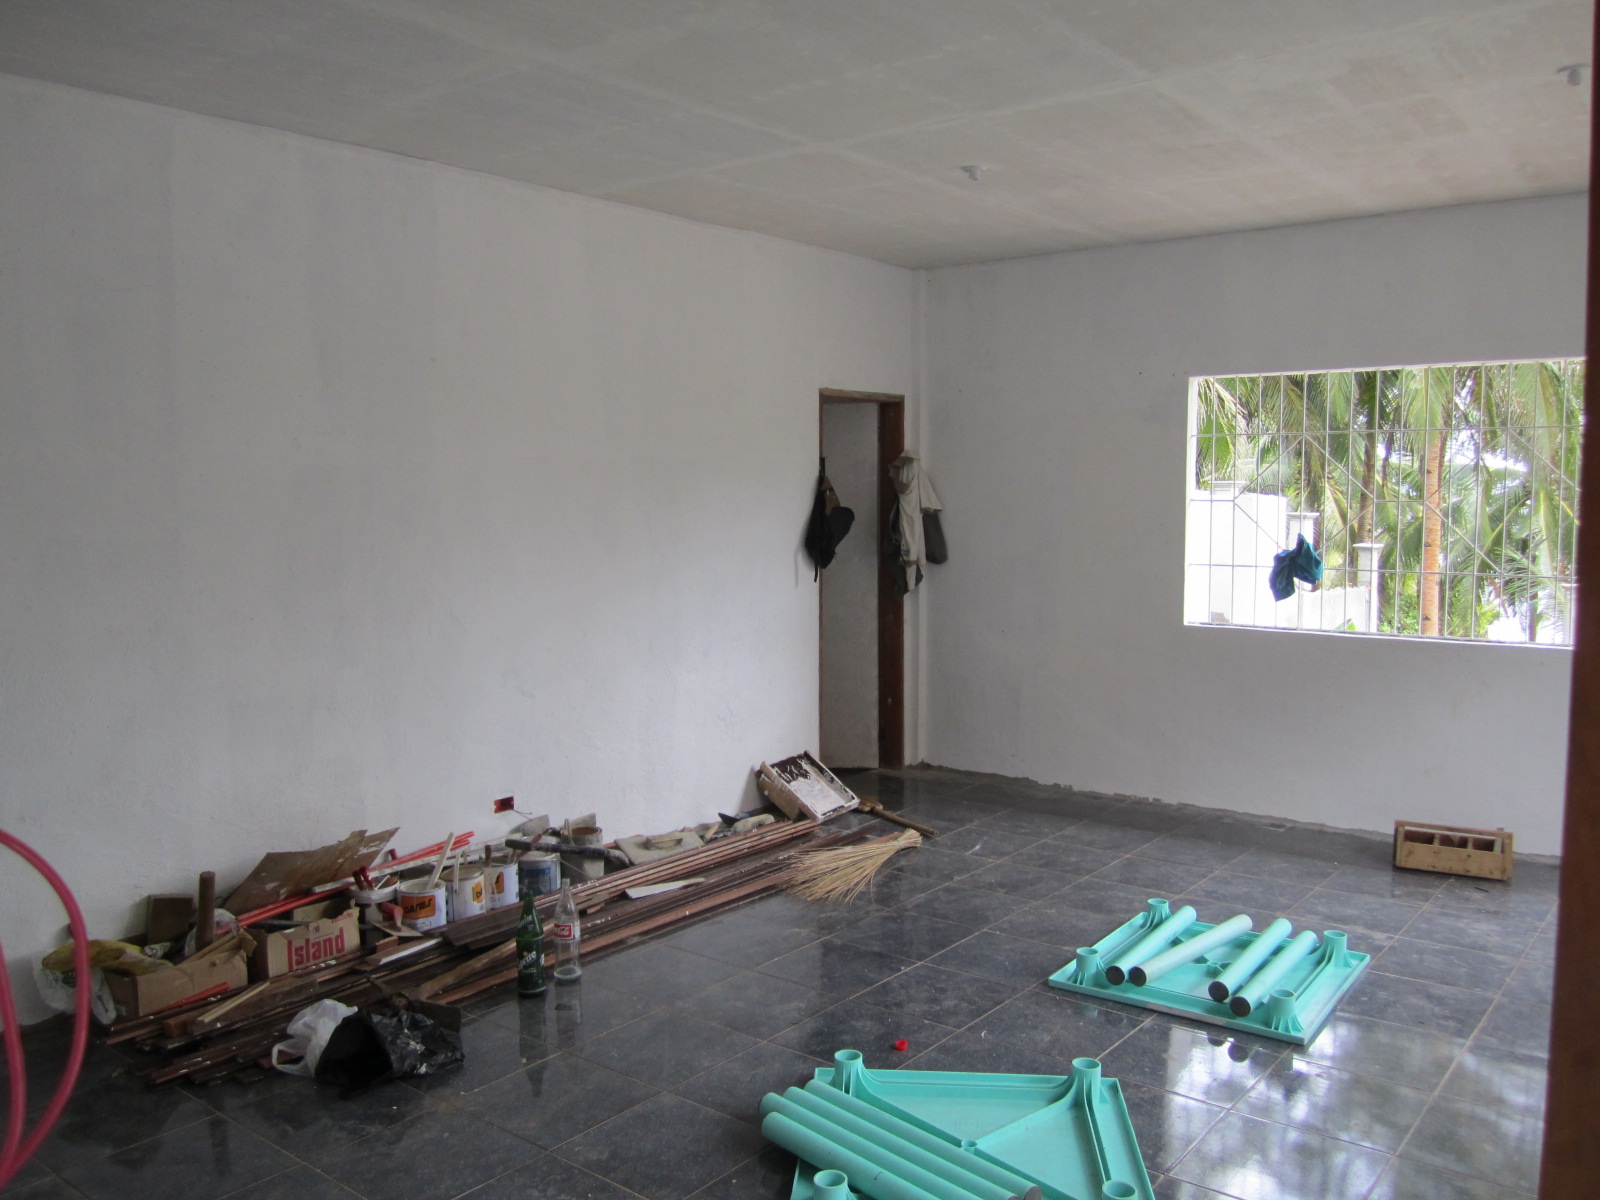
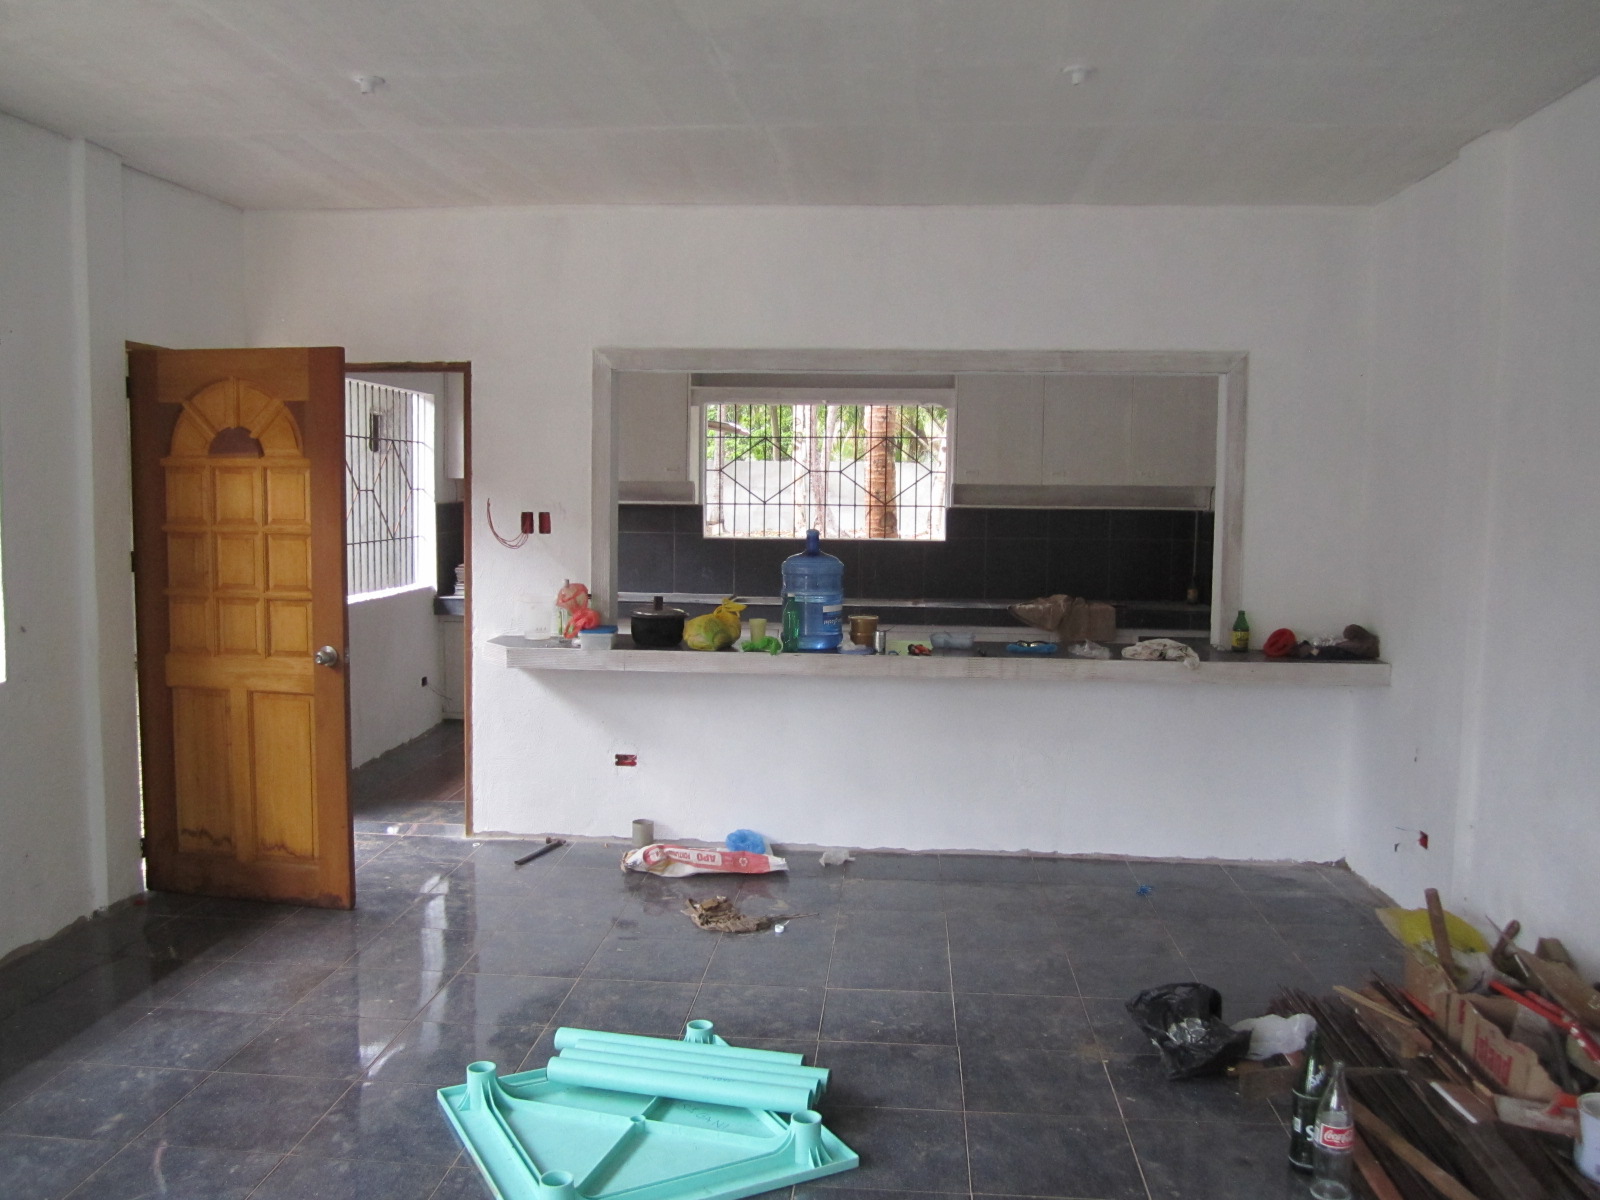
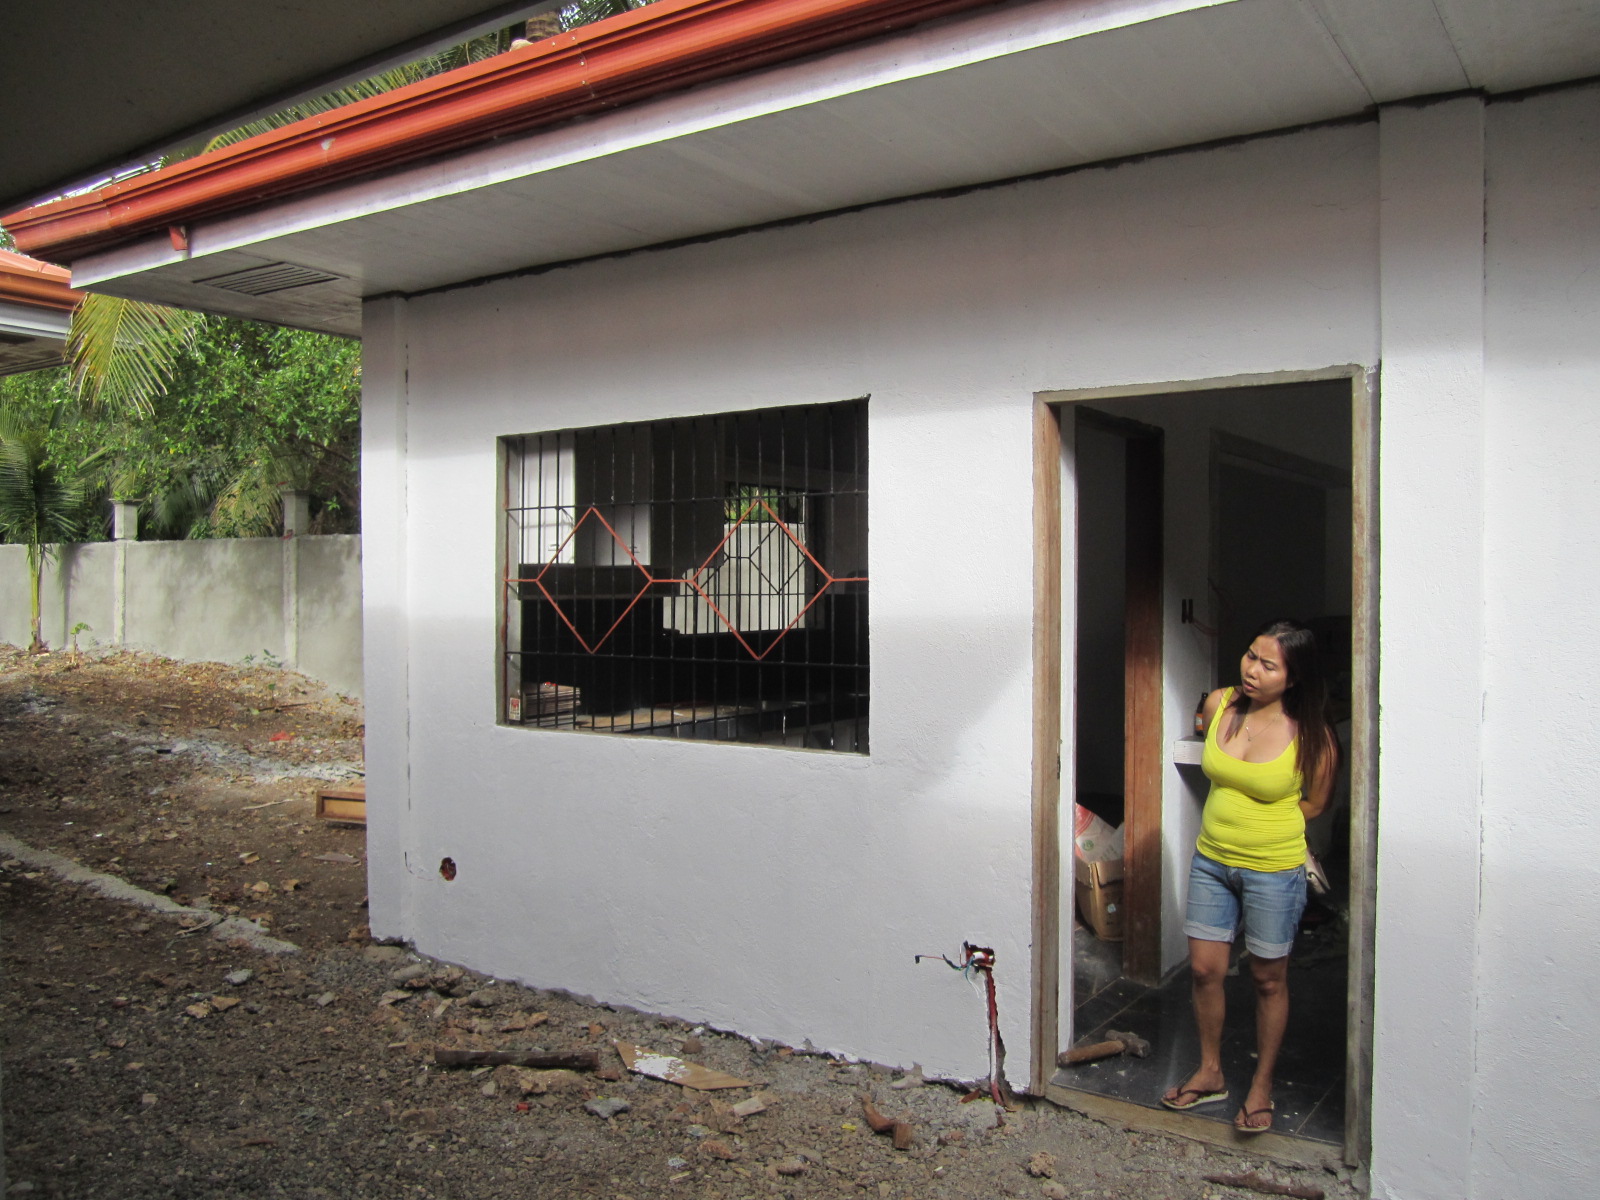
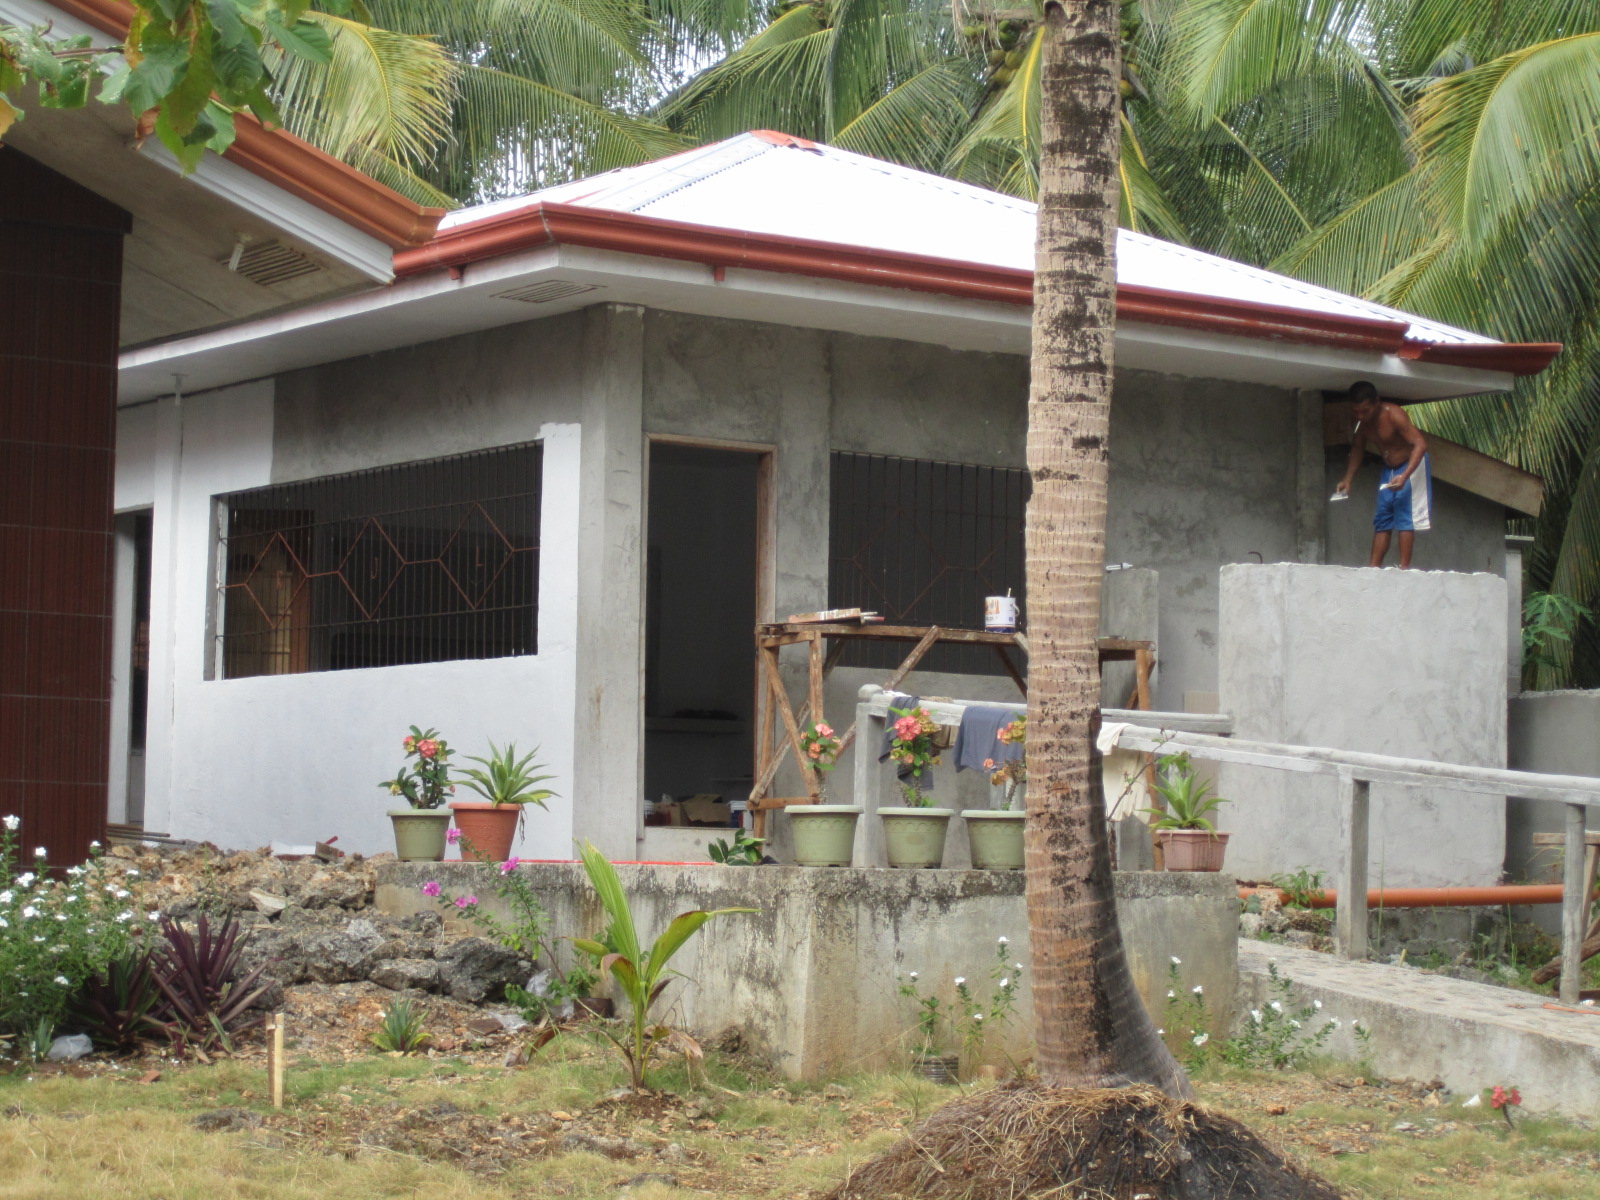
This row starts with 2 photos showing the primer completed on the entire kitchen interior. The third photo shows the primer on the outside of the kitchen
at the east end. Note that the ironwork will be 2 colors. The background will be brown and the central portion will be yellow or orange. The rest of the photos
show more of the outside. The kitchen priming is now complete this week.
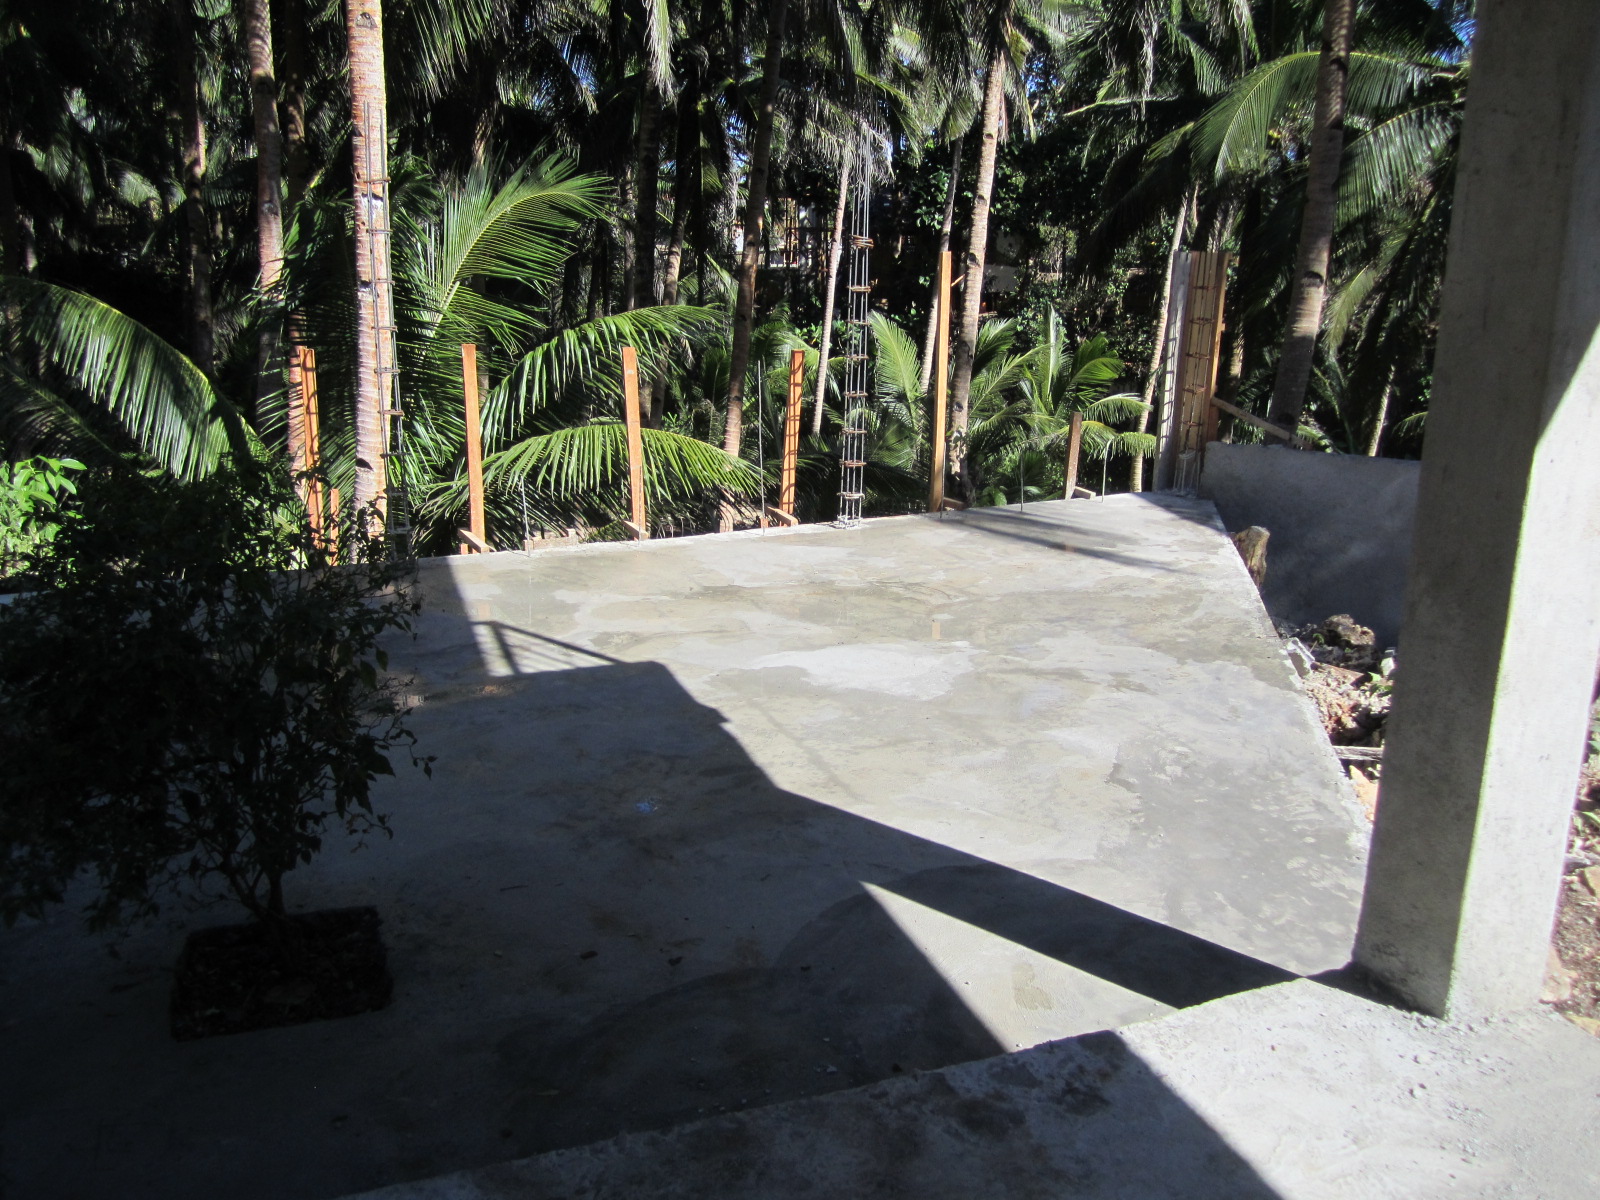
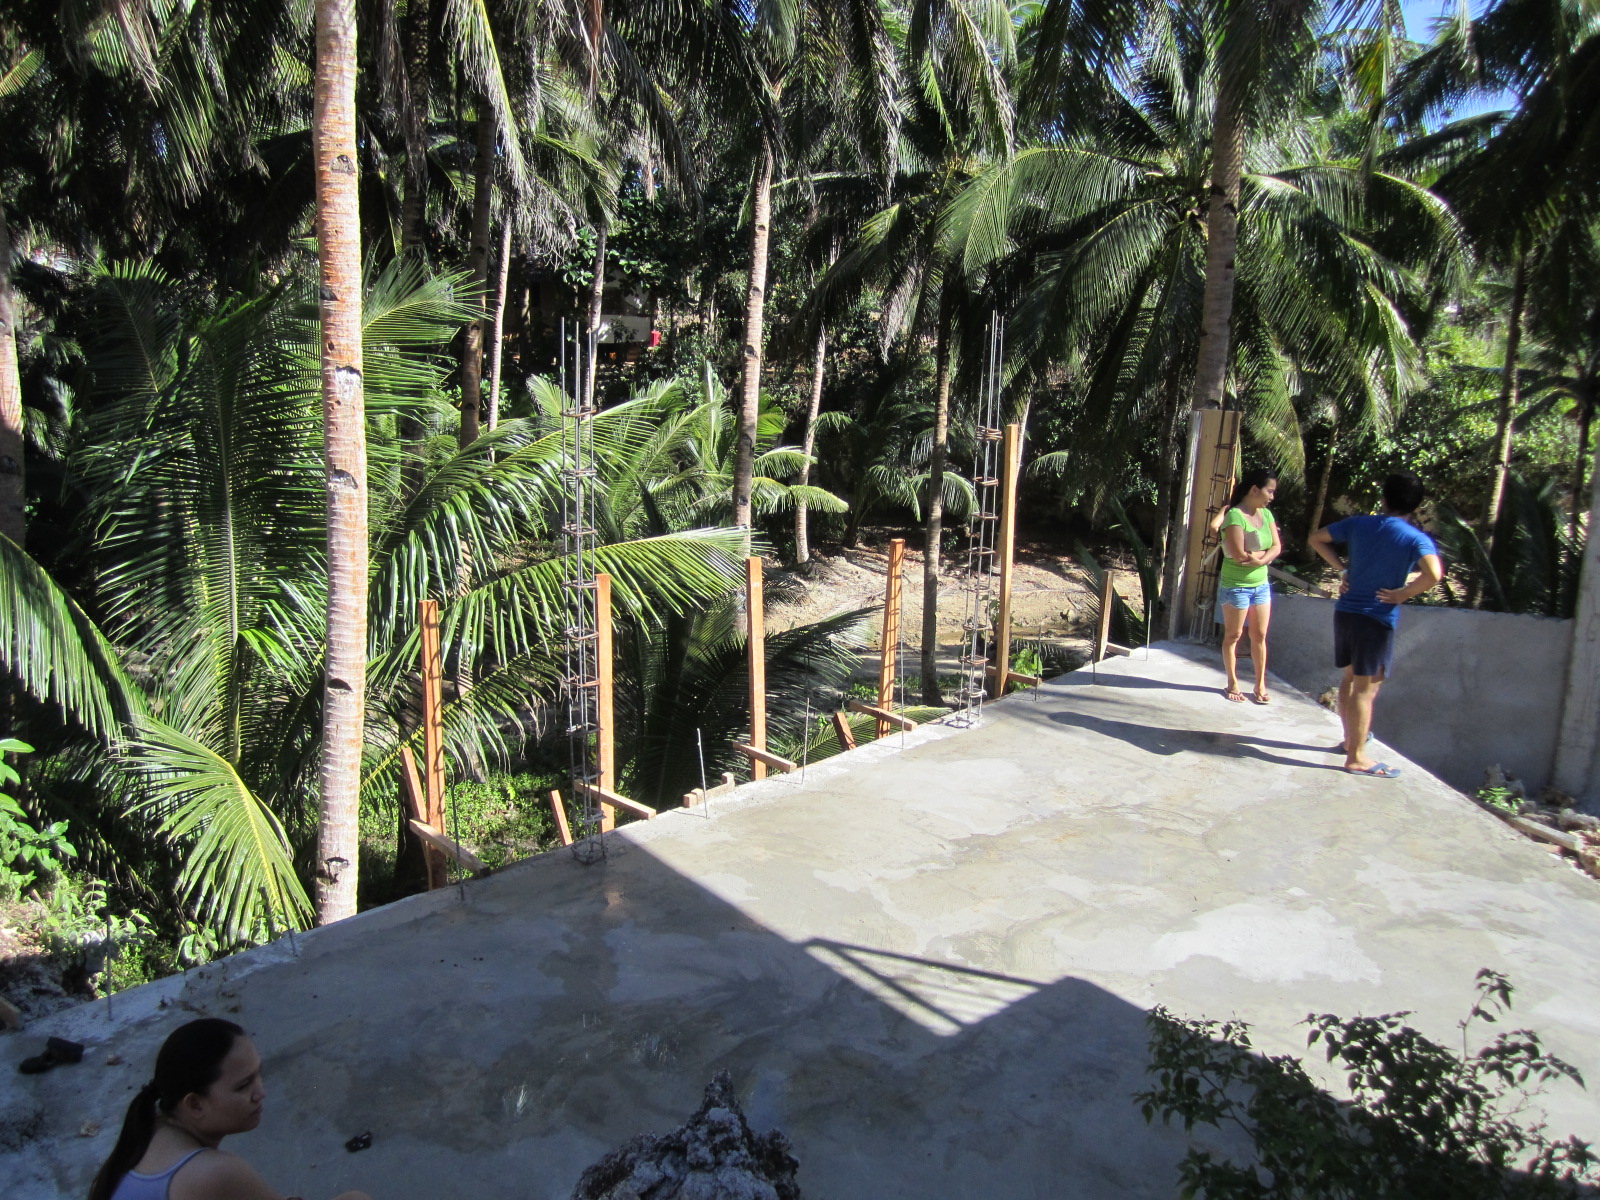
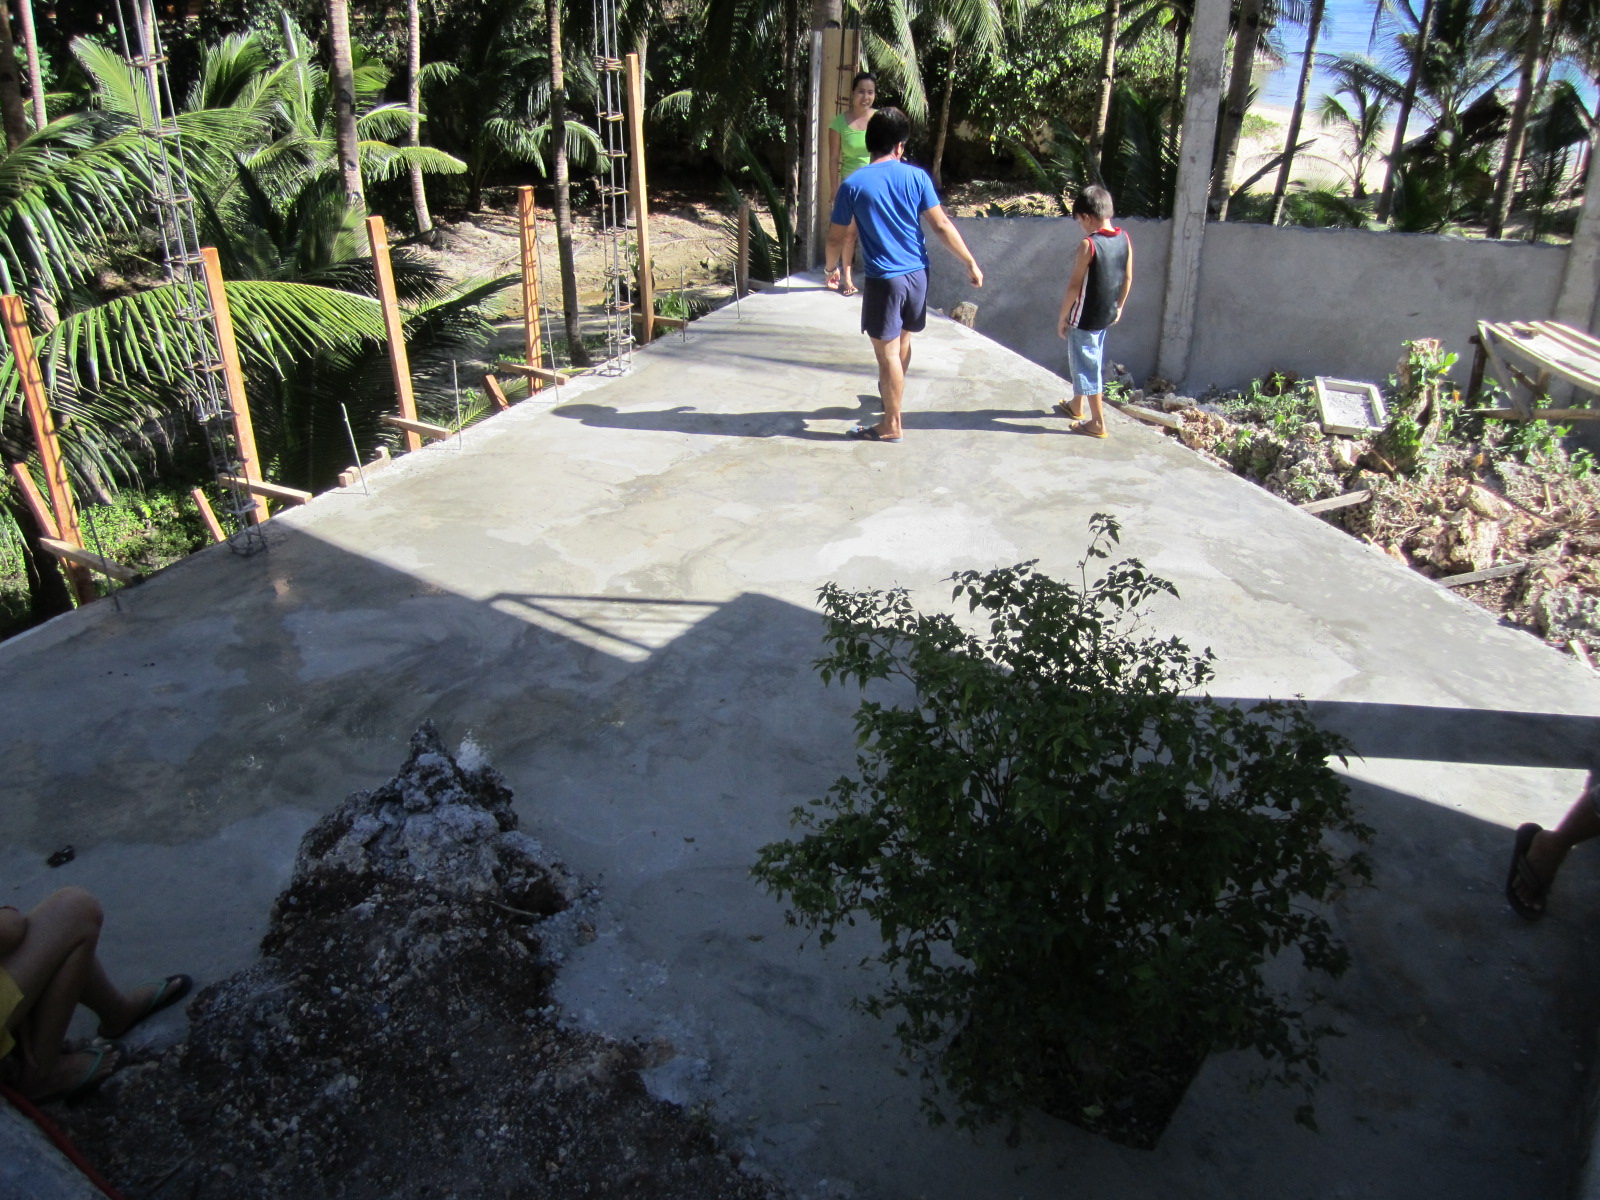
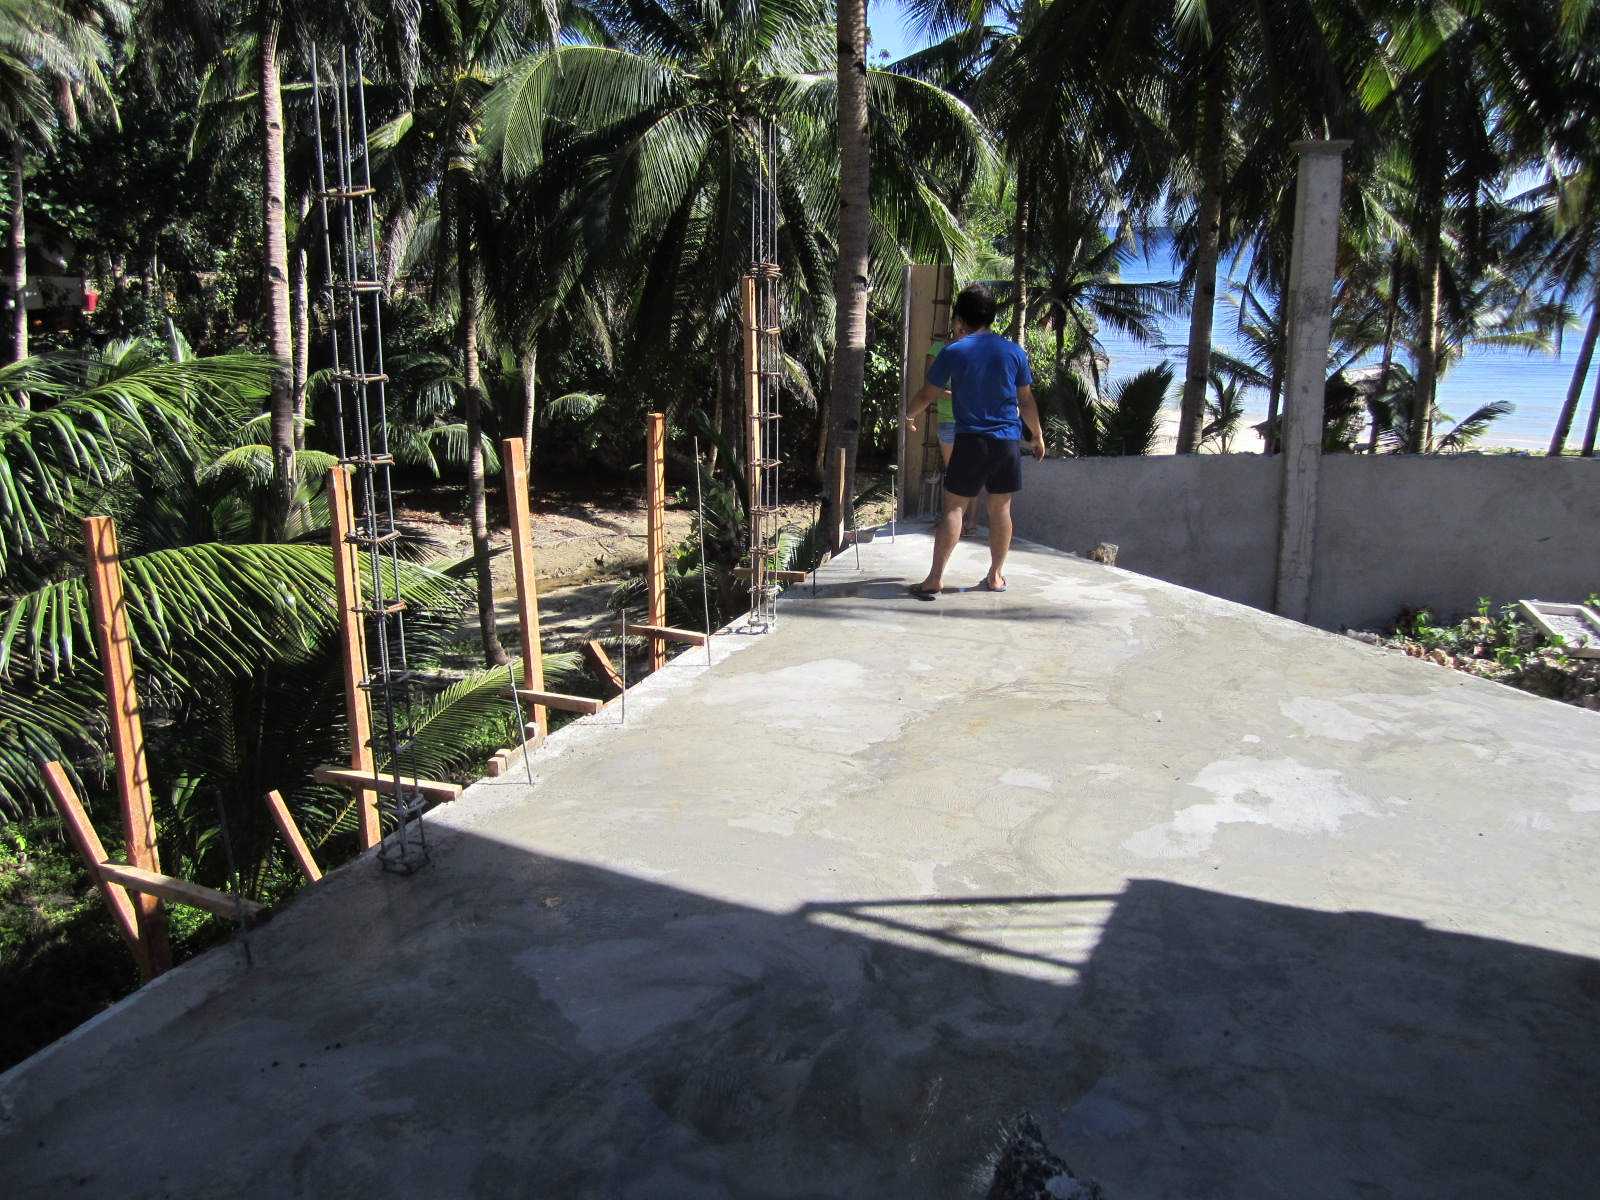
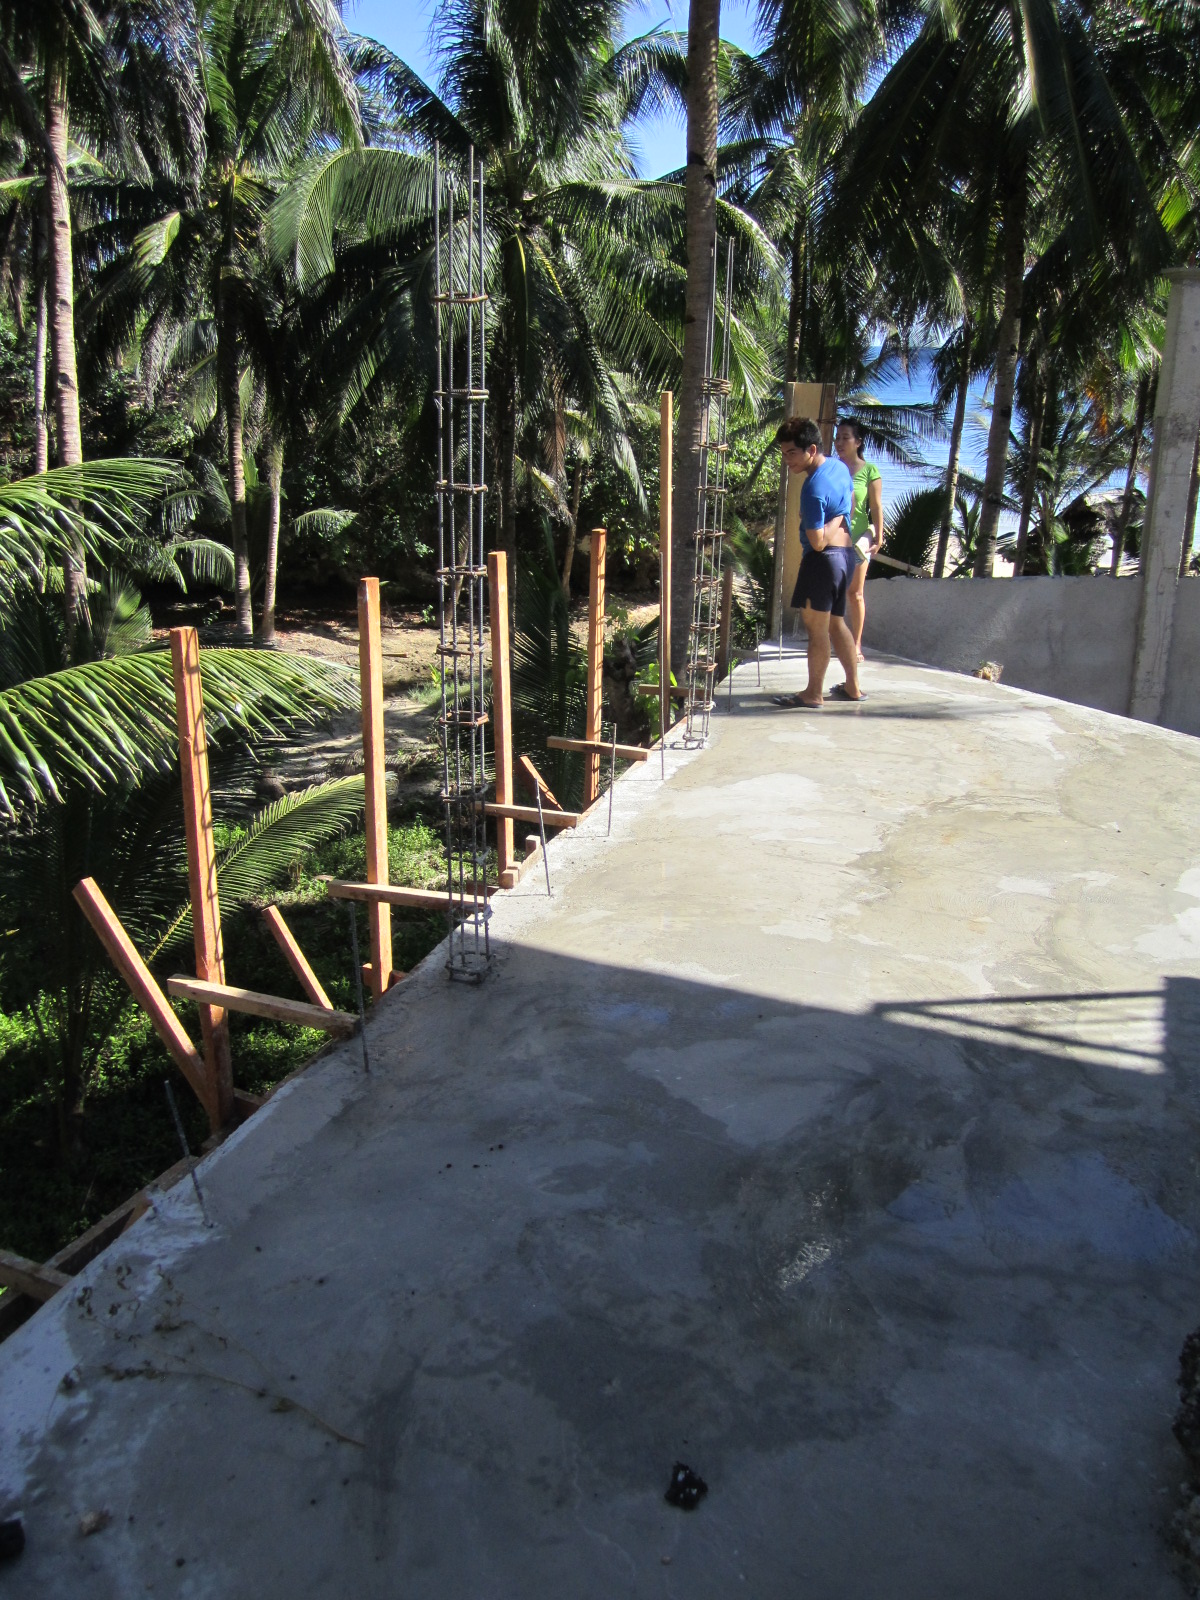
This row starts with the concrete pad finished at the ravine side of the hut. The steel rods for the fence pillars are in place. About 2/3 of the area to the right of
this pad will also have a concrete pad as well. The last 1/3 or so to the right will be a rock garden next to the back gate.
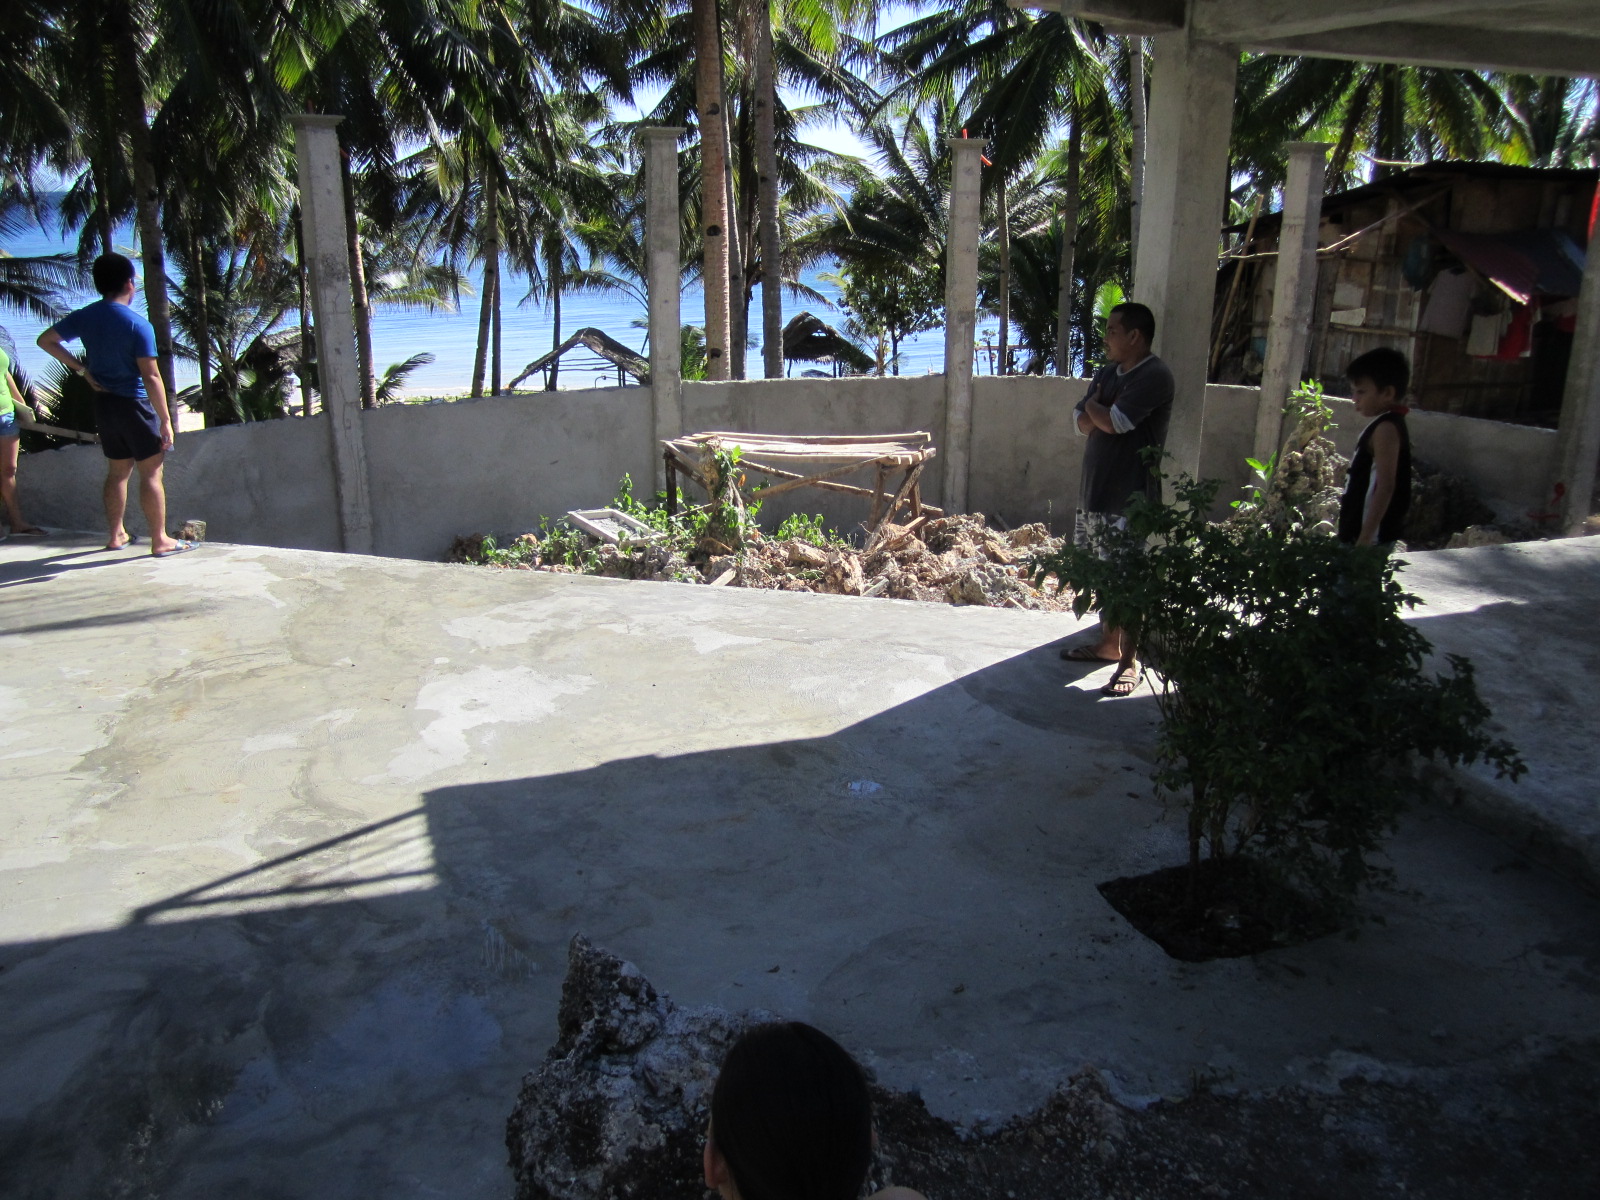
The first 3 photos show the boundary with the walk from the kitchen and the garden area next to the hut steps and the famous chili plant.
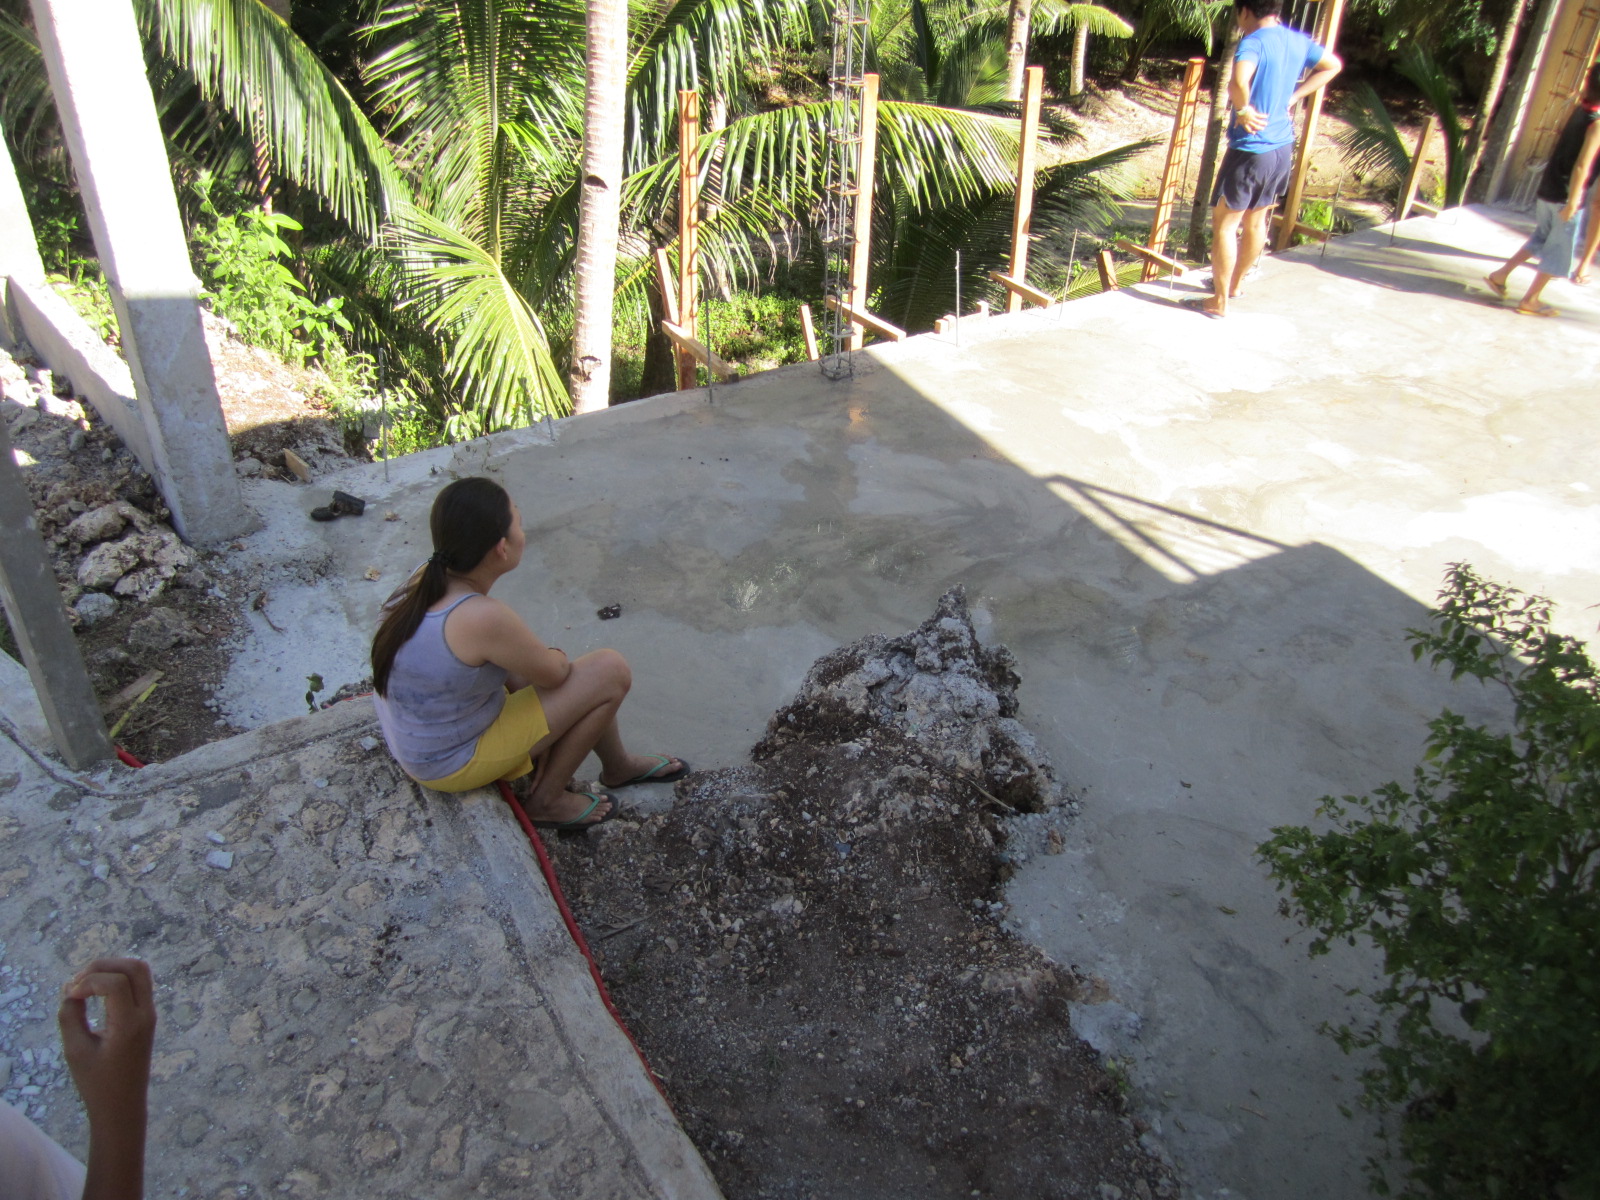
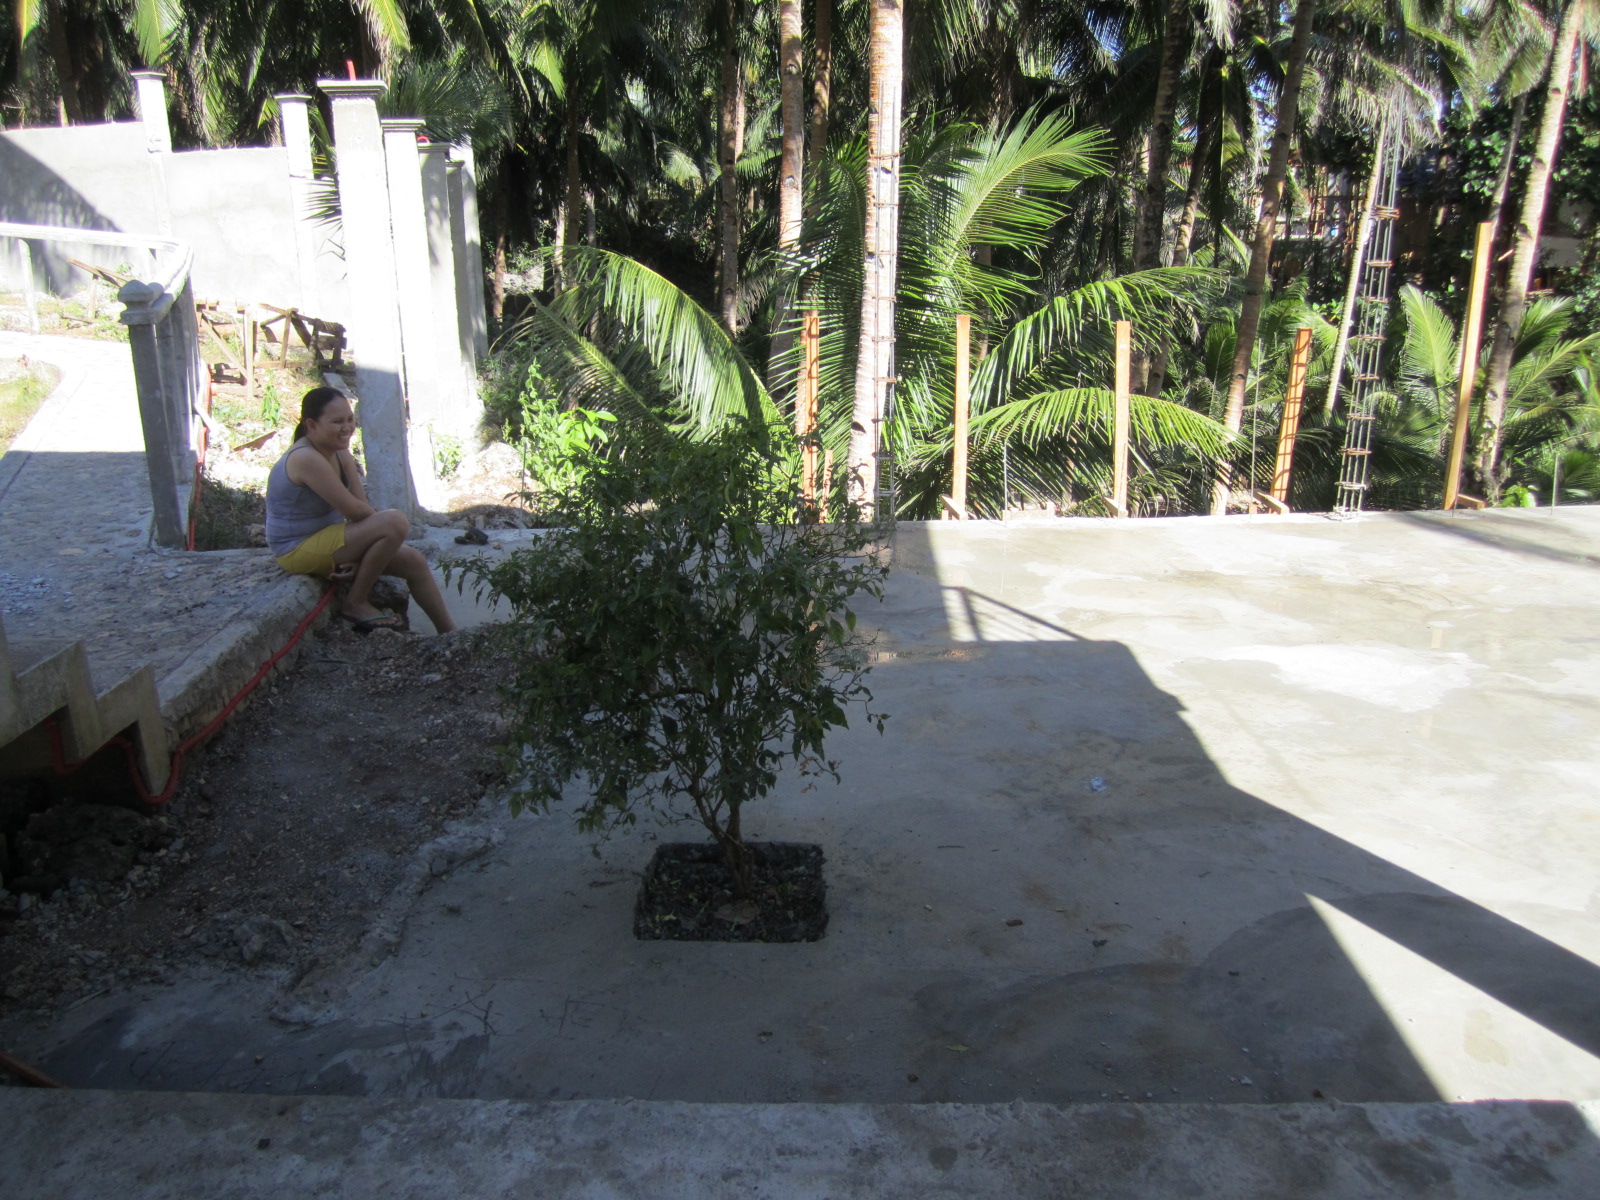
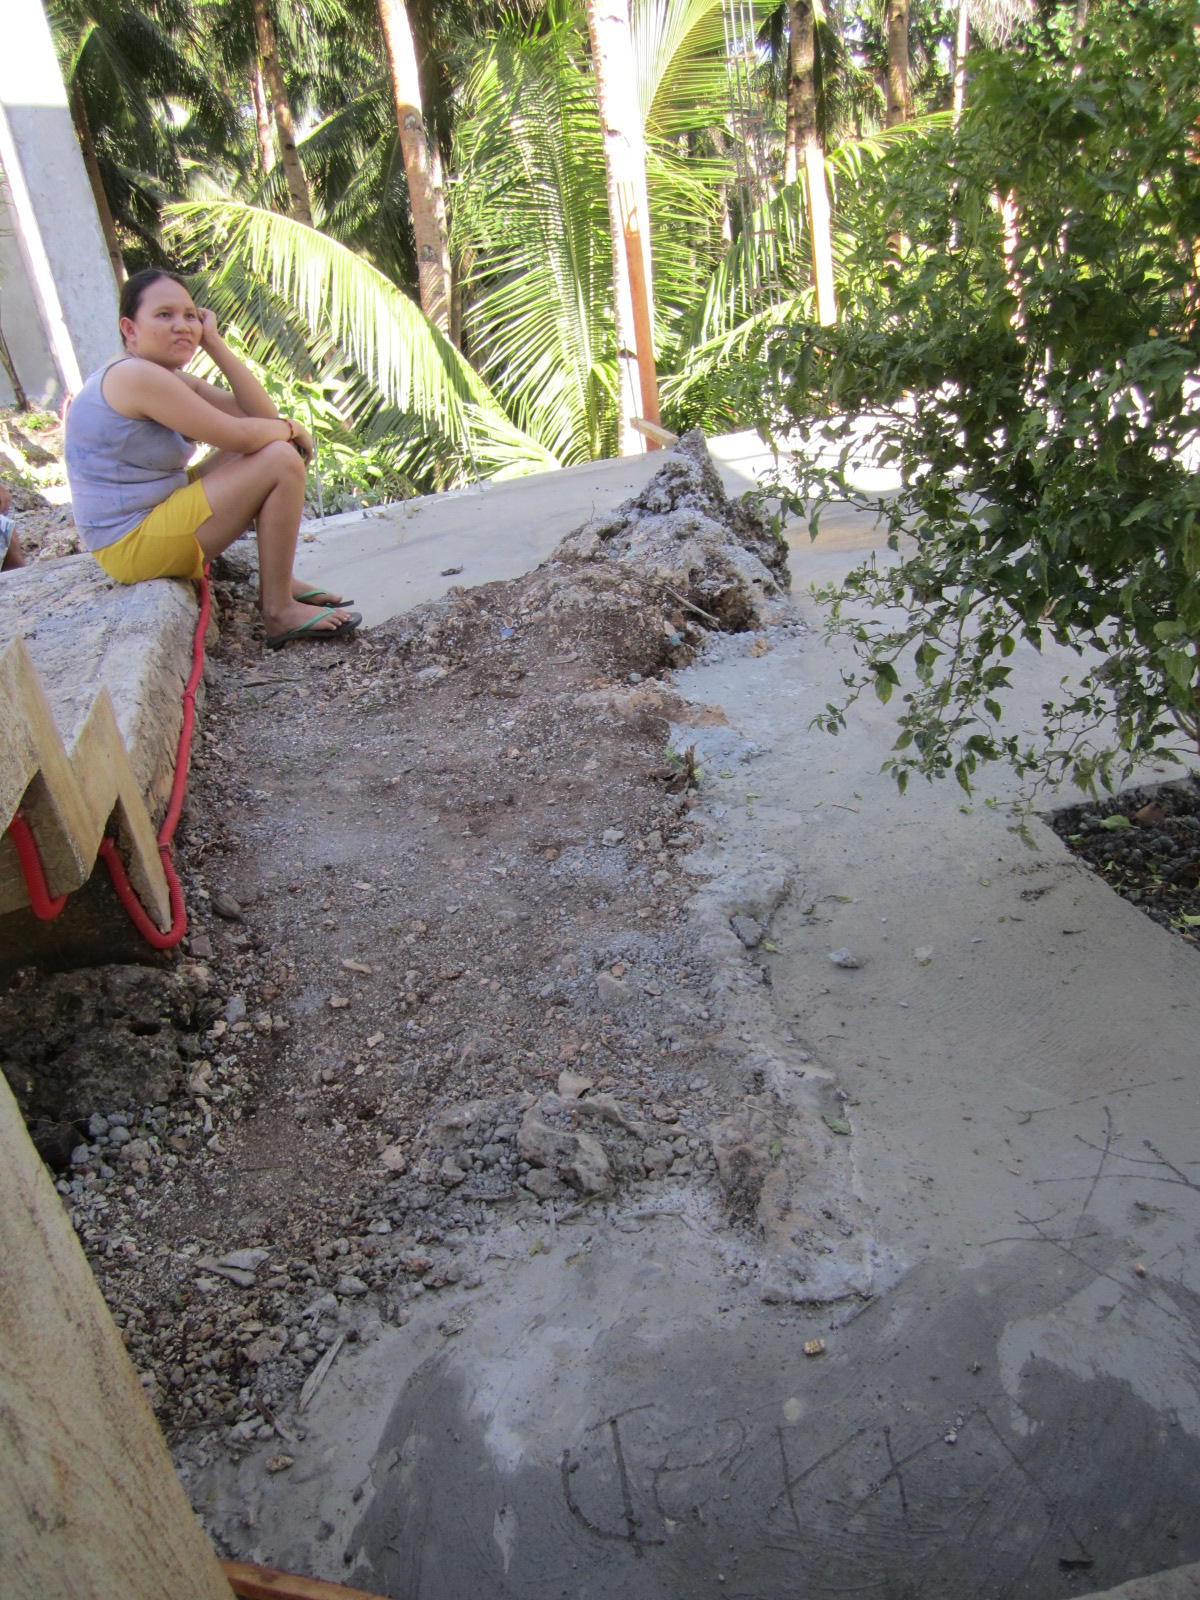
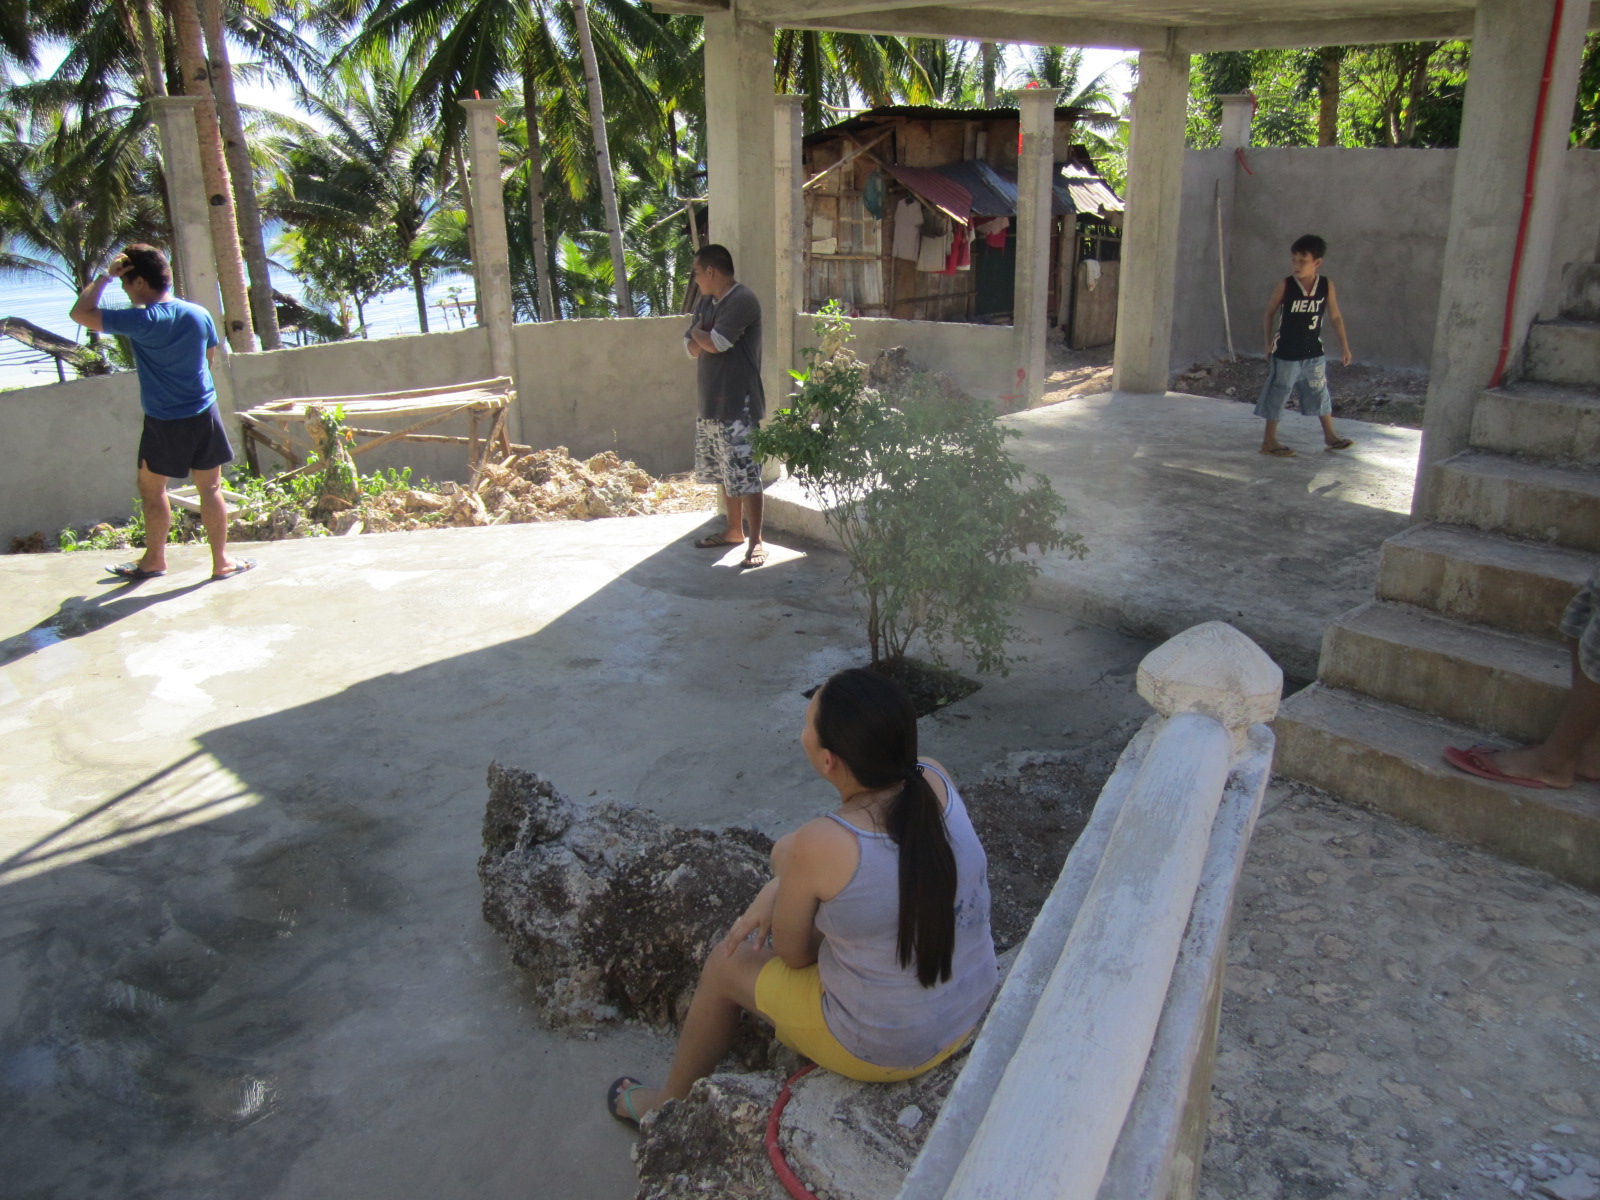
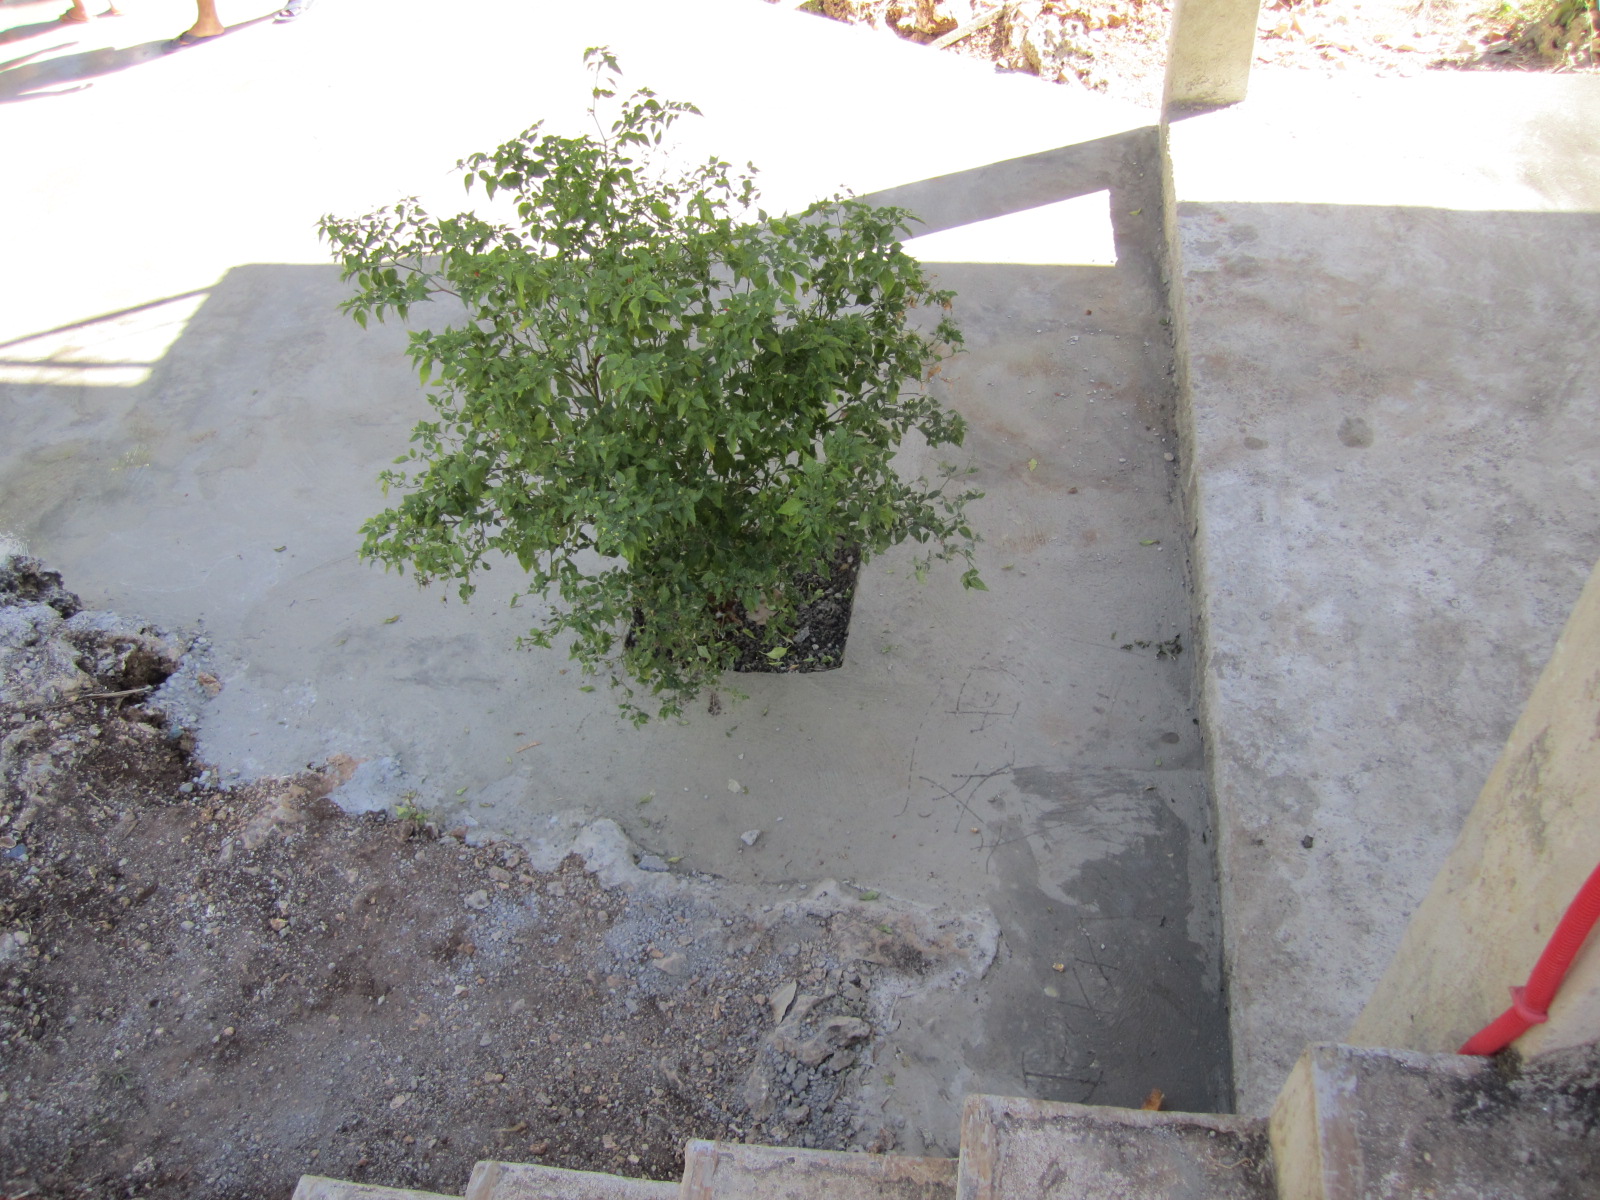
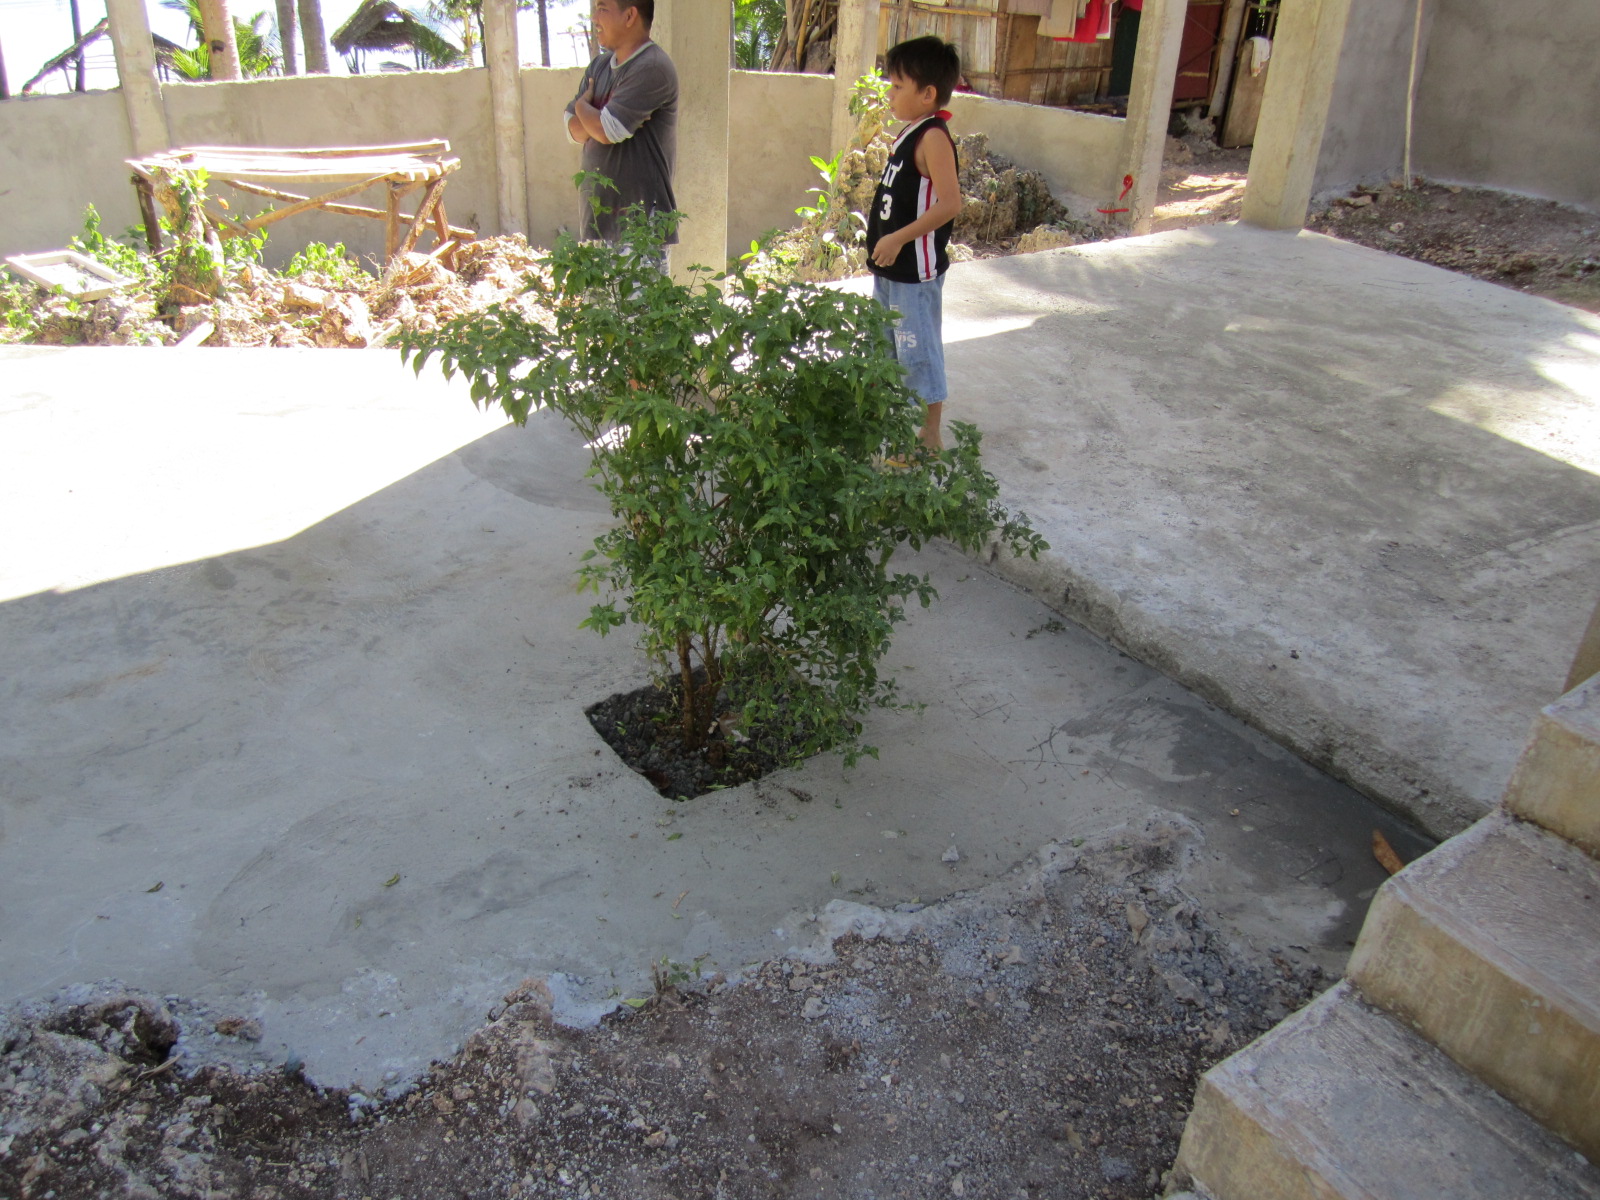
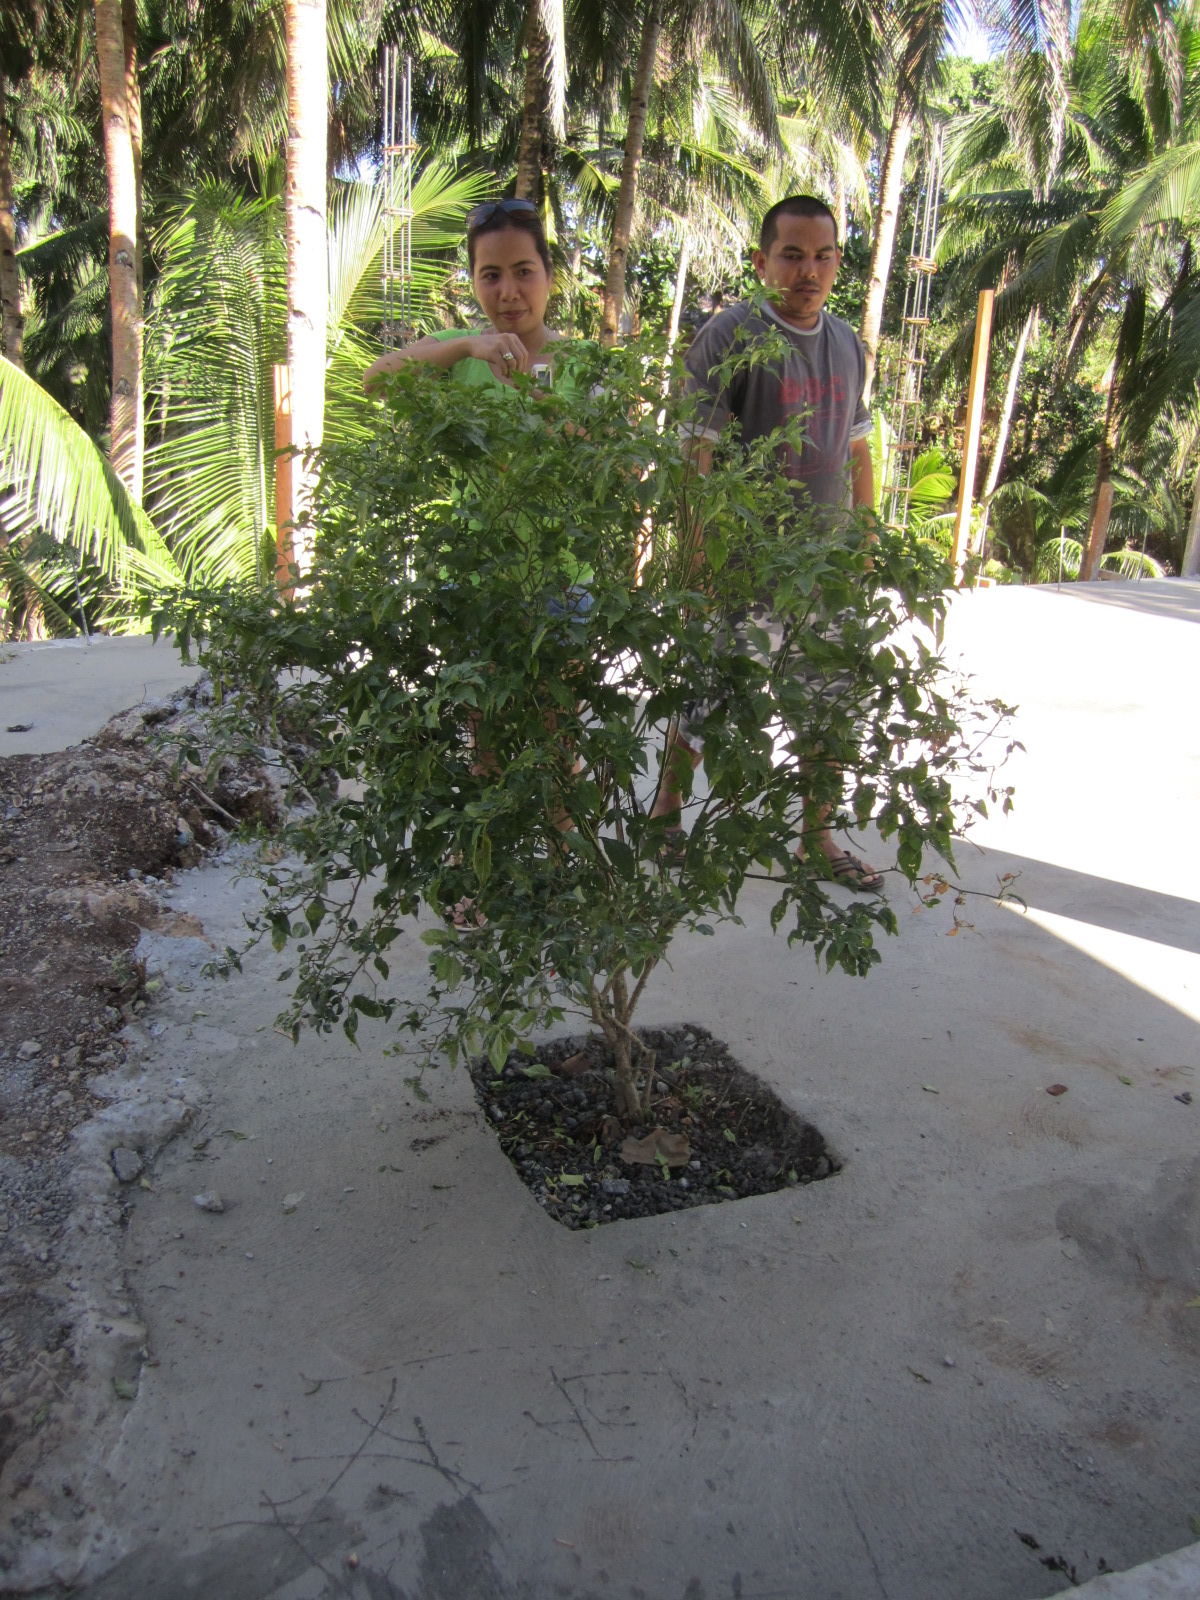
This row shows 3 photos of the chili plant. This plant grew wild and was next to the original nipa hut that the workers used for lunch in the early days
of construction. The charcoal fires pretty much scorched the living daylights out of this plant, but it survived that ordeal. Jovie always picked chilis from this plant
EVERY time we visited Flordeliz. When we started work on the hut, the plant was devastated by the construction, but again survived. Of course, when it came time to pour
the concrete for the ravine pad, there was no question that the chili plant had to be saved. The 3rd photo shows that it is now 4 feet tall and is producing an amazing
number of those little but hot red chilis that are so popular in Philippine cuisine.
These photos show the construction of the ravine fence pillars.
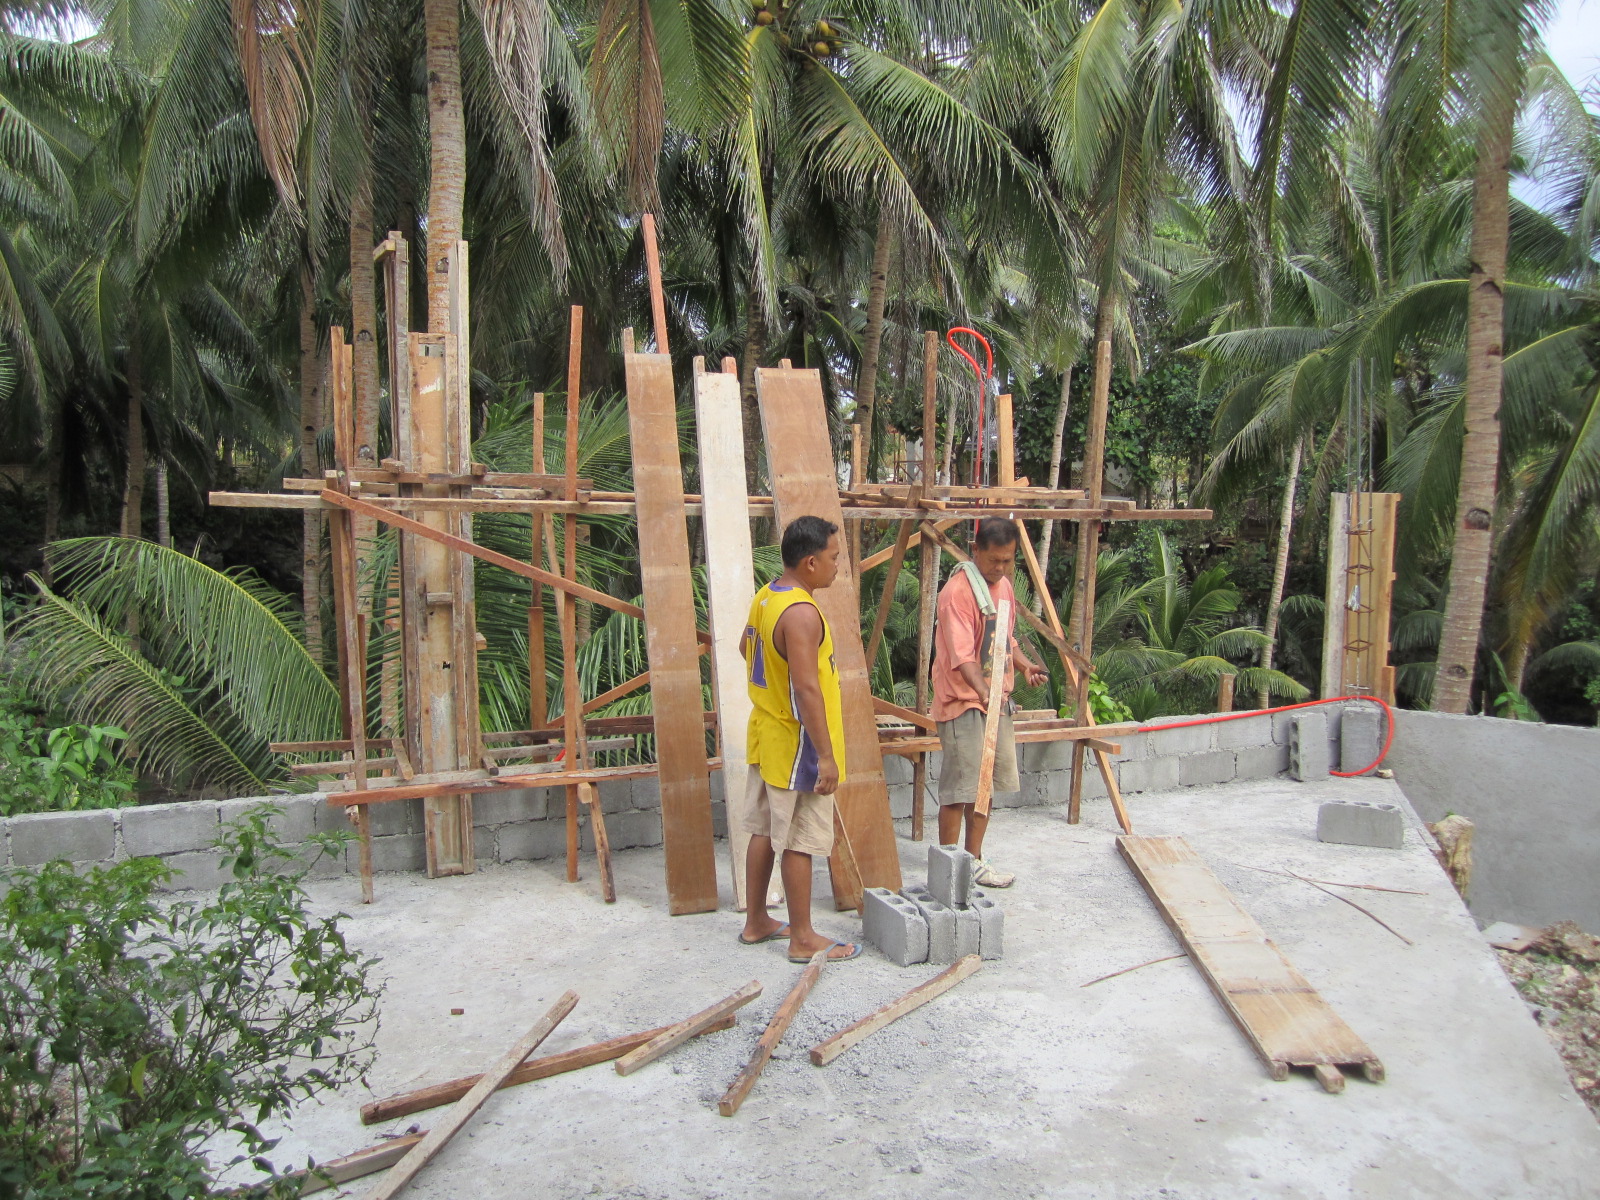
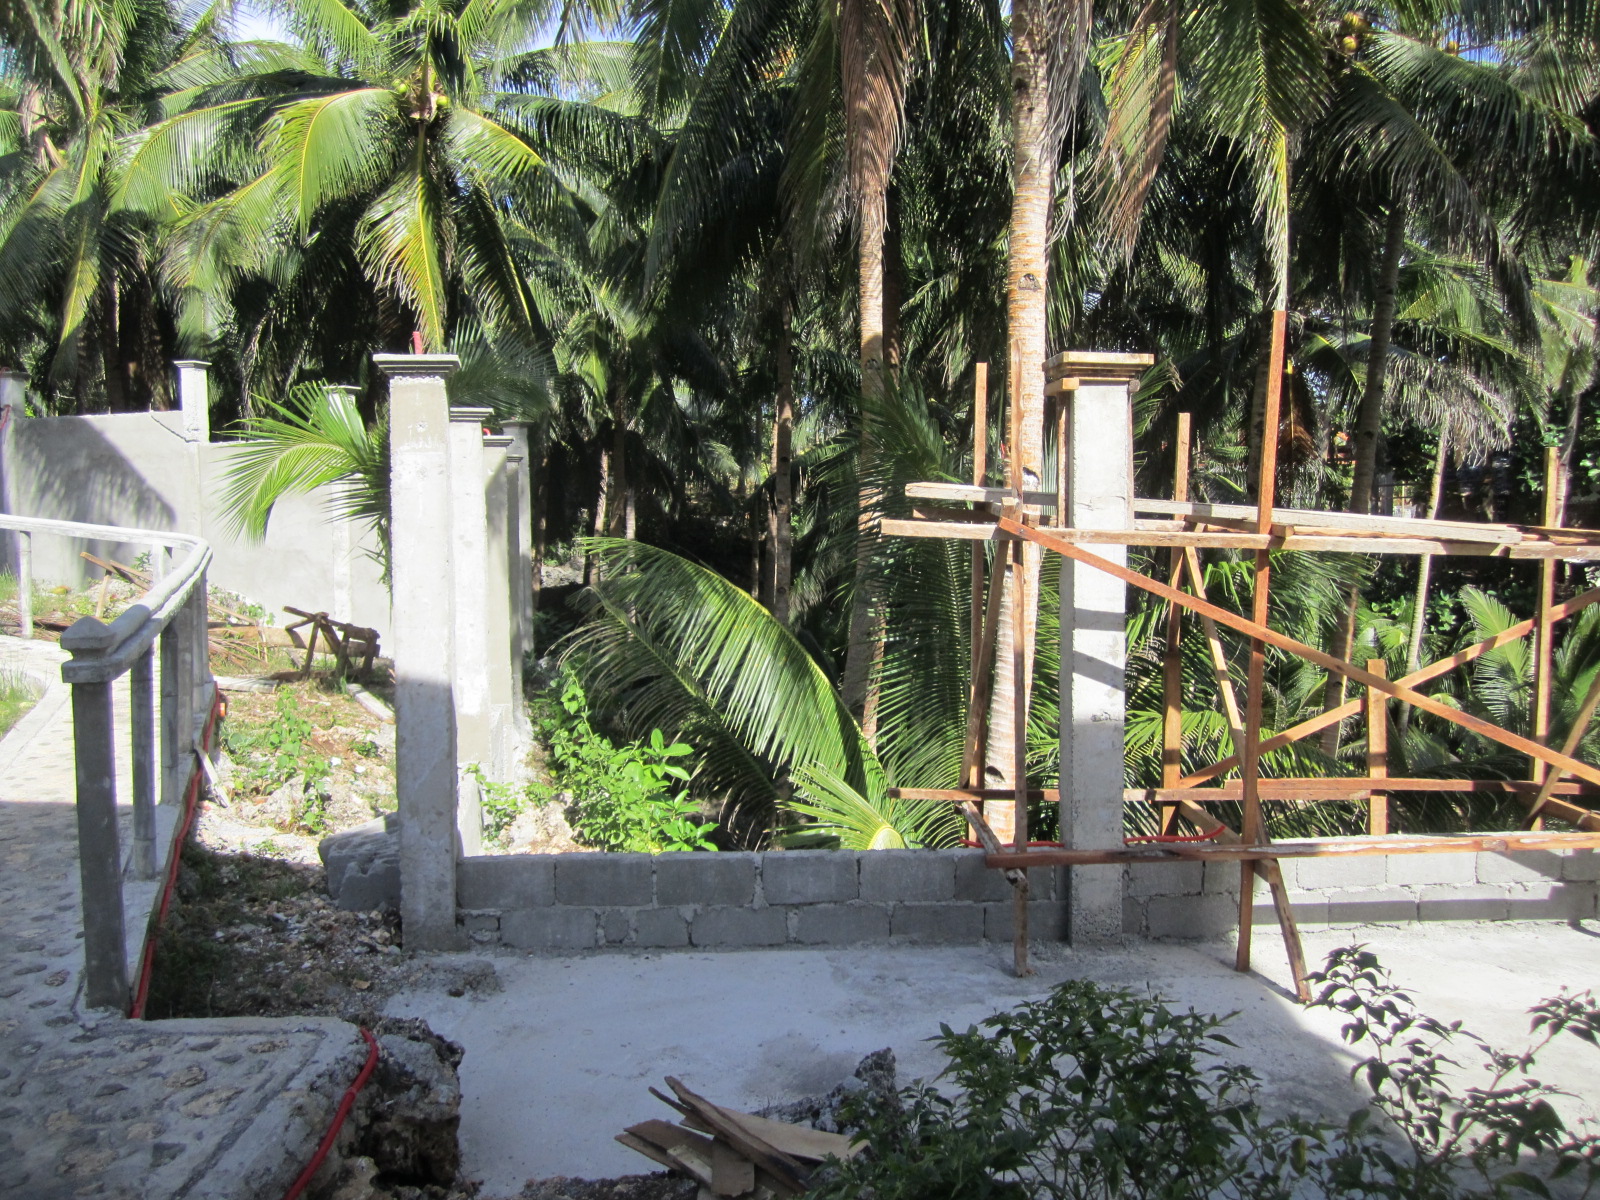
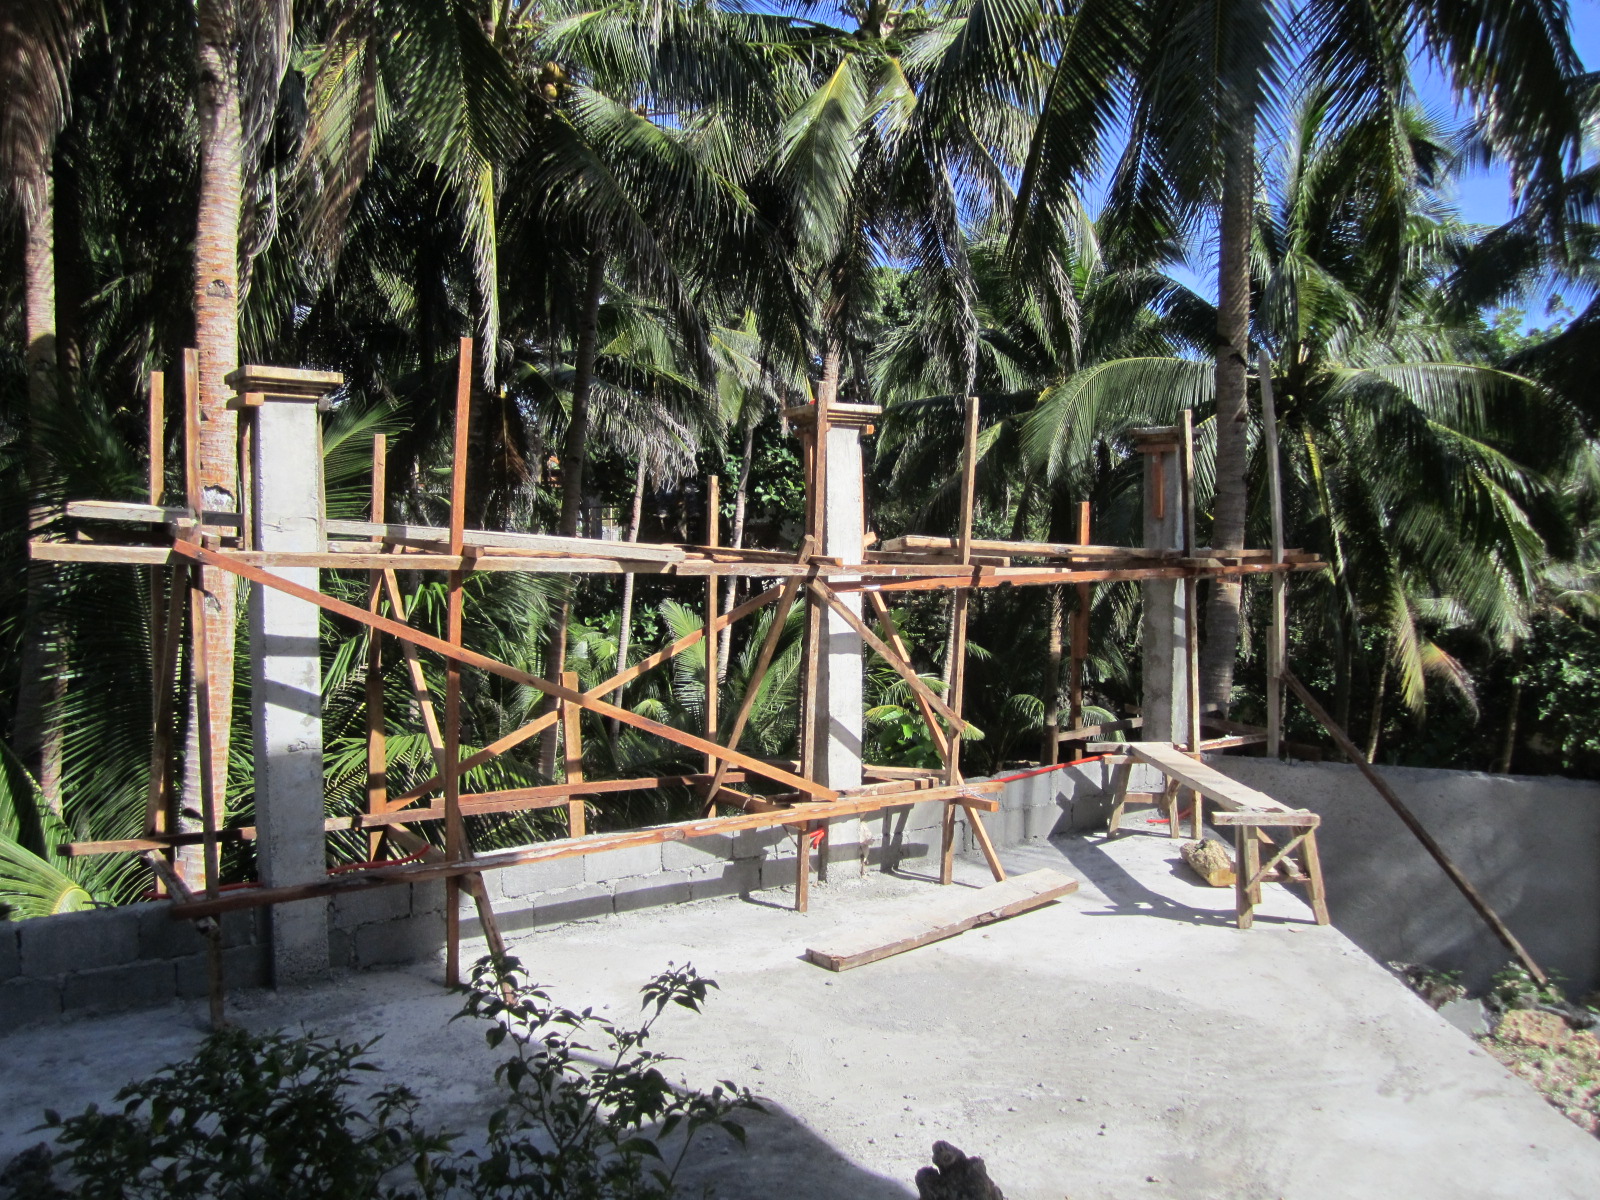
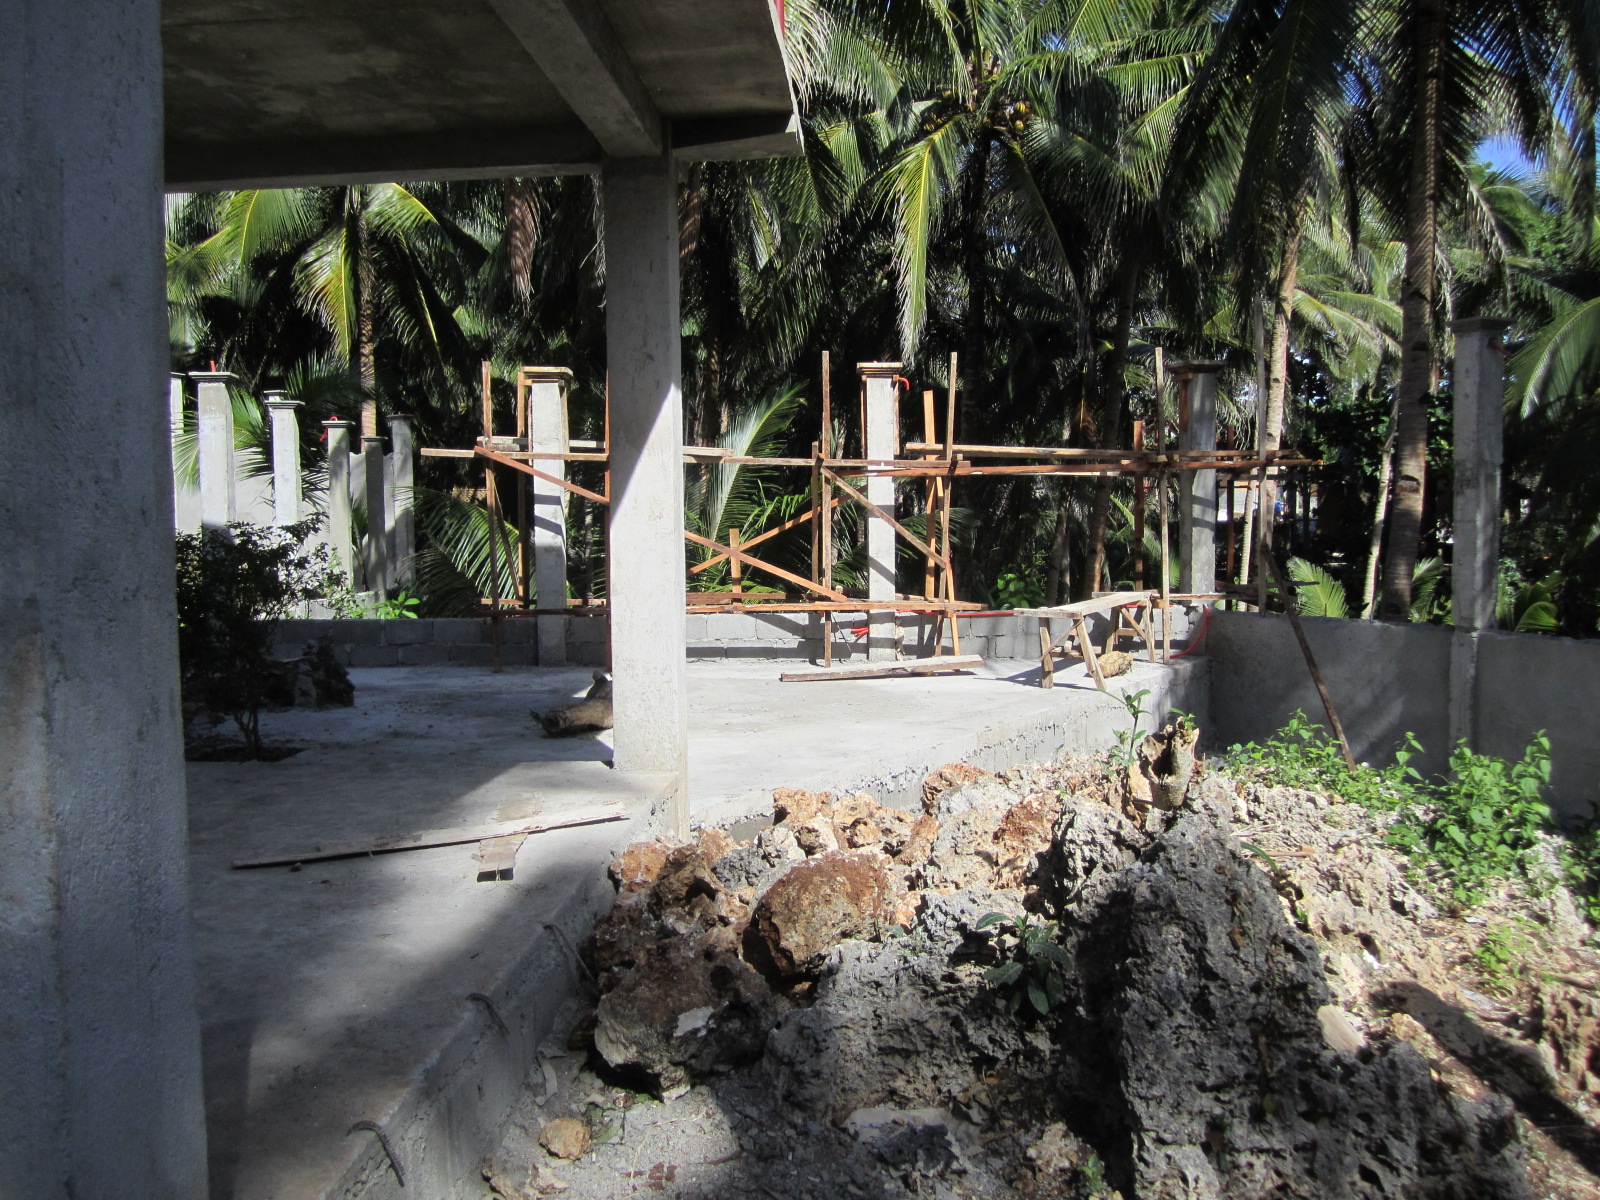
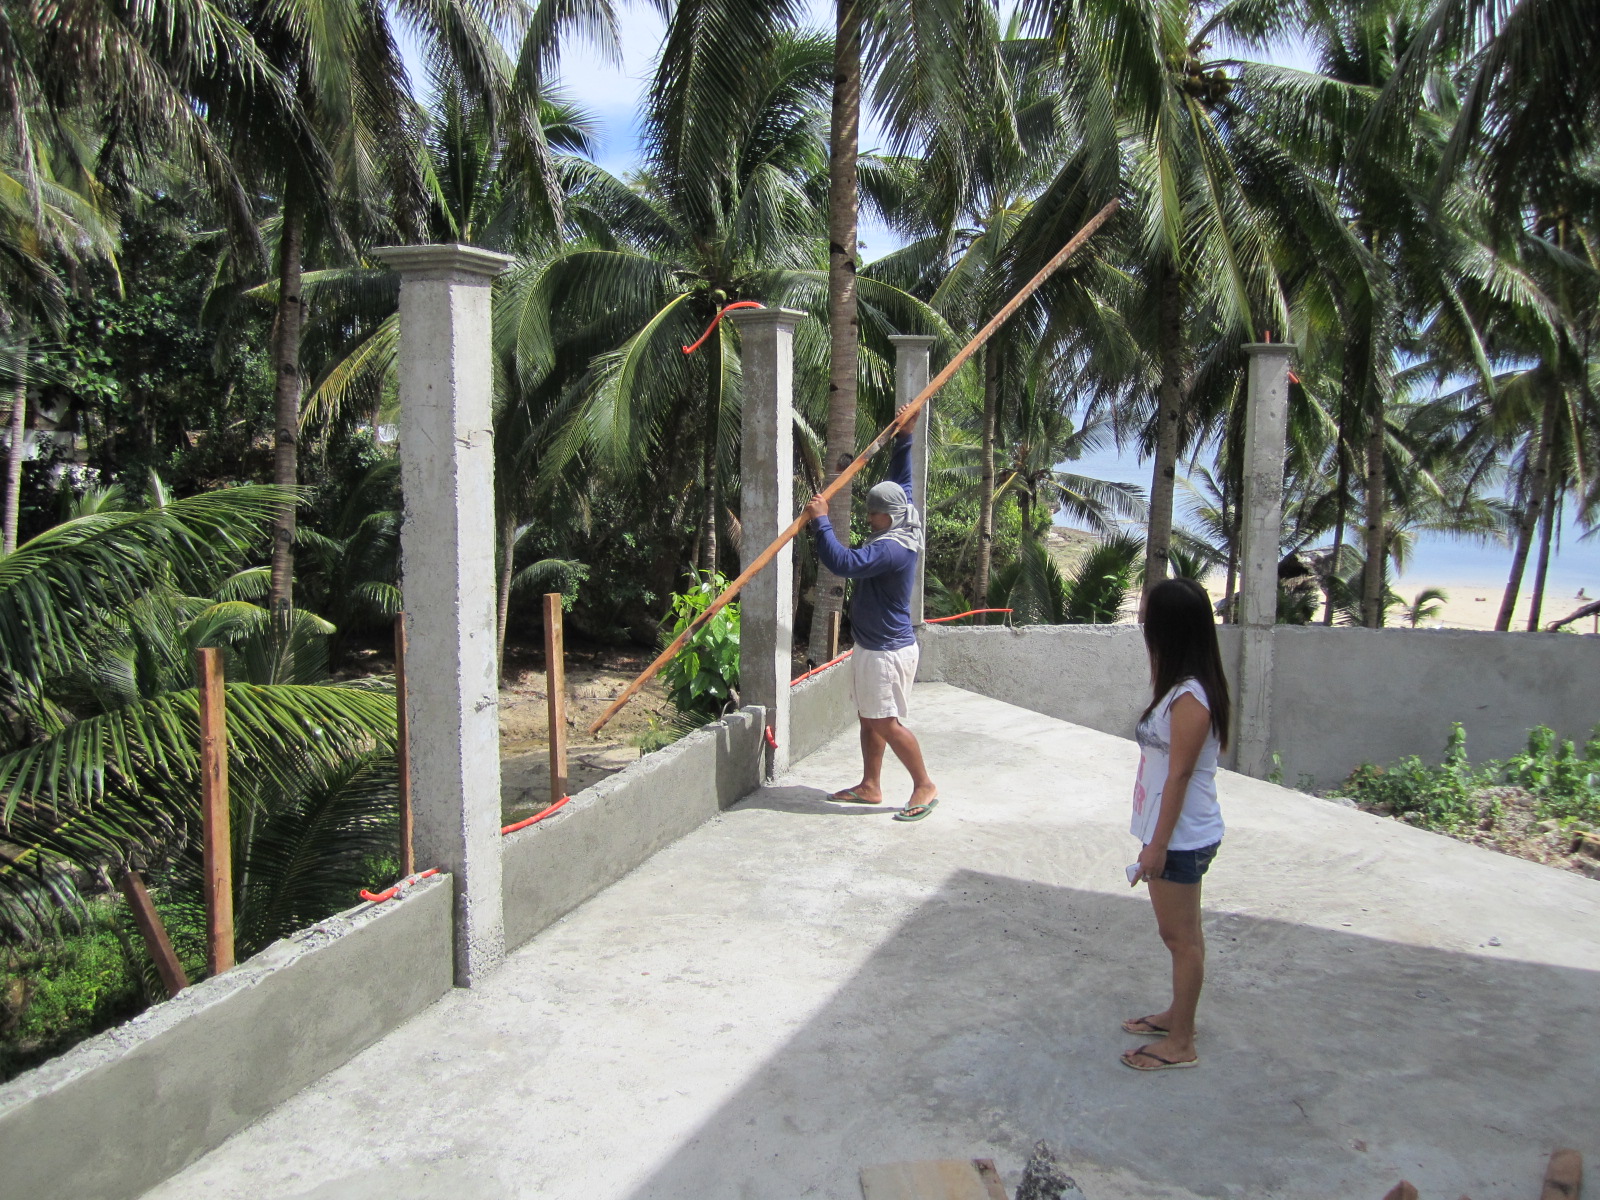
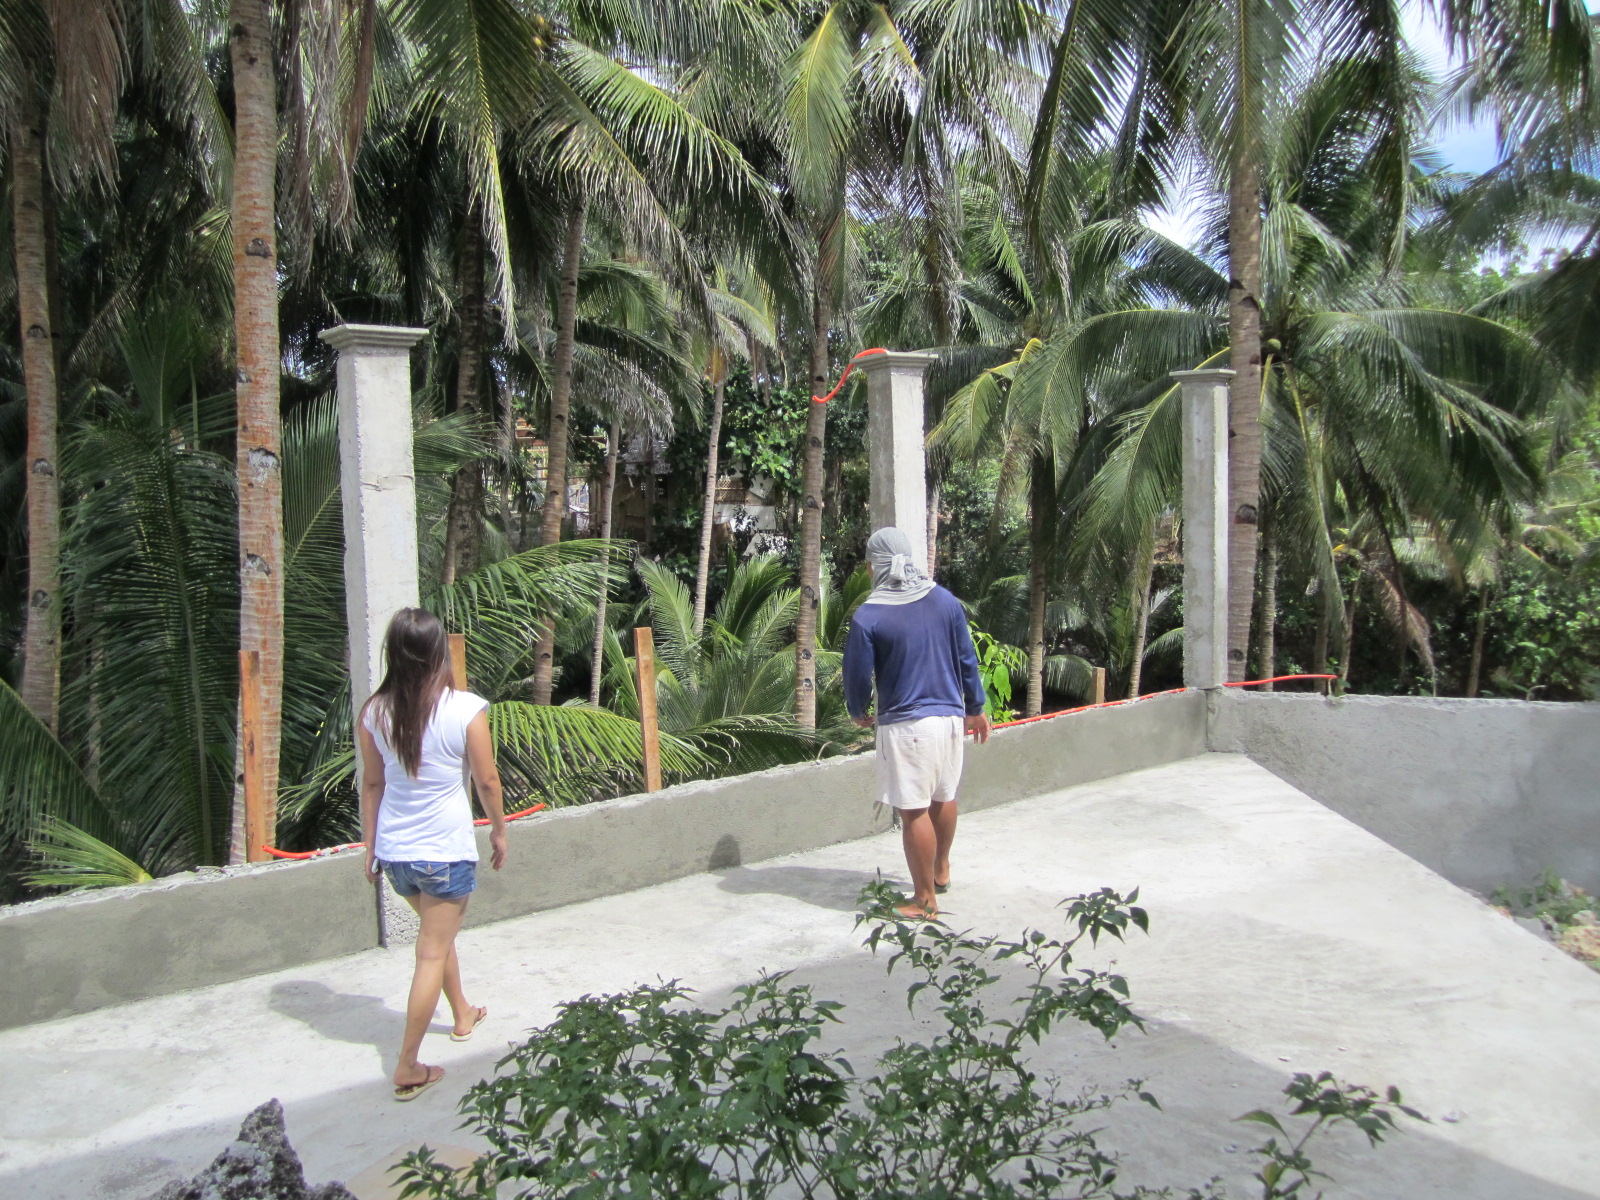
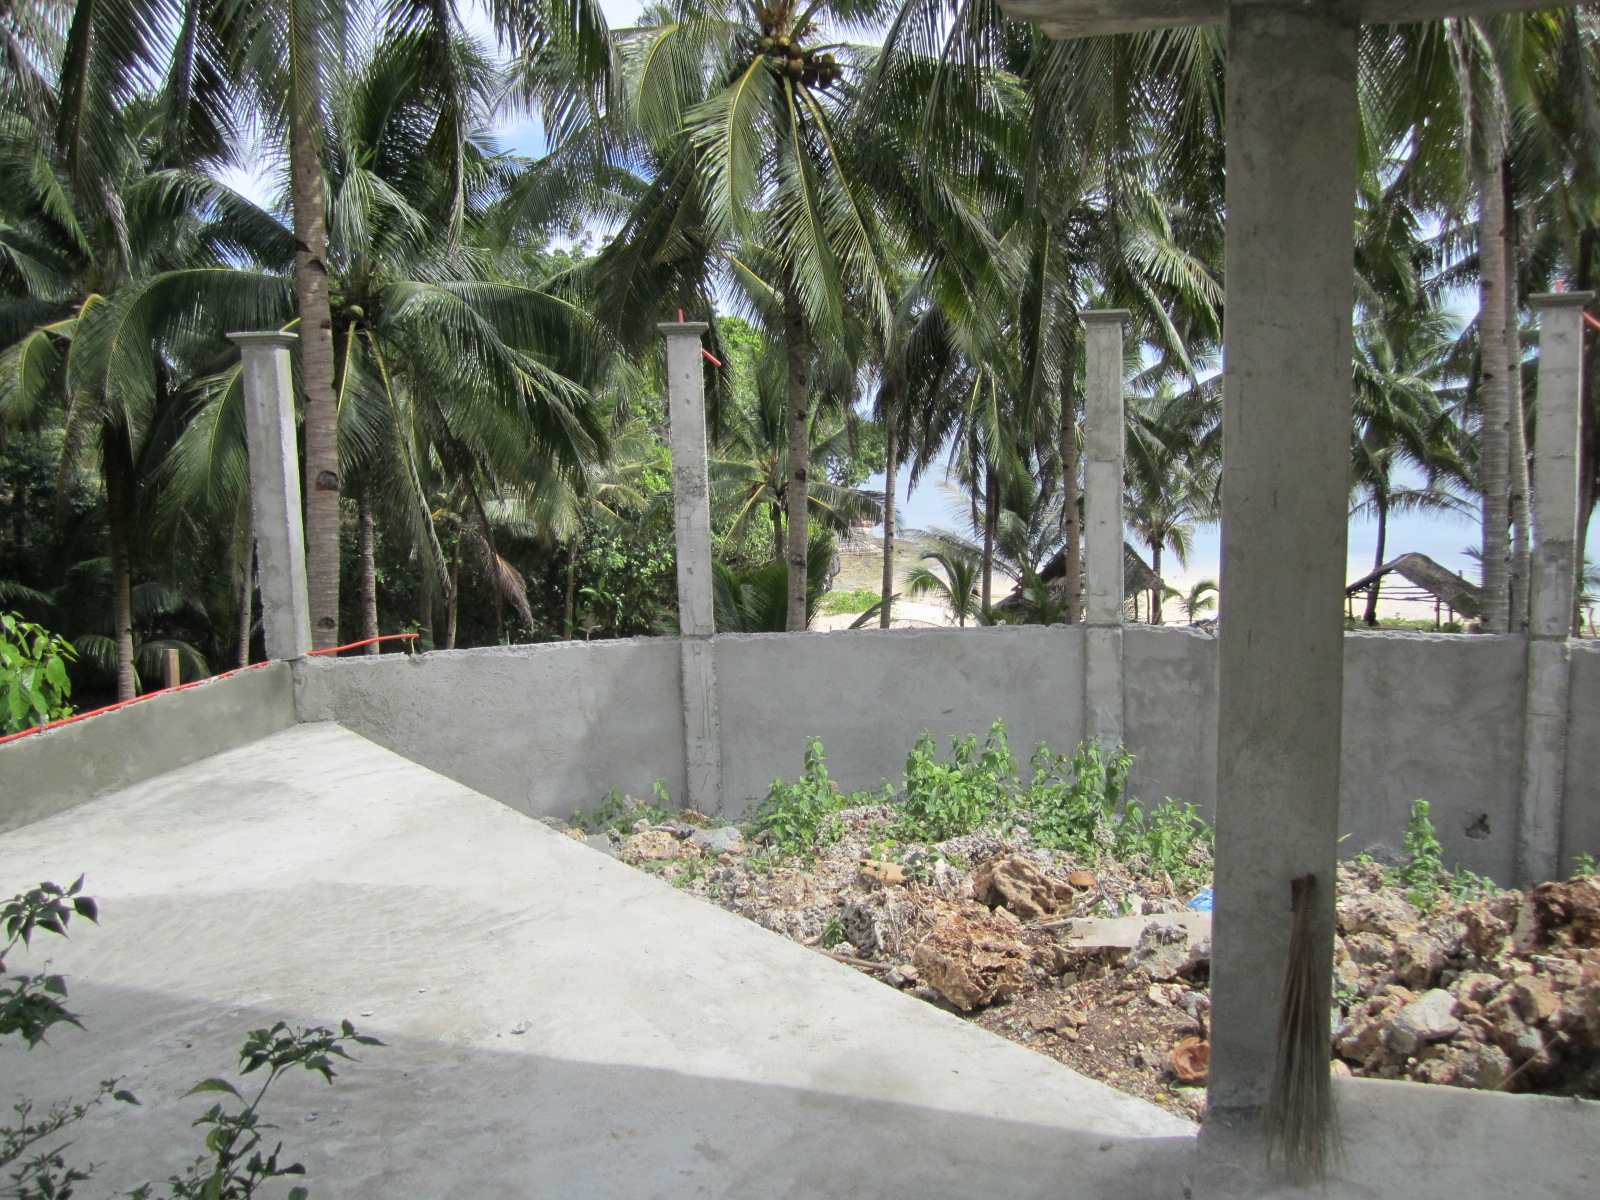
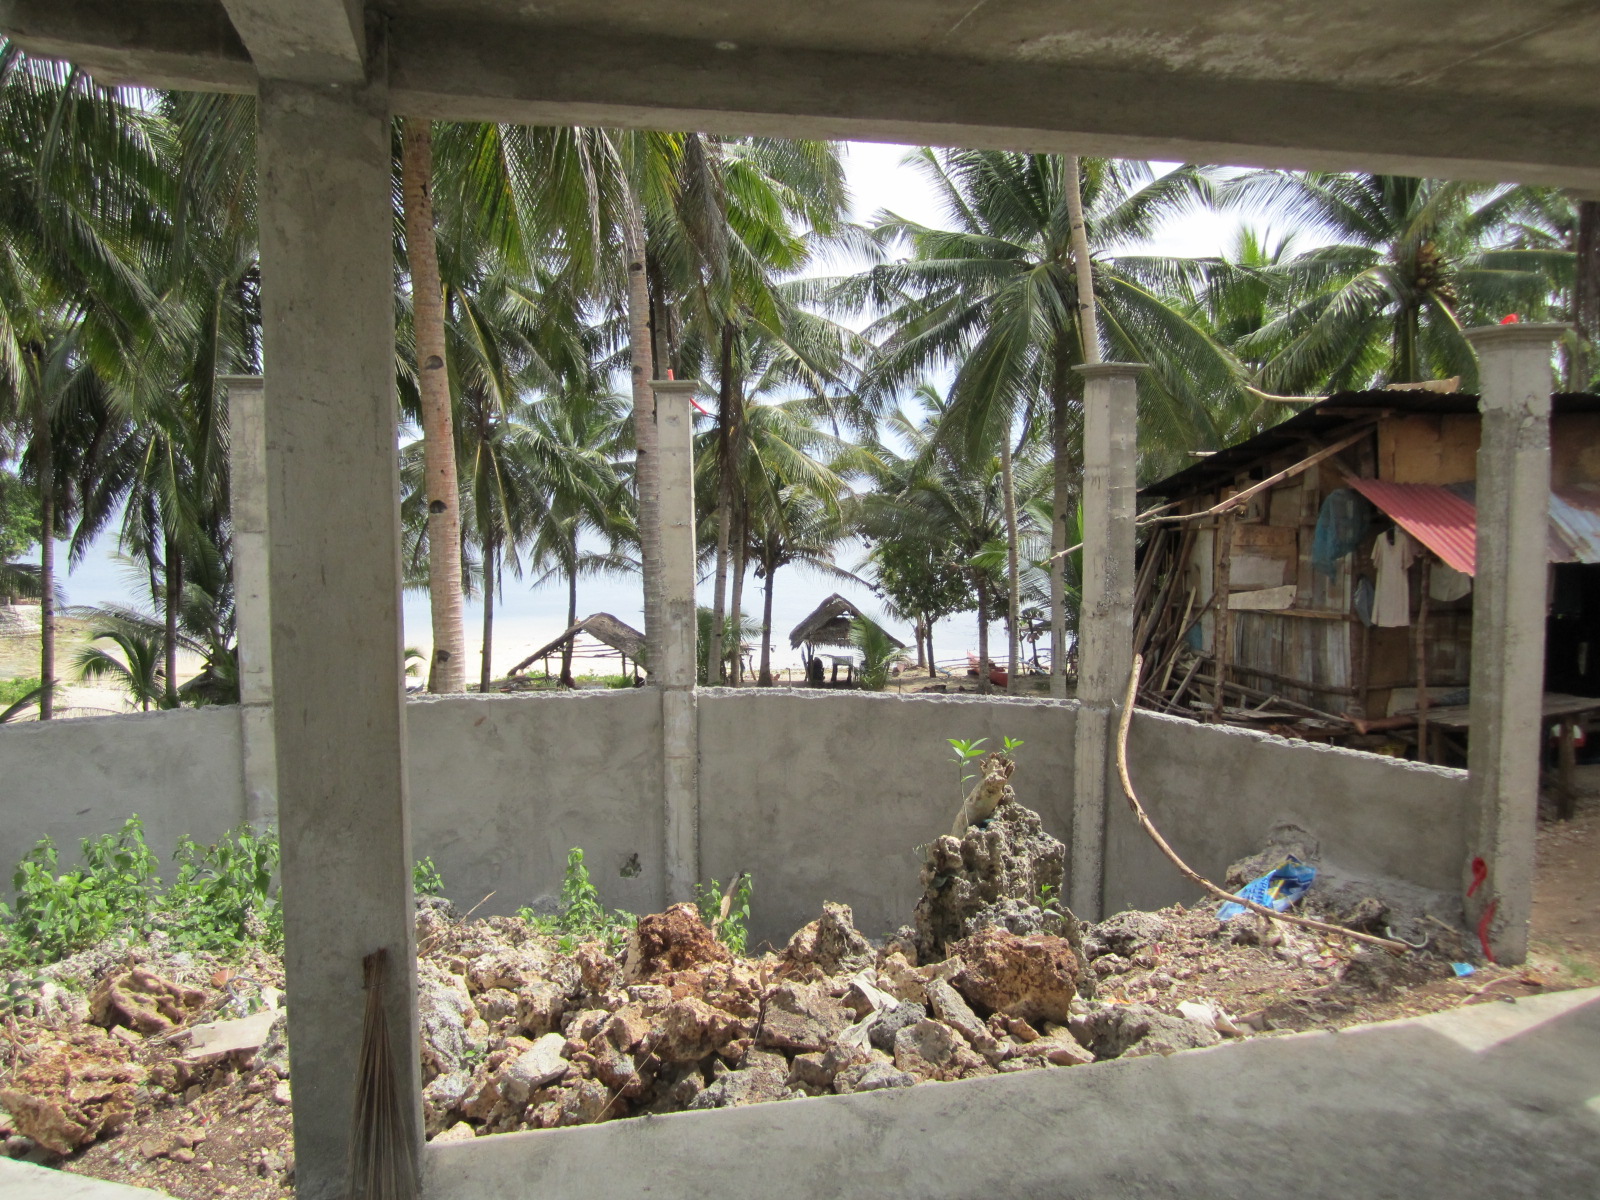
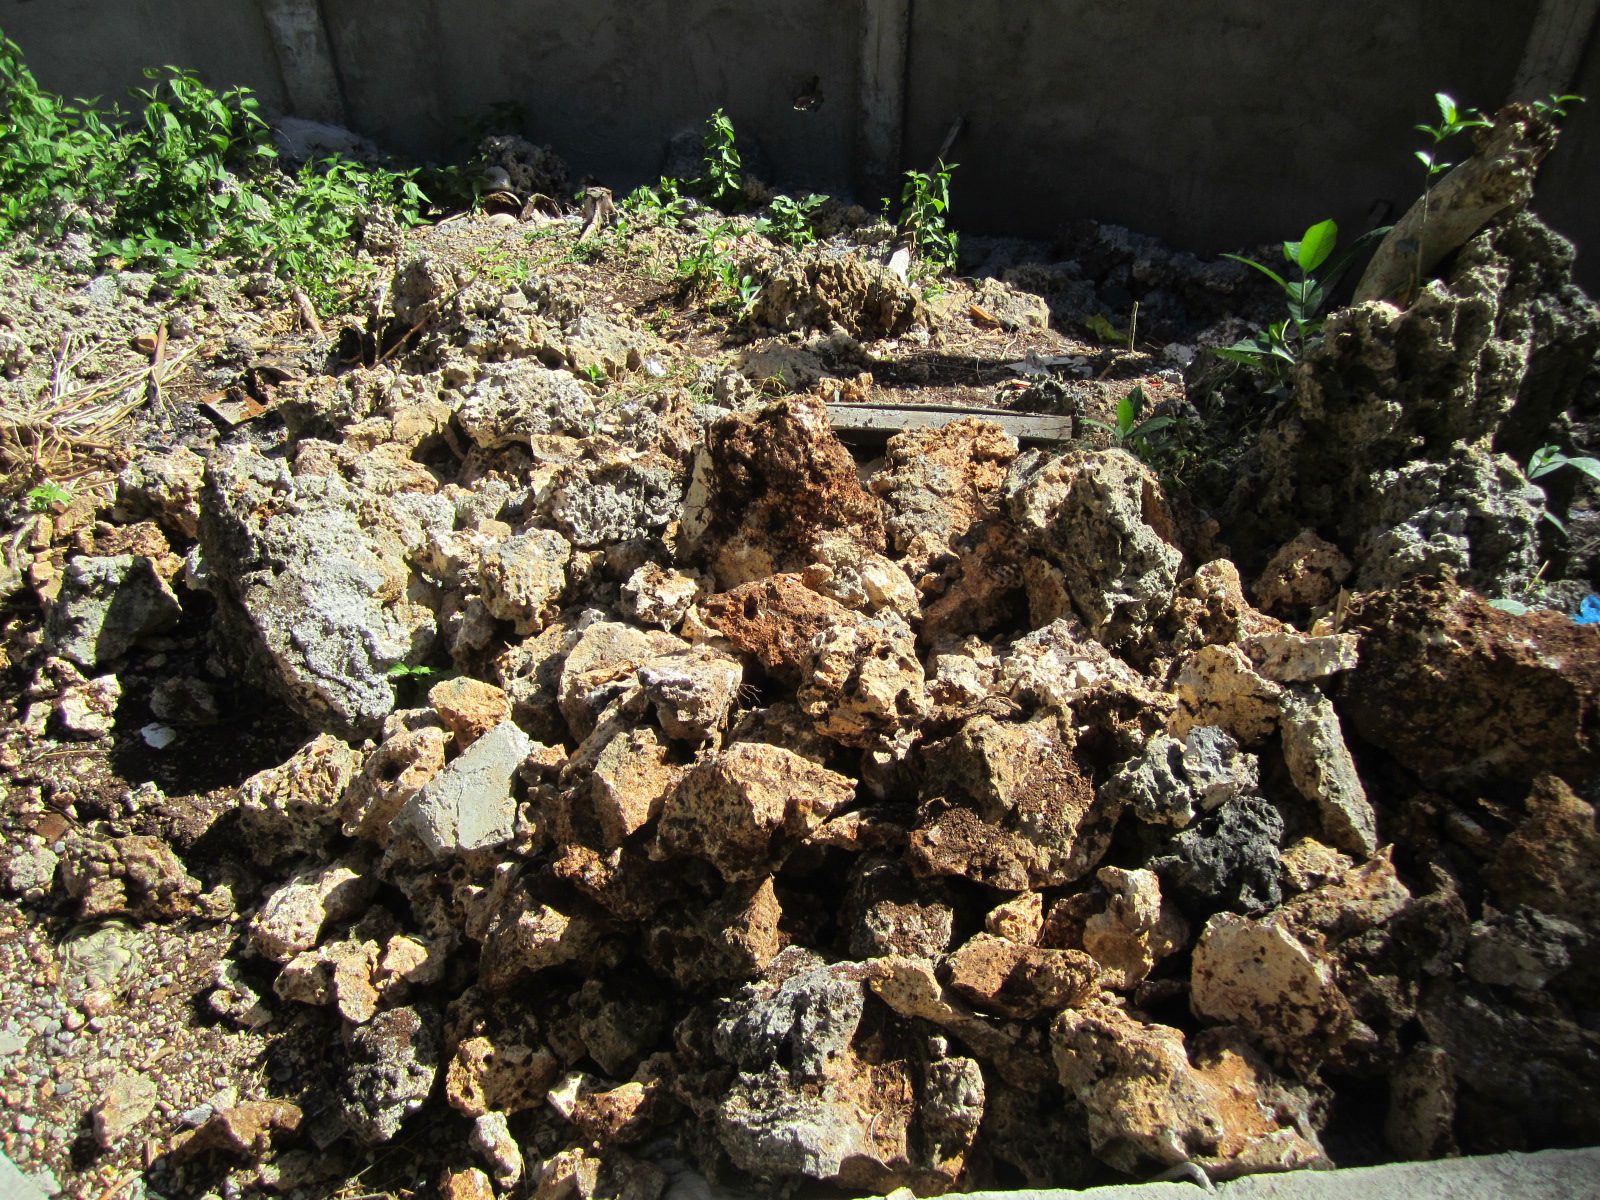
The first 2 photos show where the ravine pad will be extended to fill about 2/3 of the area between the hut and the ocean-side wall. The 3rd photo shows we are adding
more volcanic rock to fill that front area. The last photo shows the outside of the ocean-side wall (not finished surface yet) from the back gate entrance.
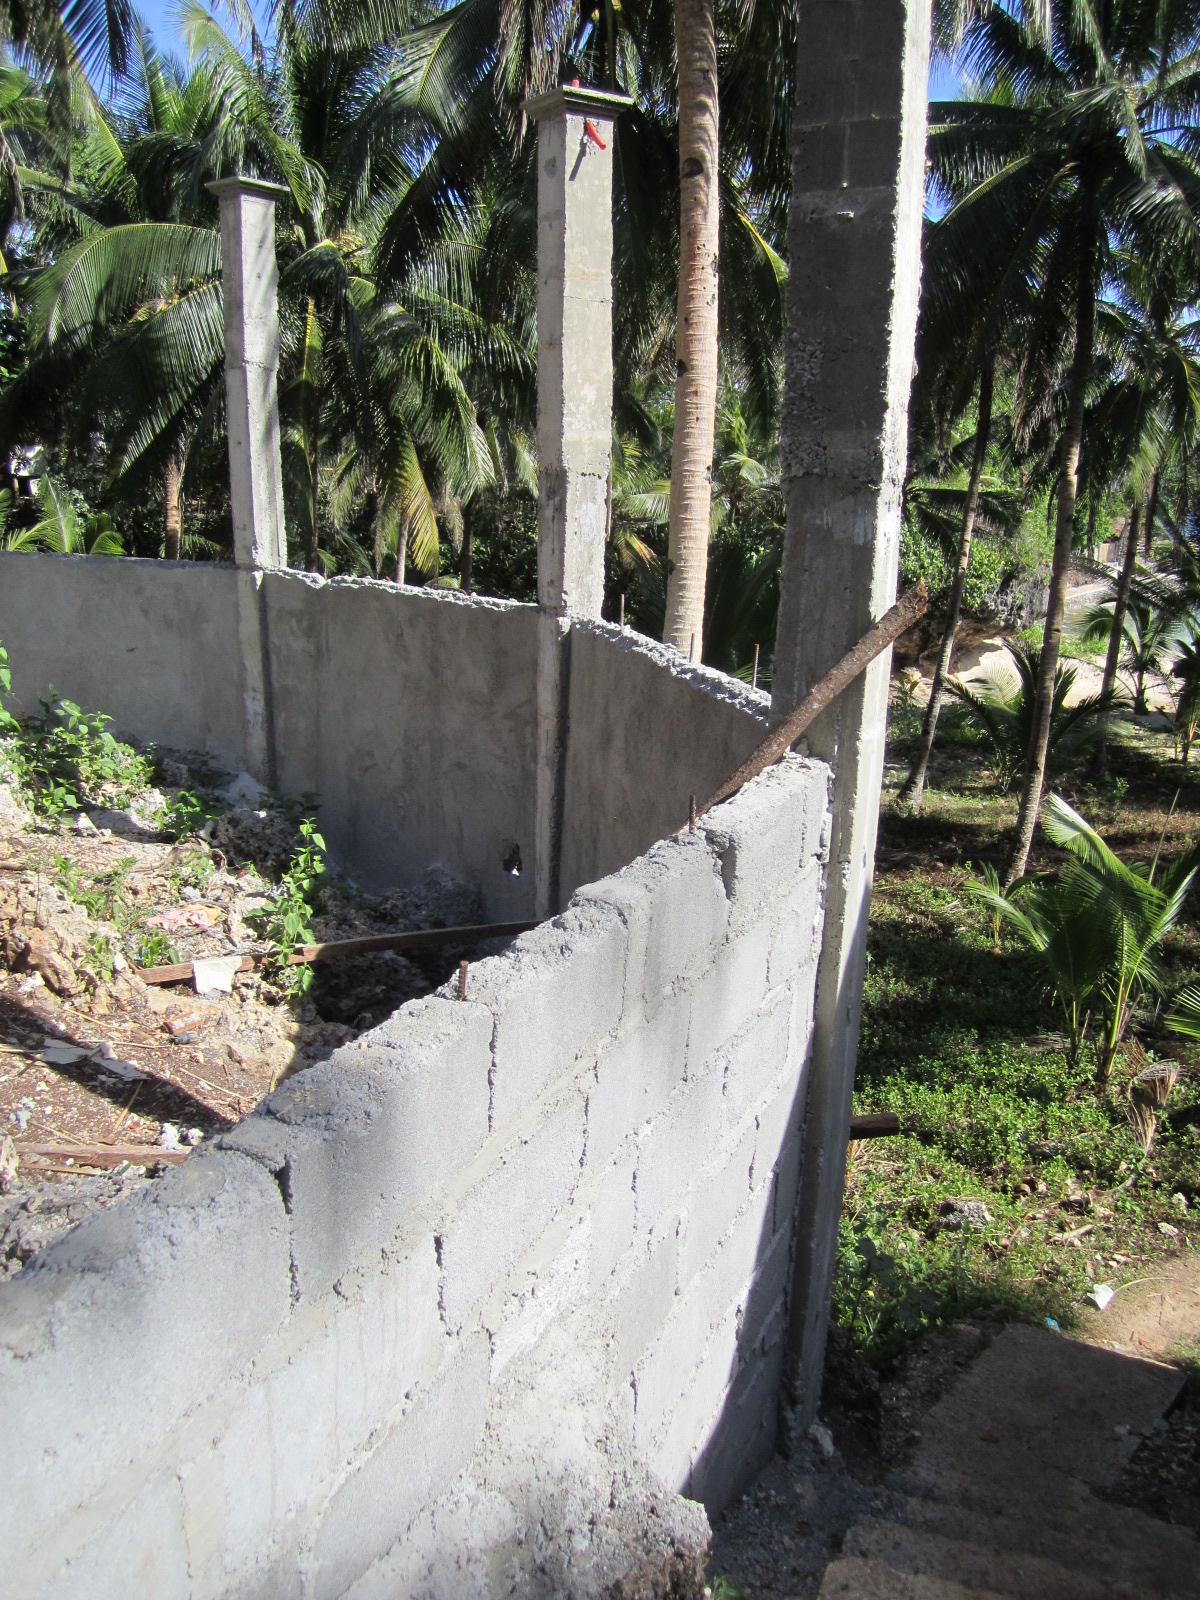
This row of photos starts with 4 photos of the exterior finishing of the East wall, followed by 2 of the start of the North wall finishing.
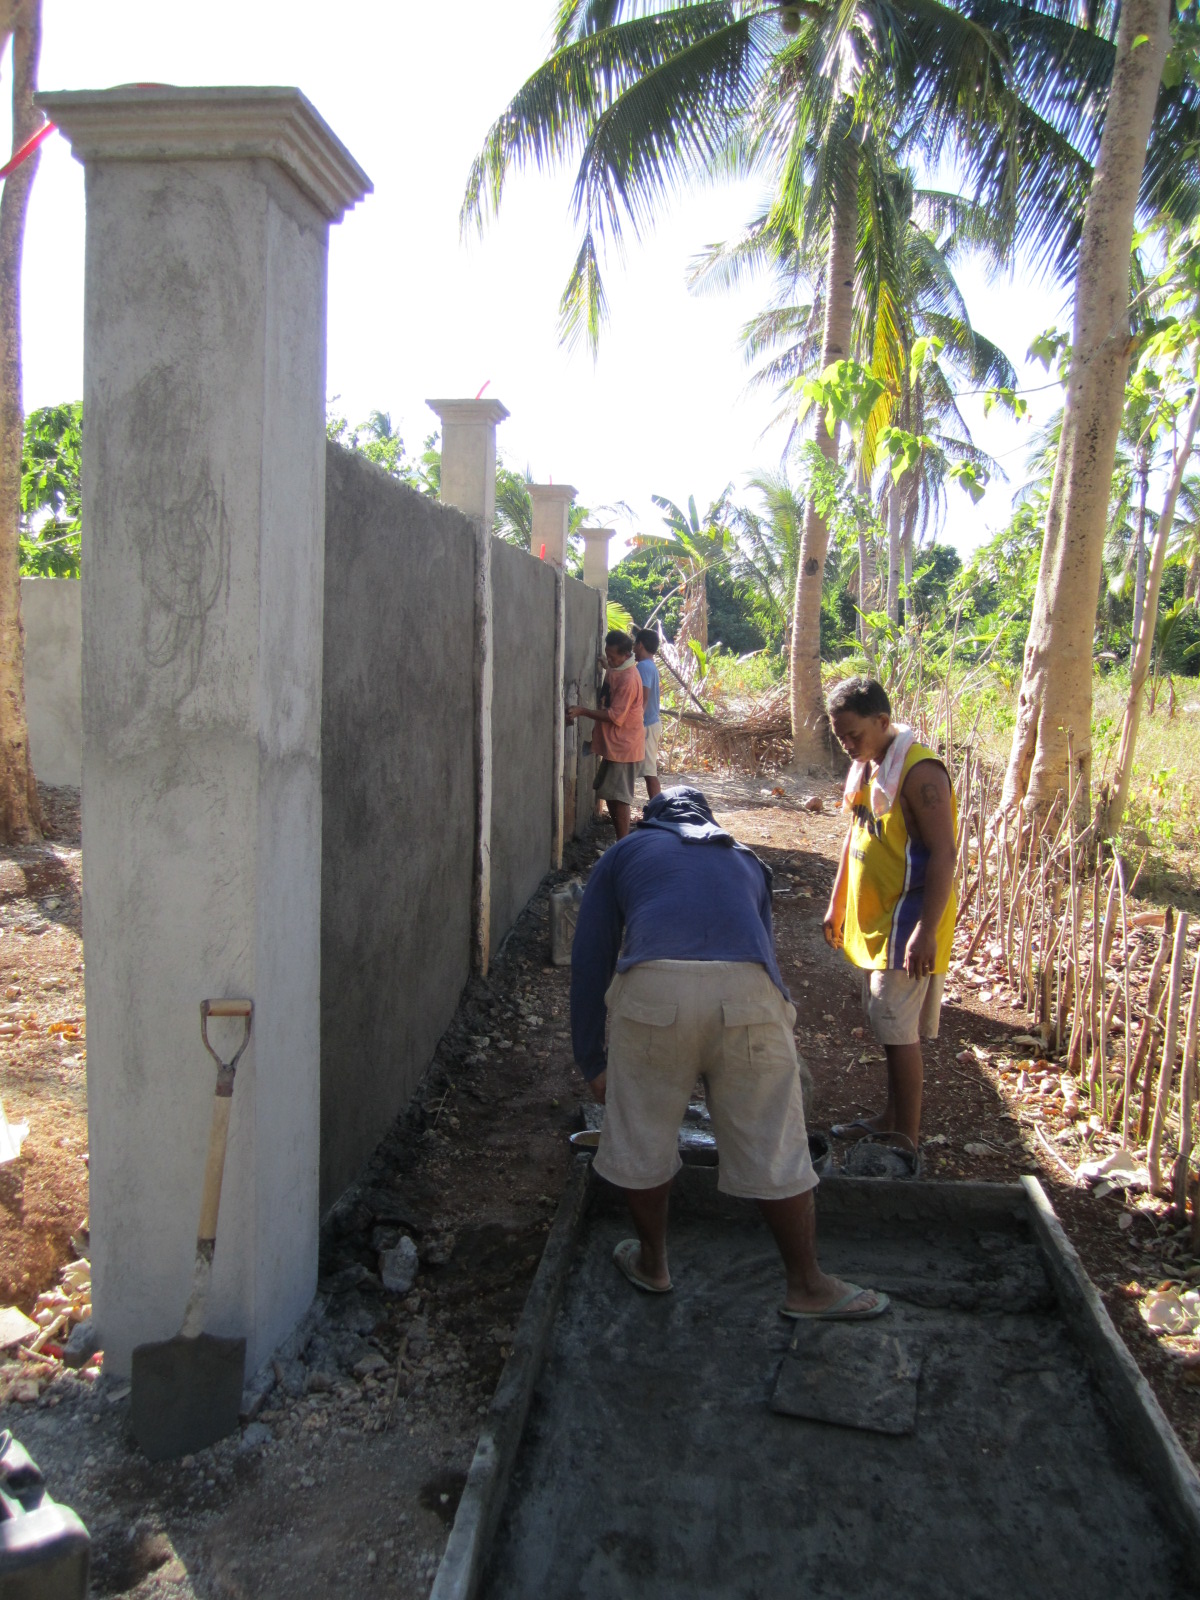
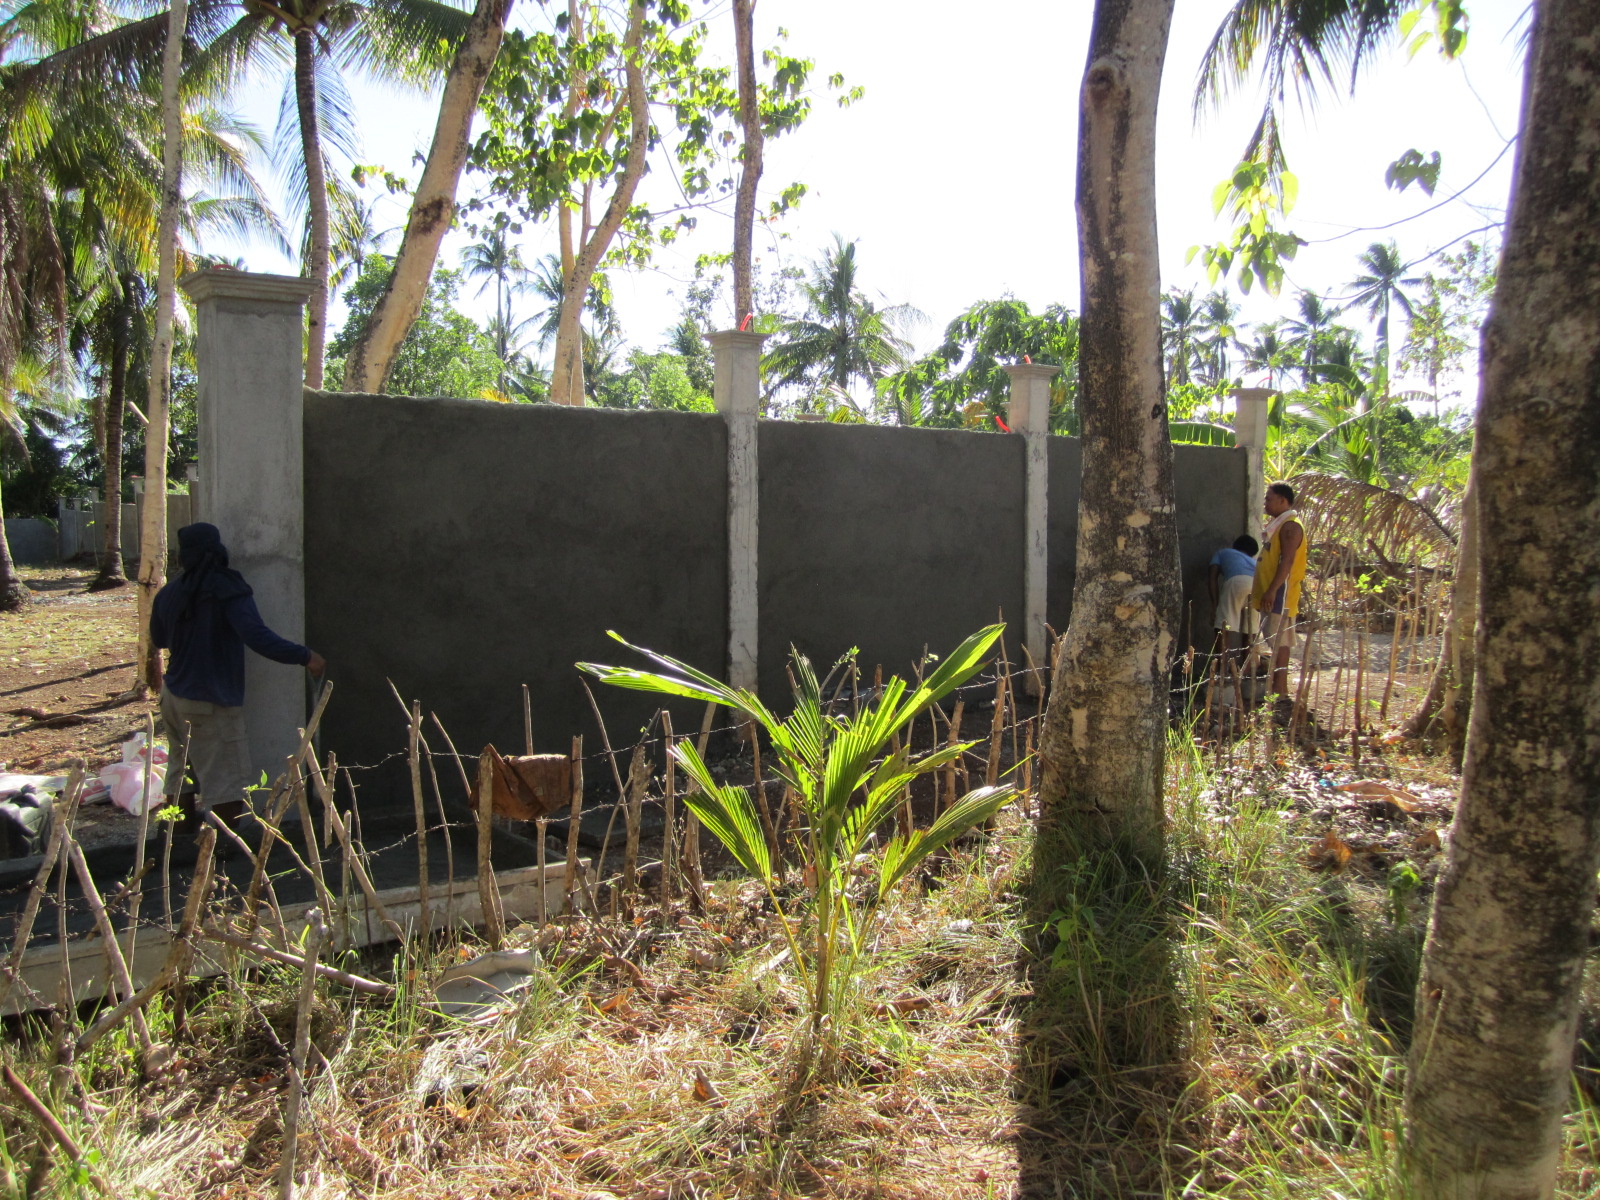
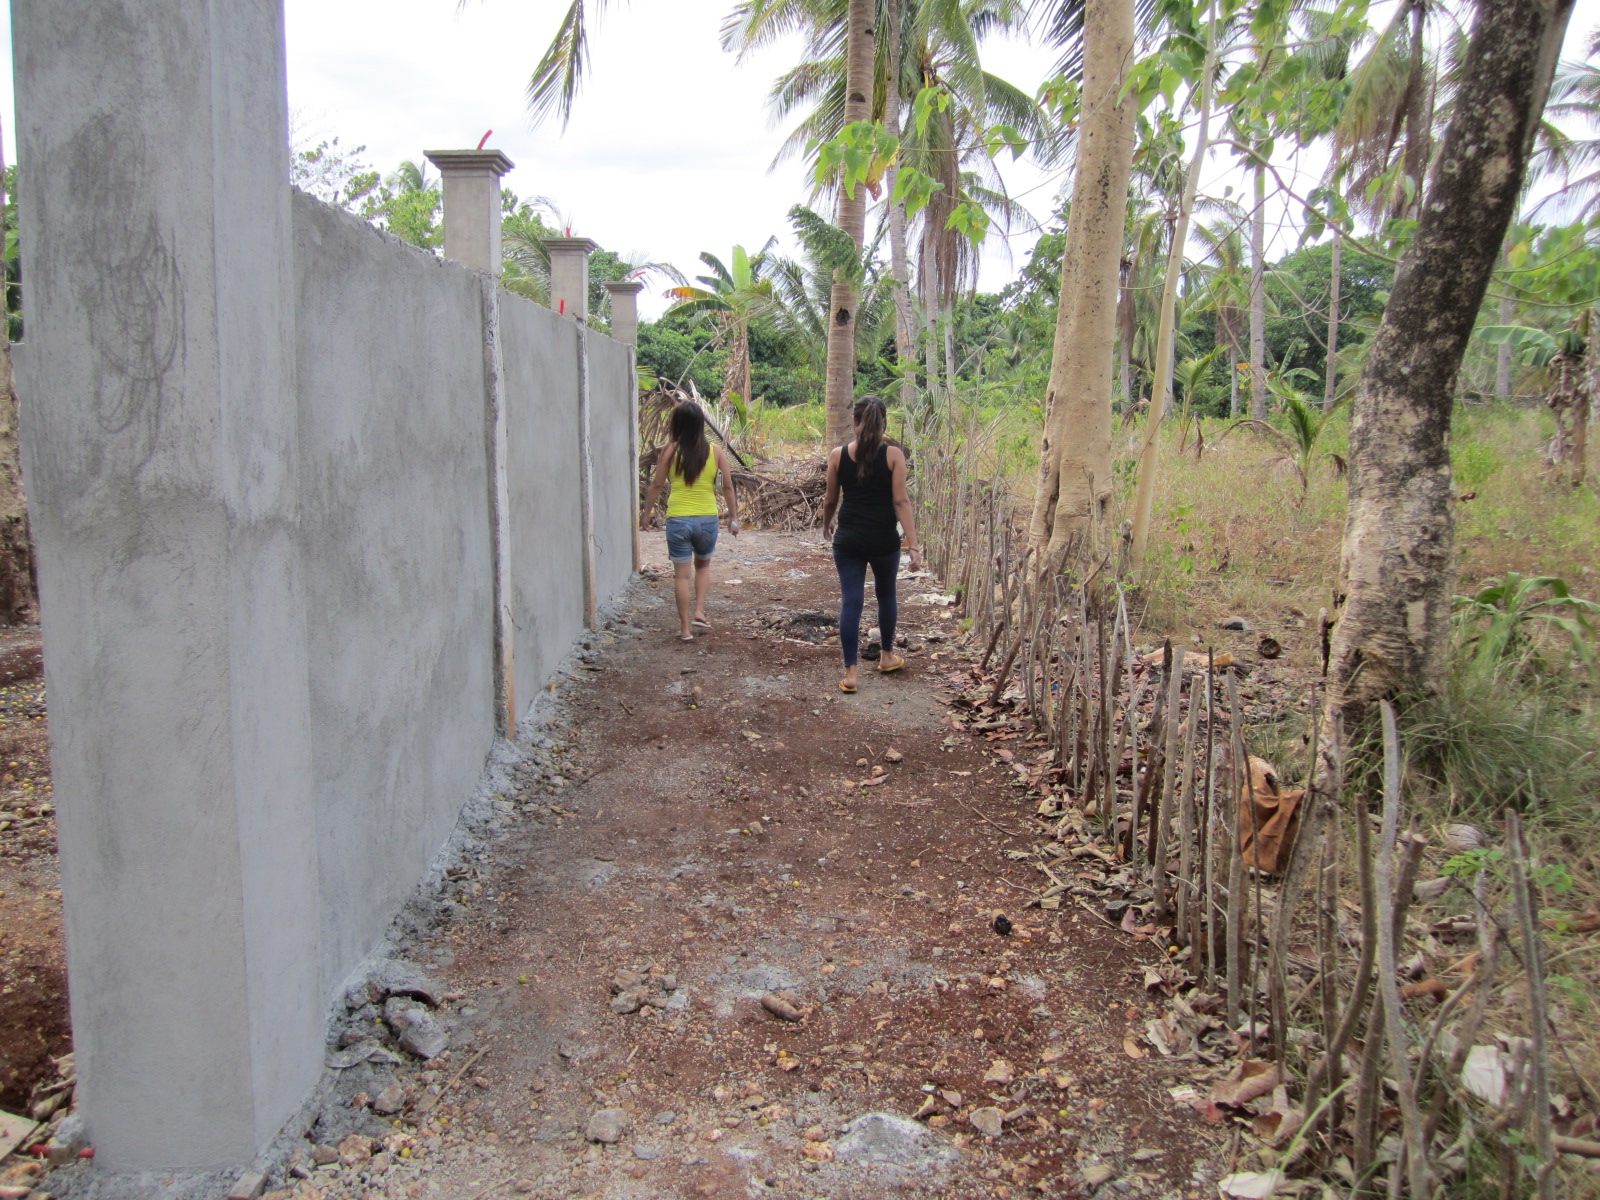
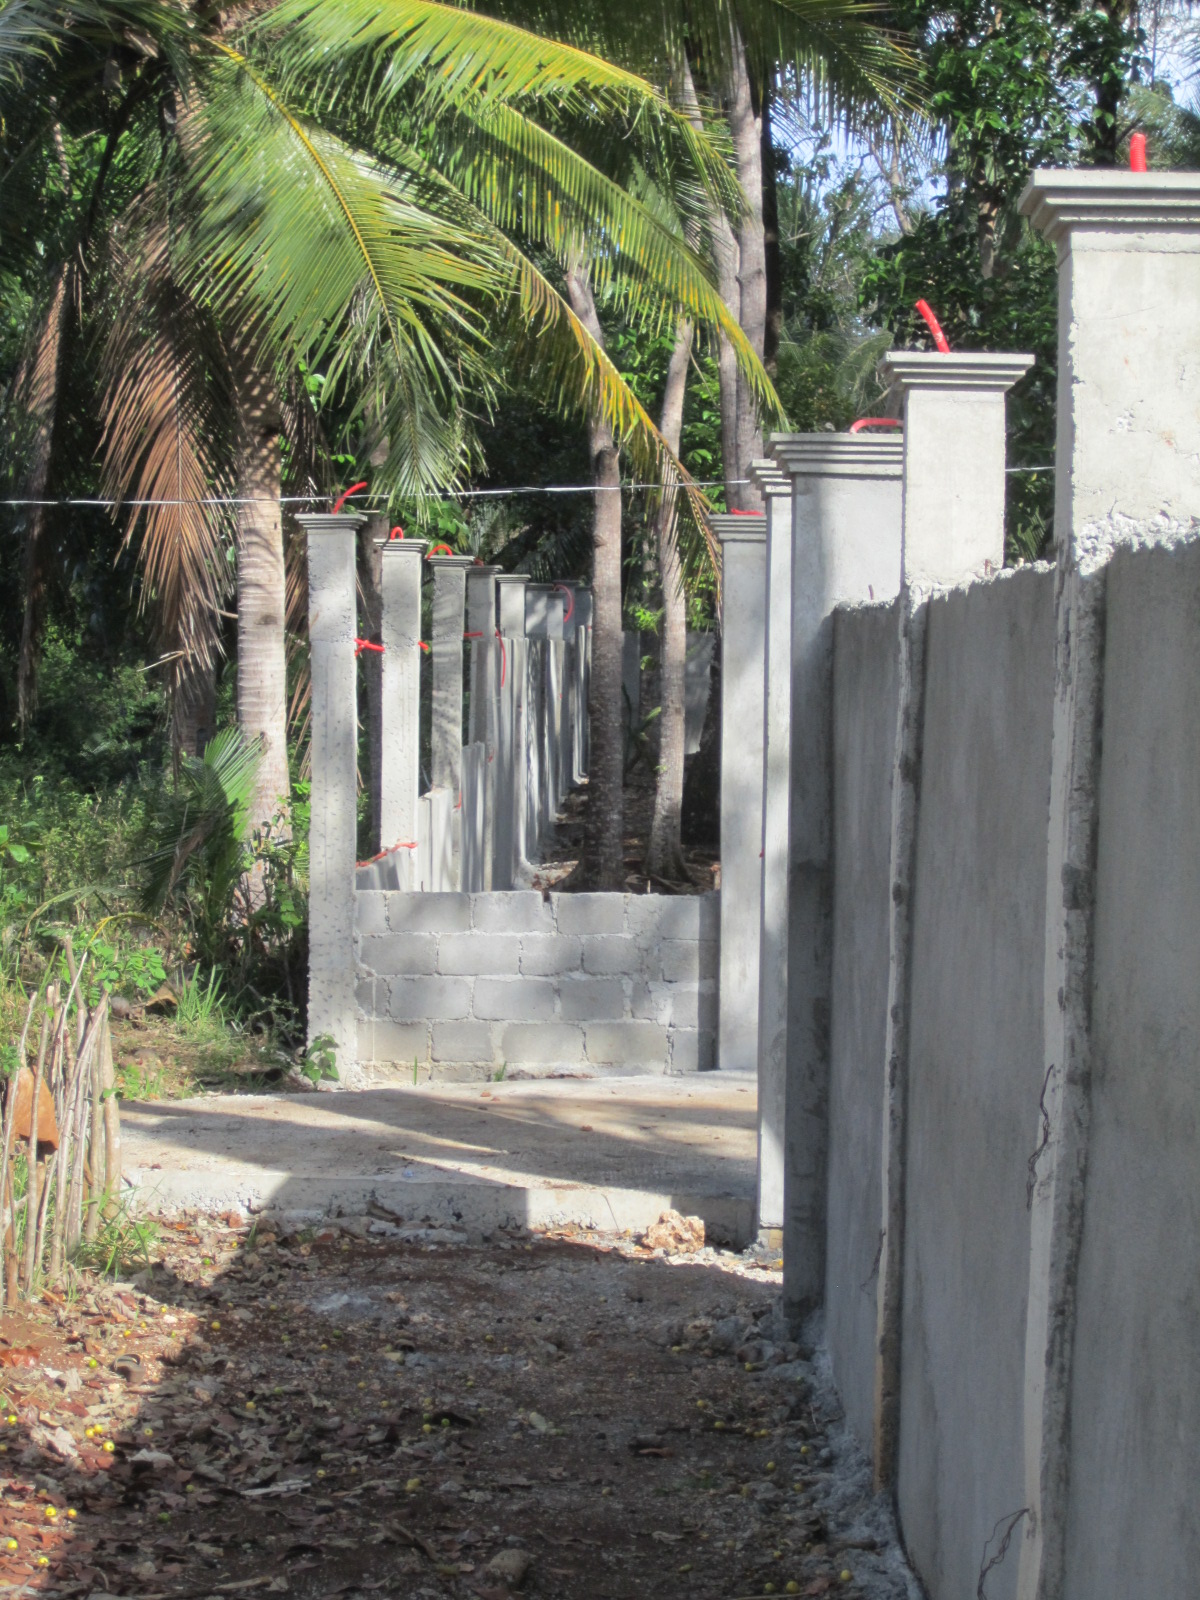
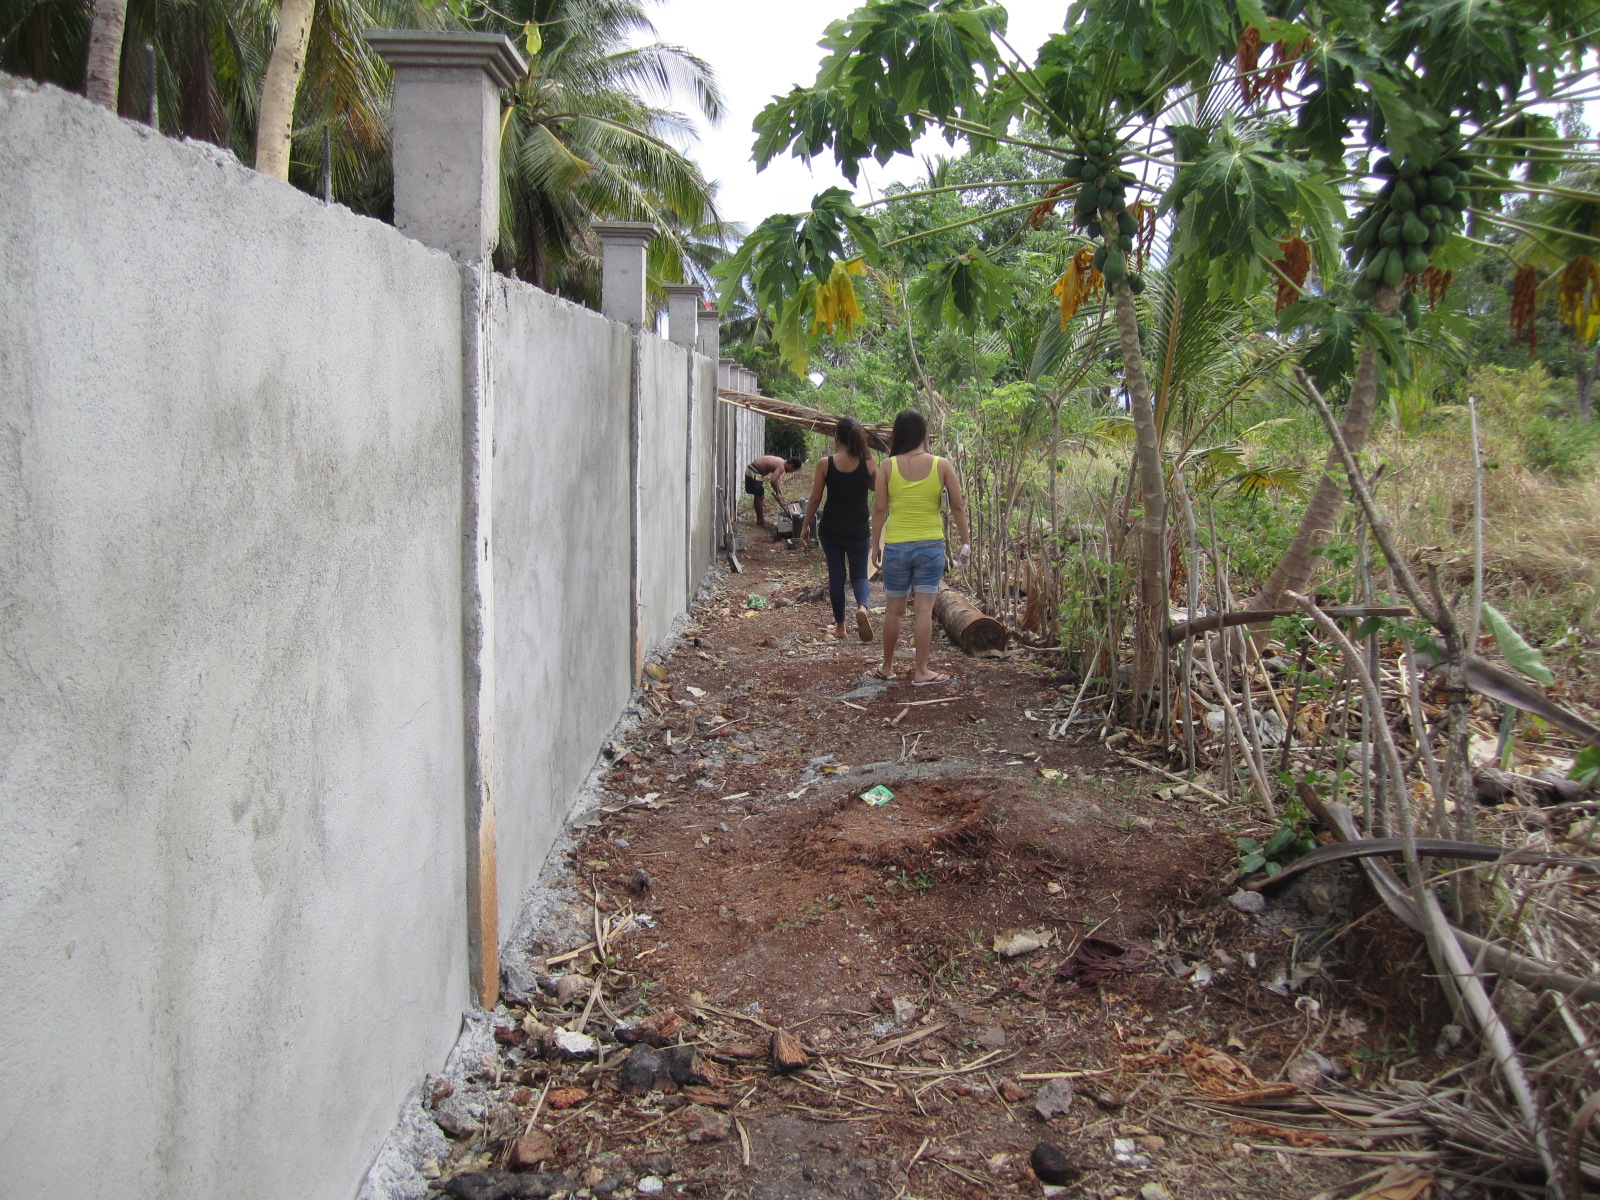
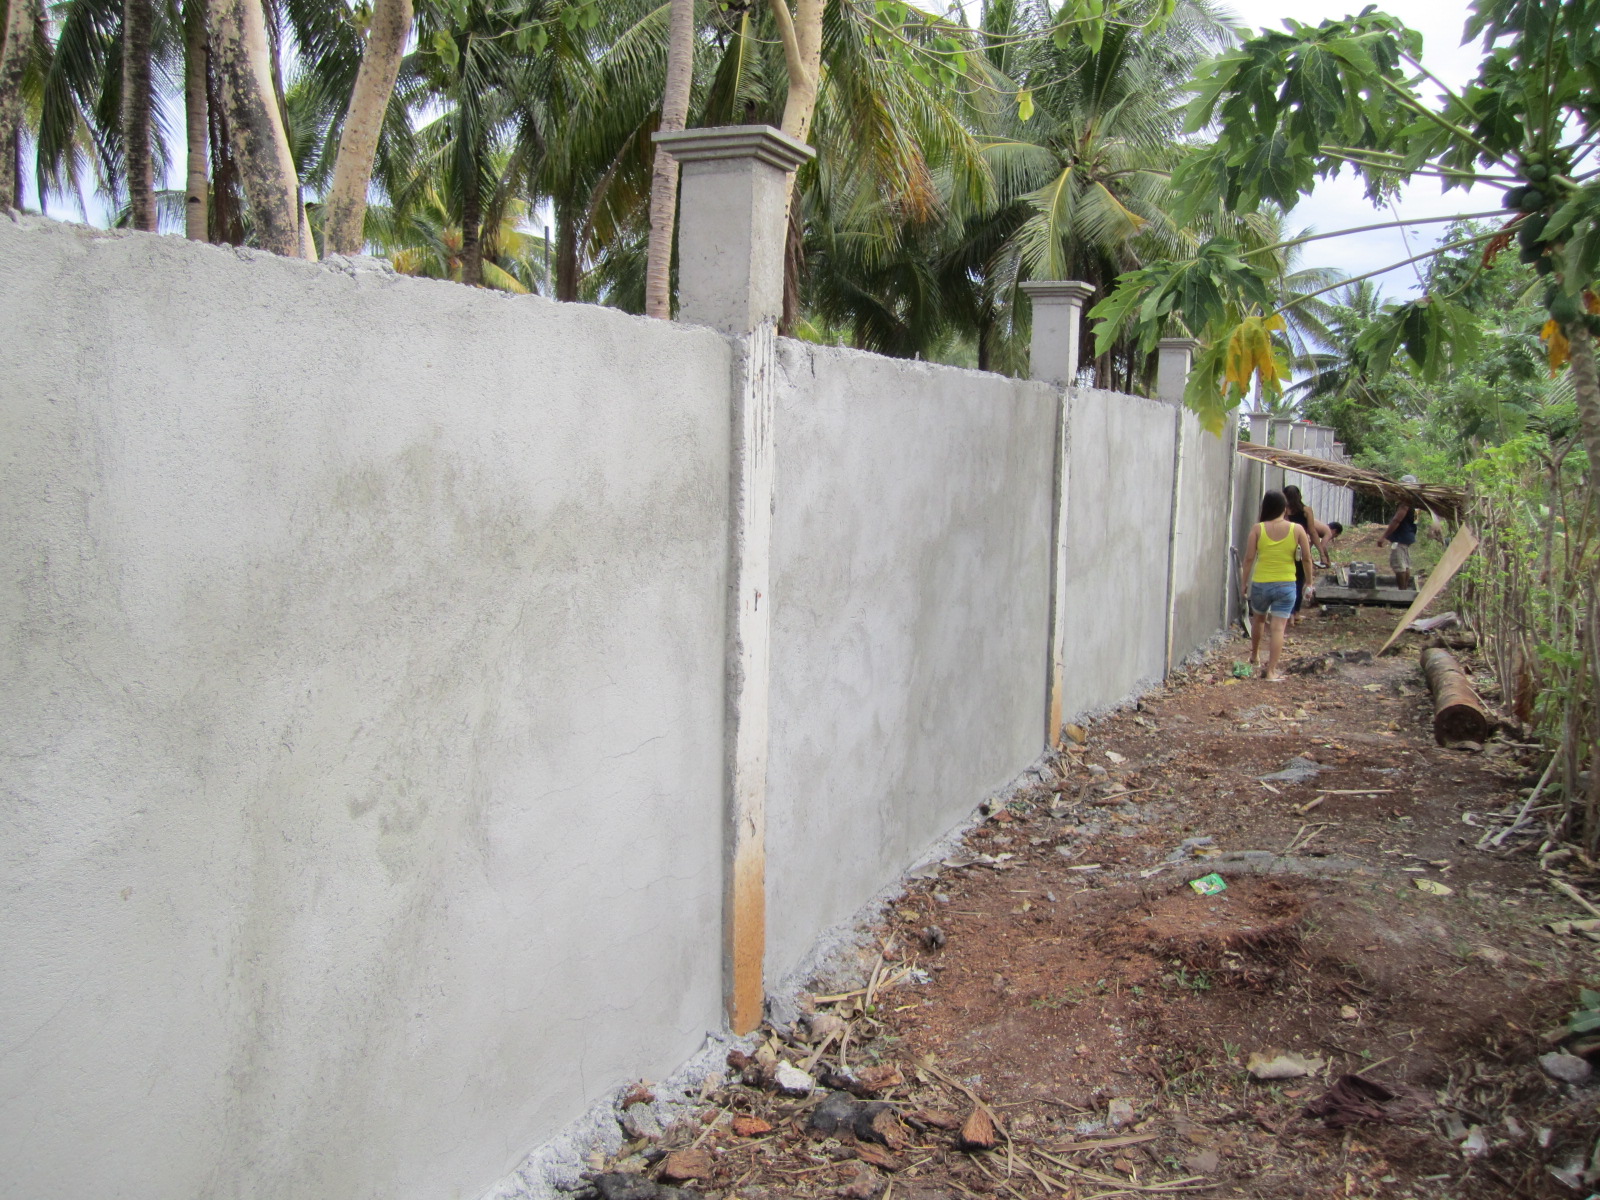
This row of photos the exterior finishing of the North wall completed.
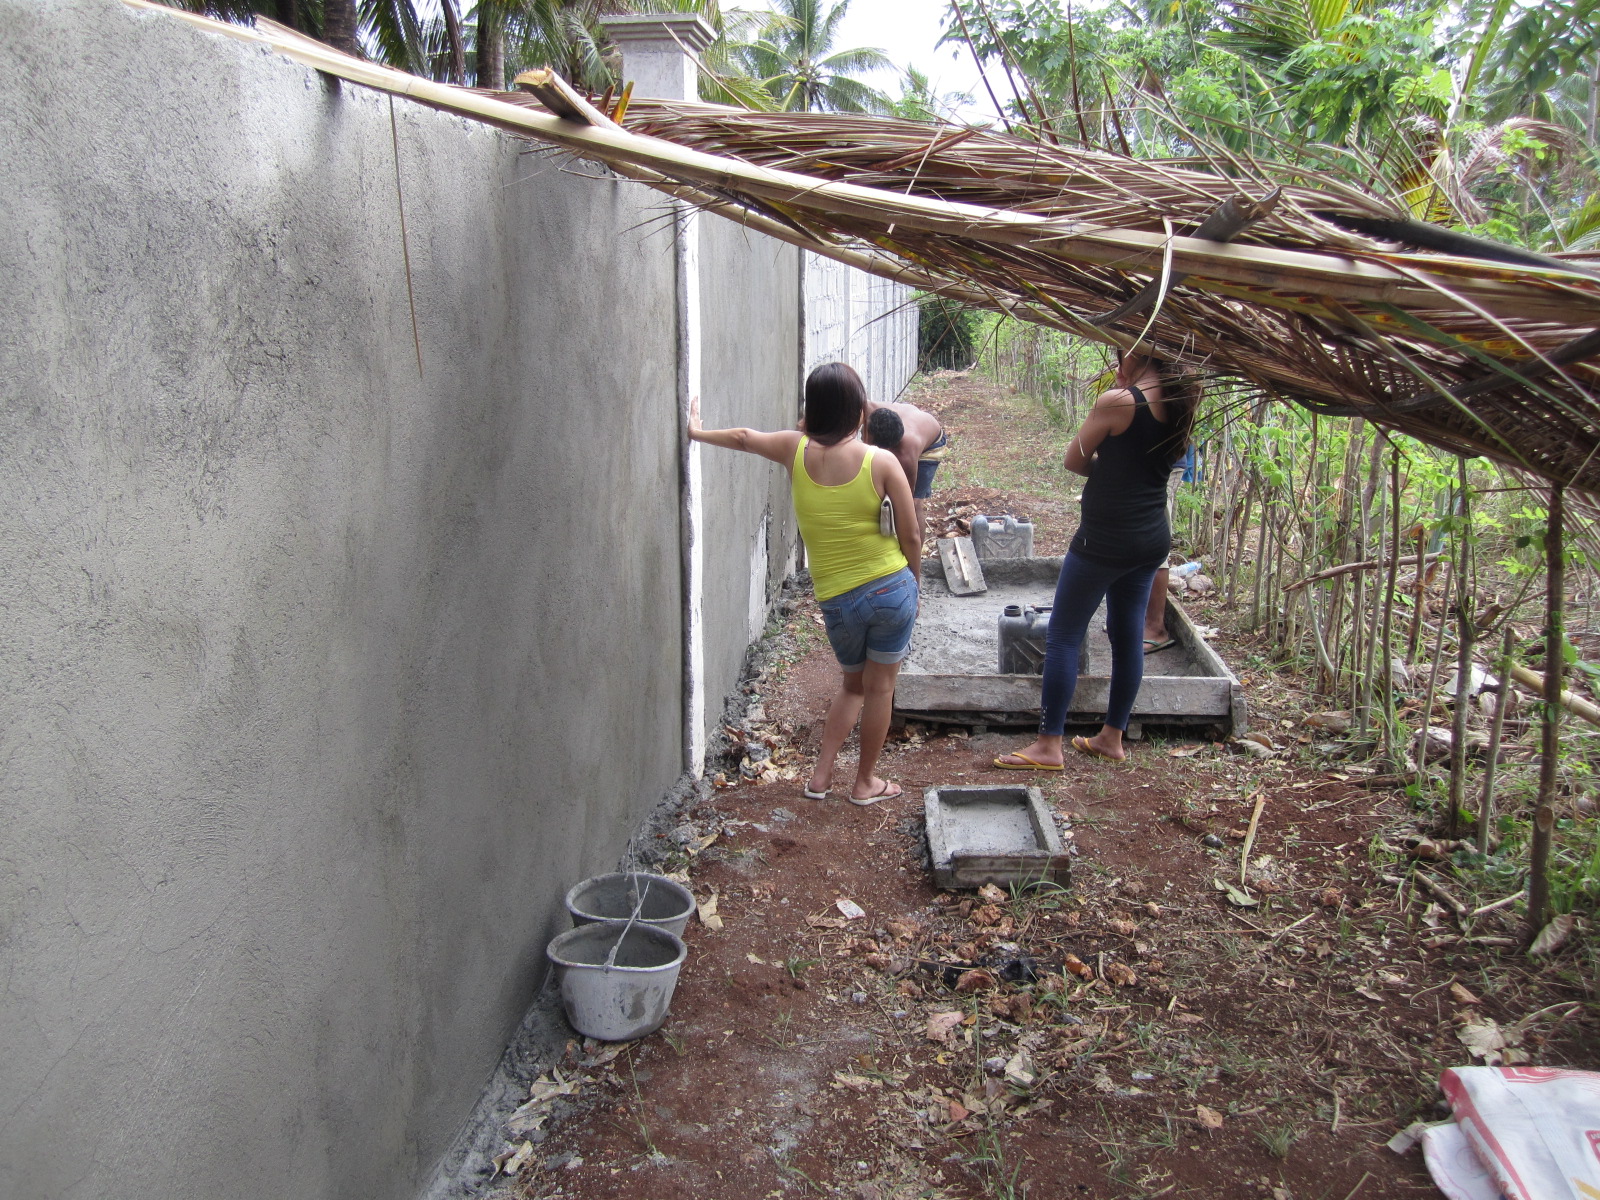
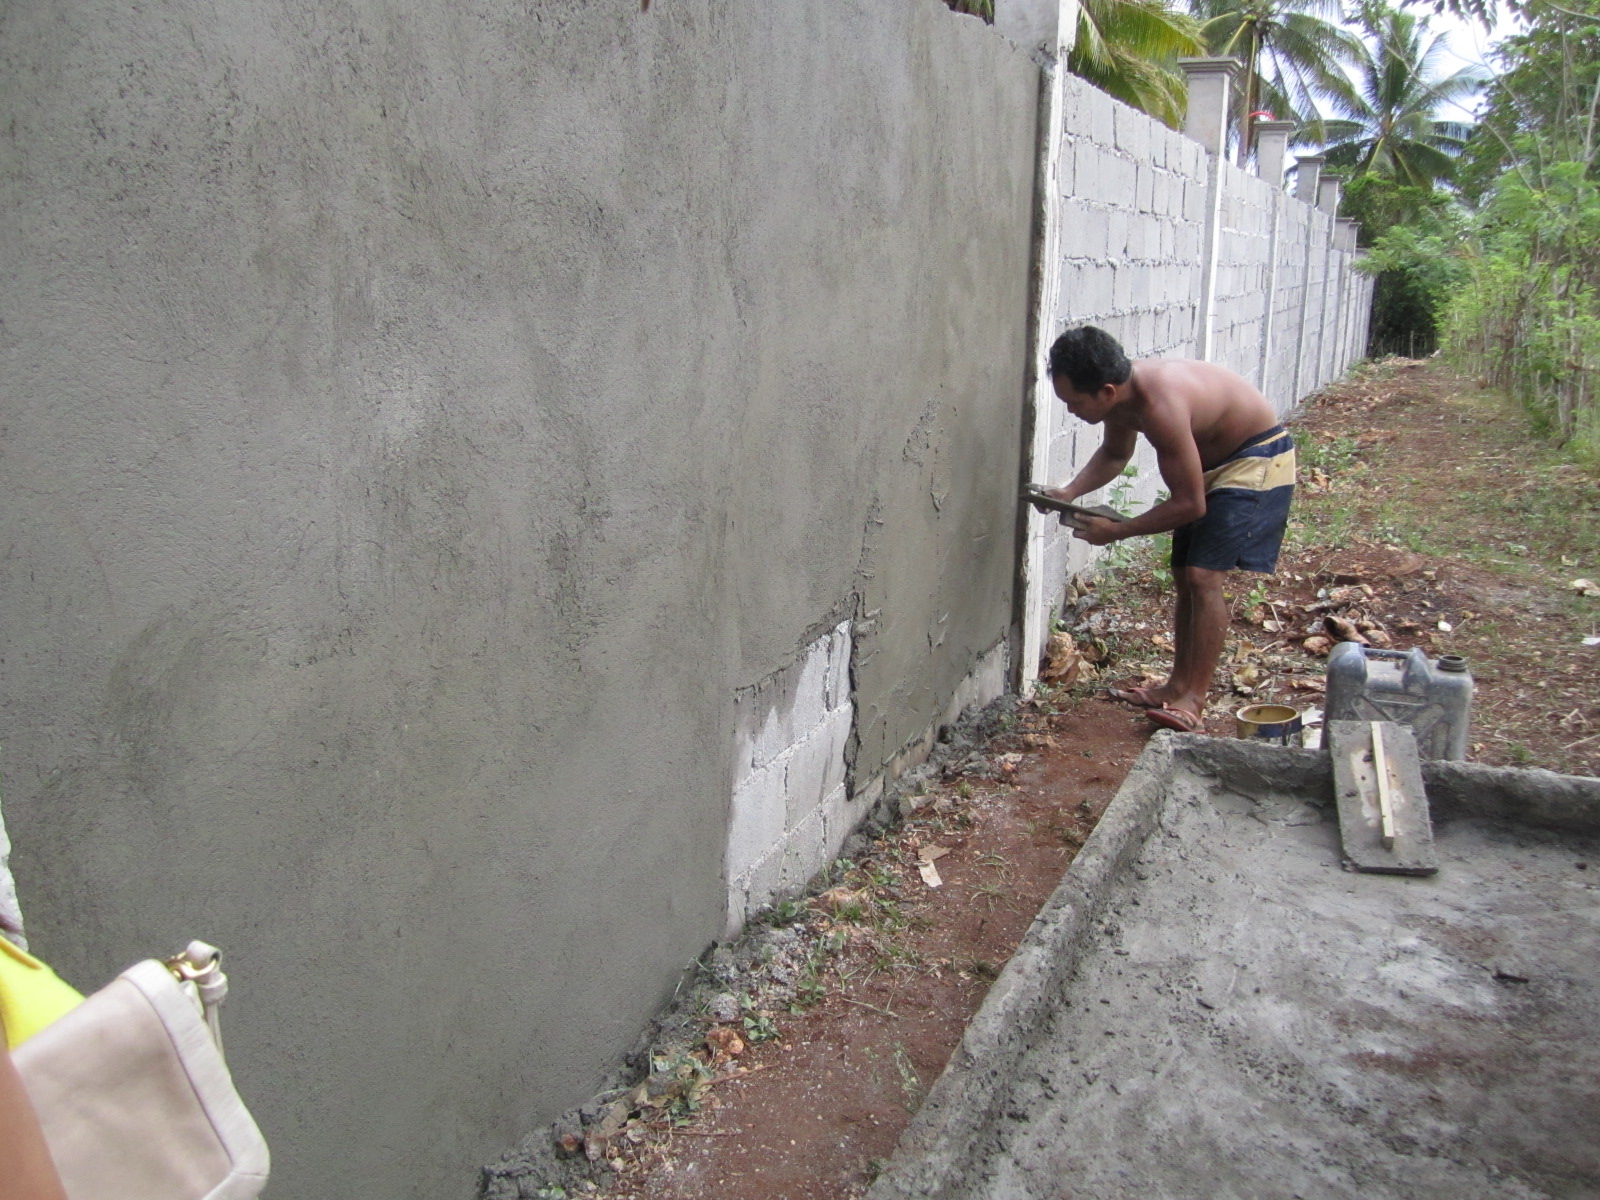
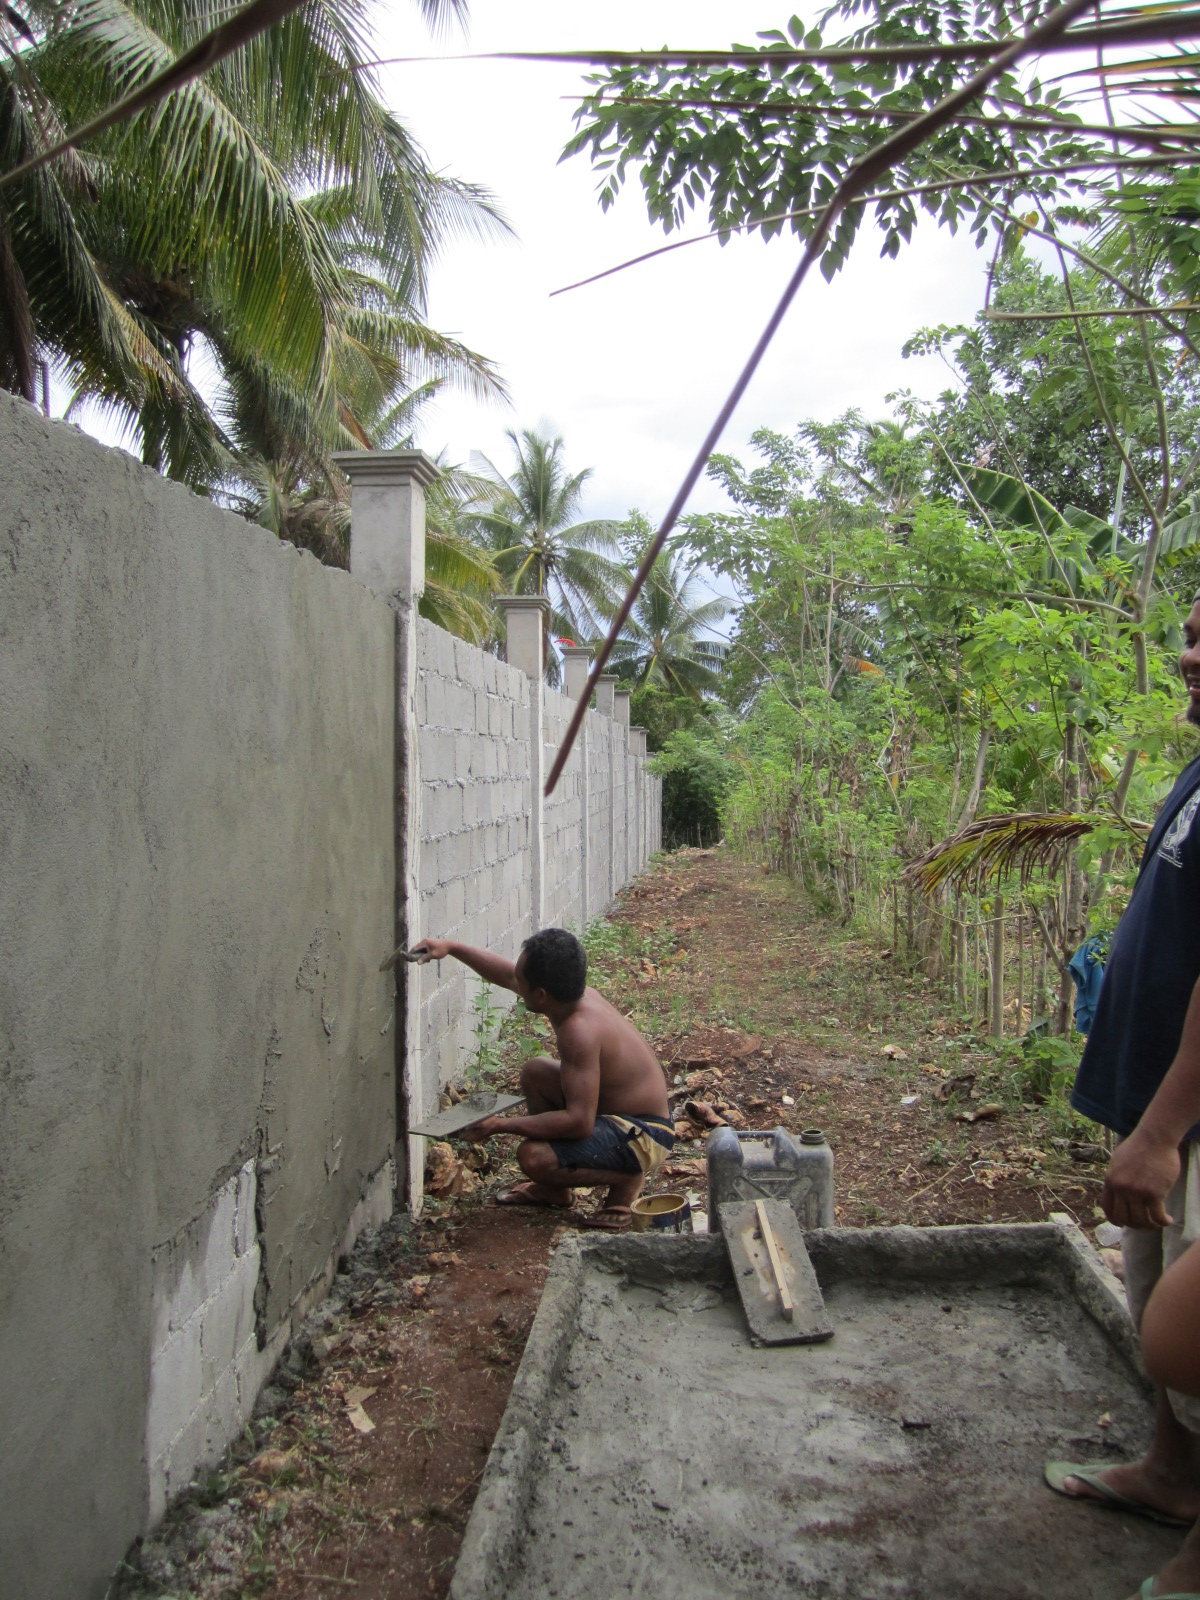
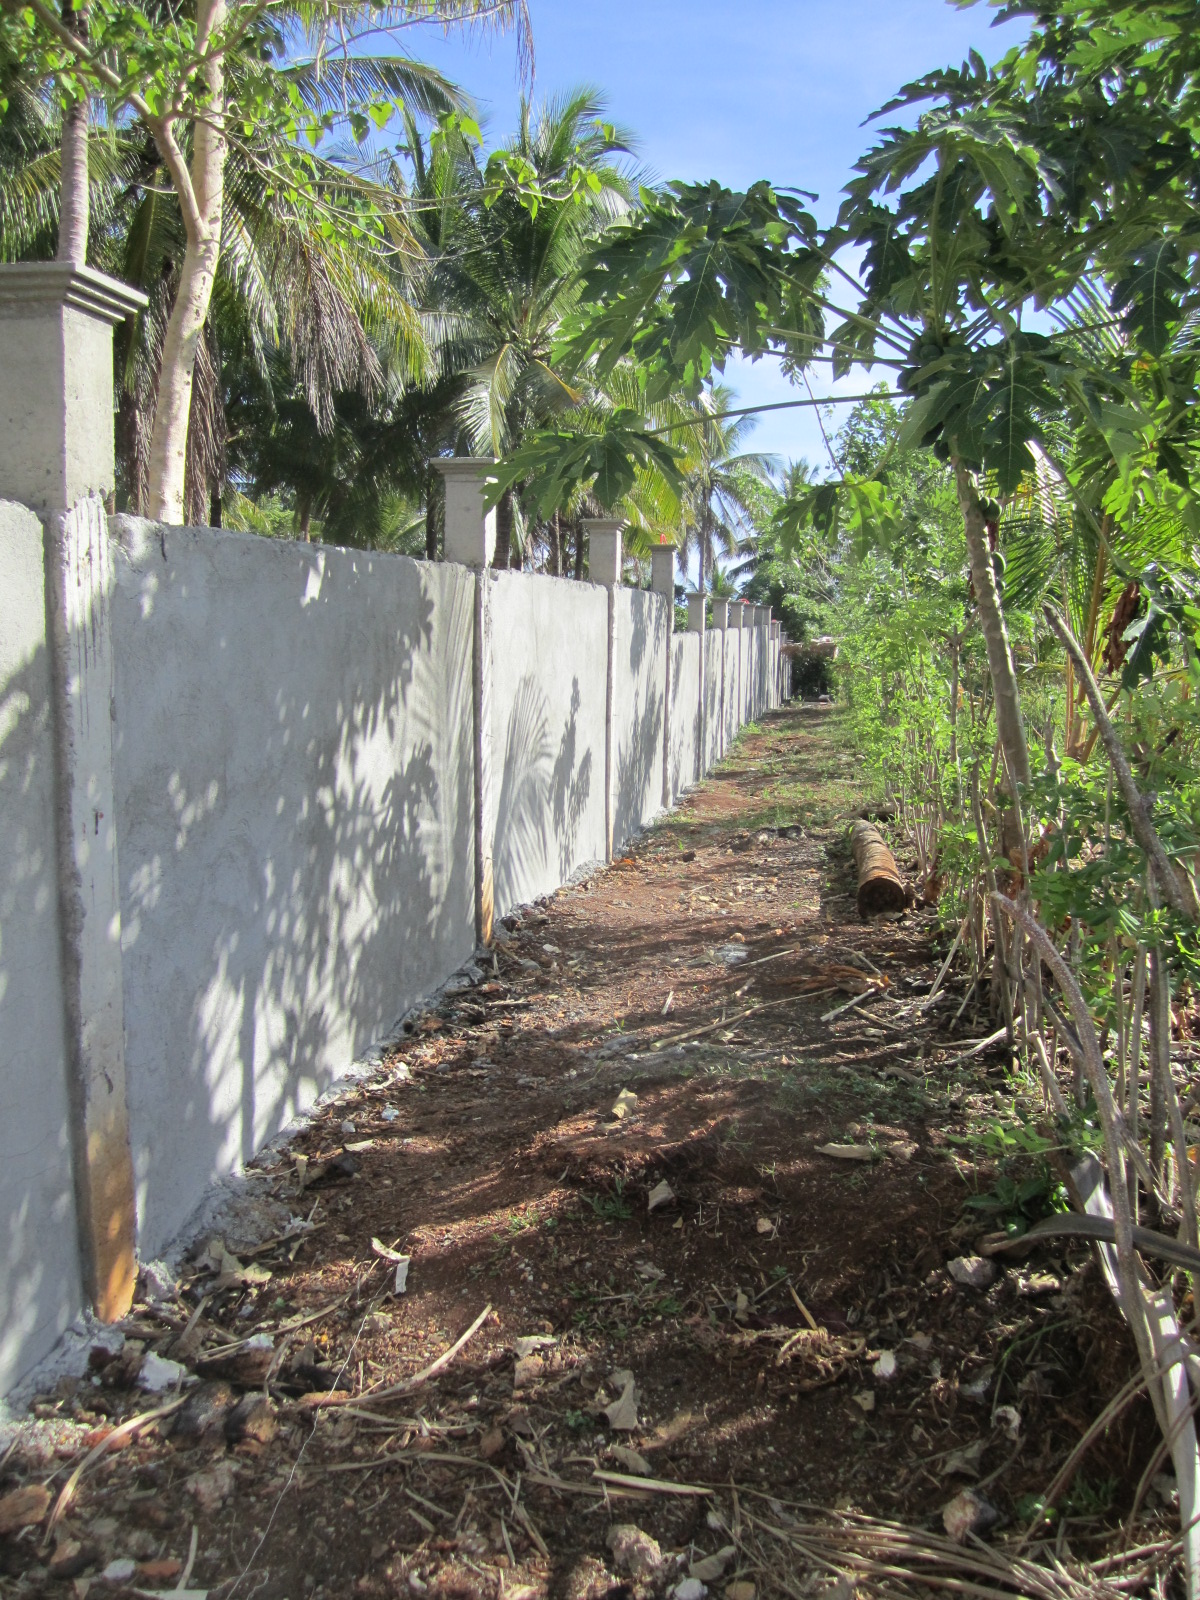
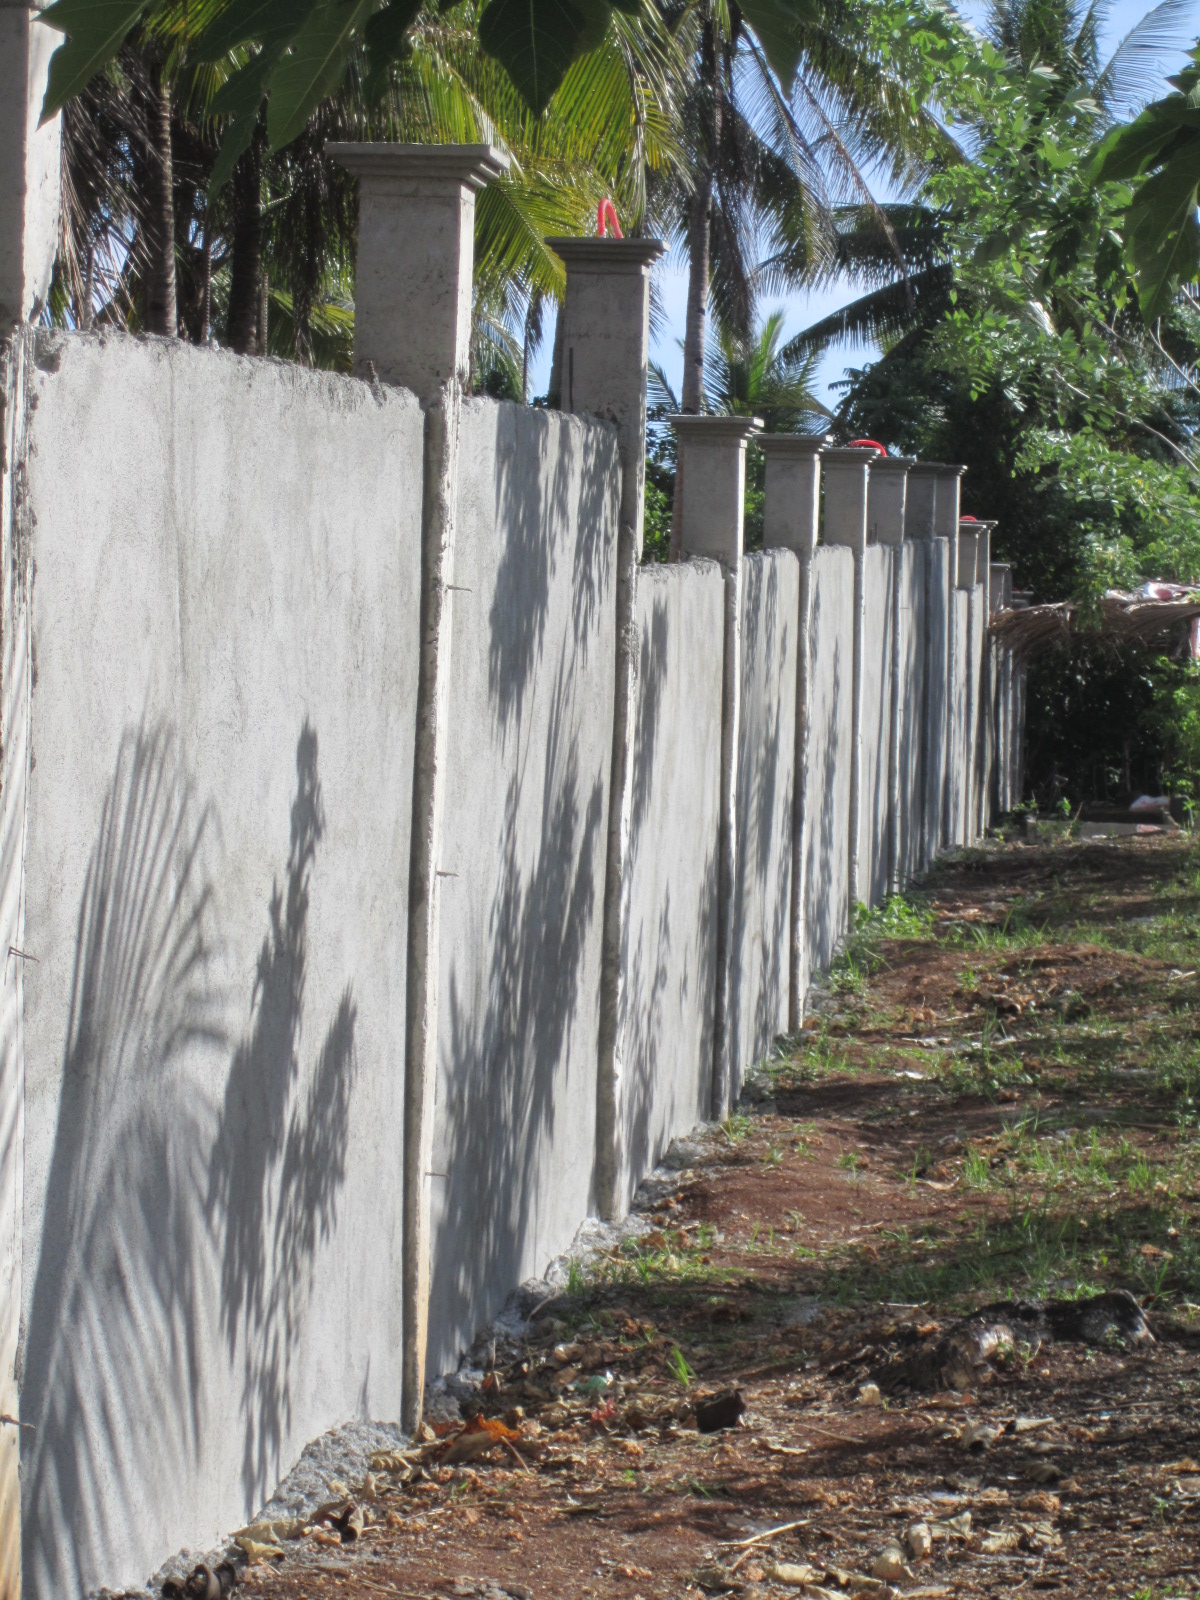
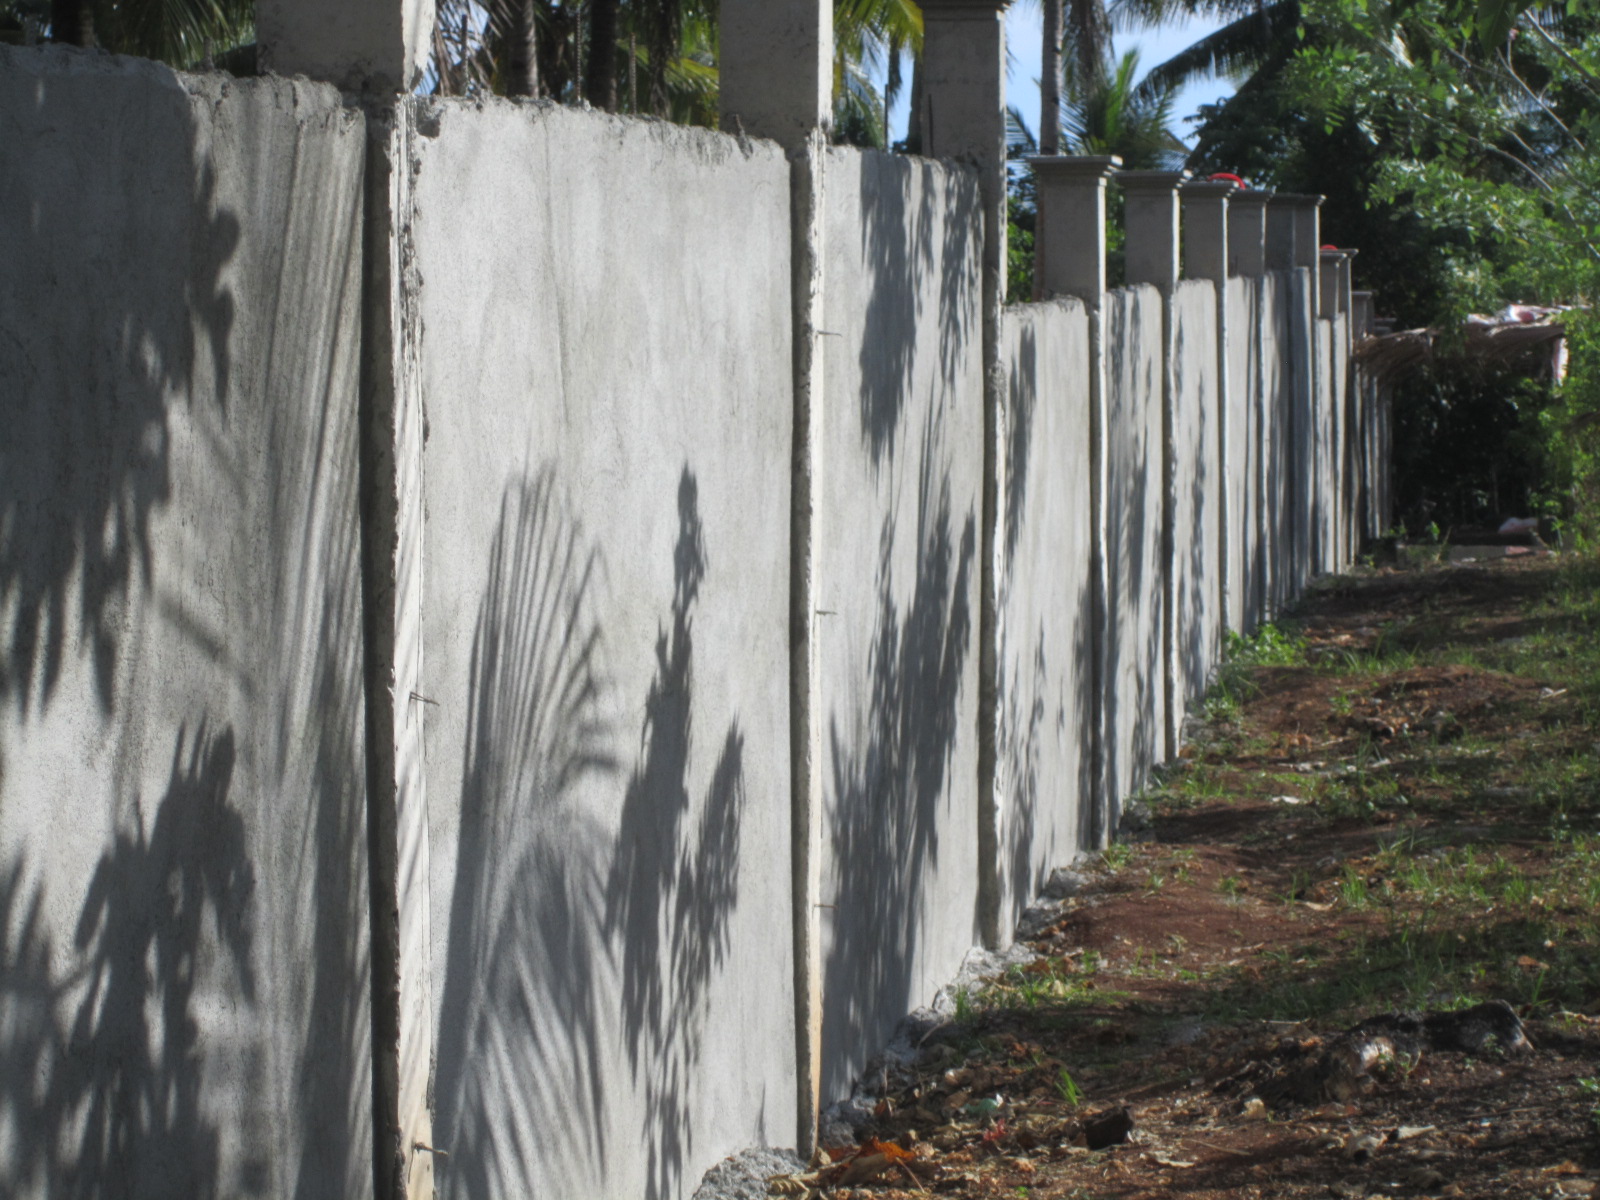
The first 3 photos show the exterior finishing of the West wall completed. The next 2 photos show the back gate entrance and the last photo shows the steel rear gate.
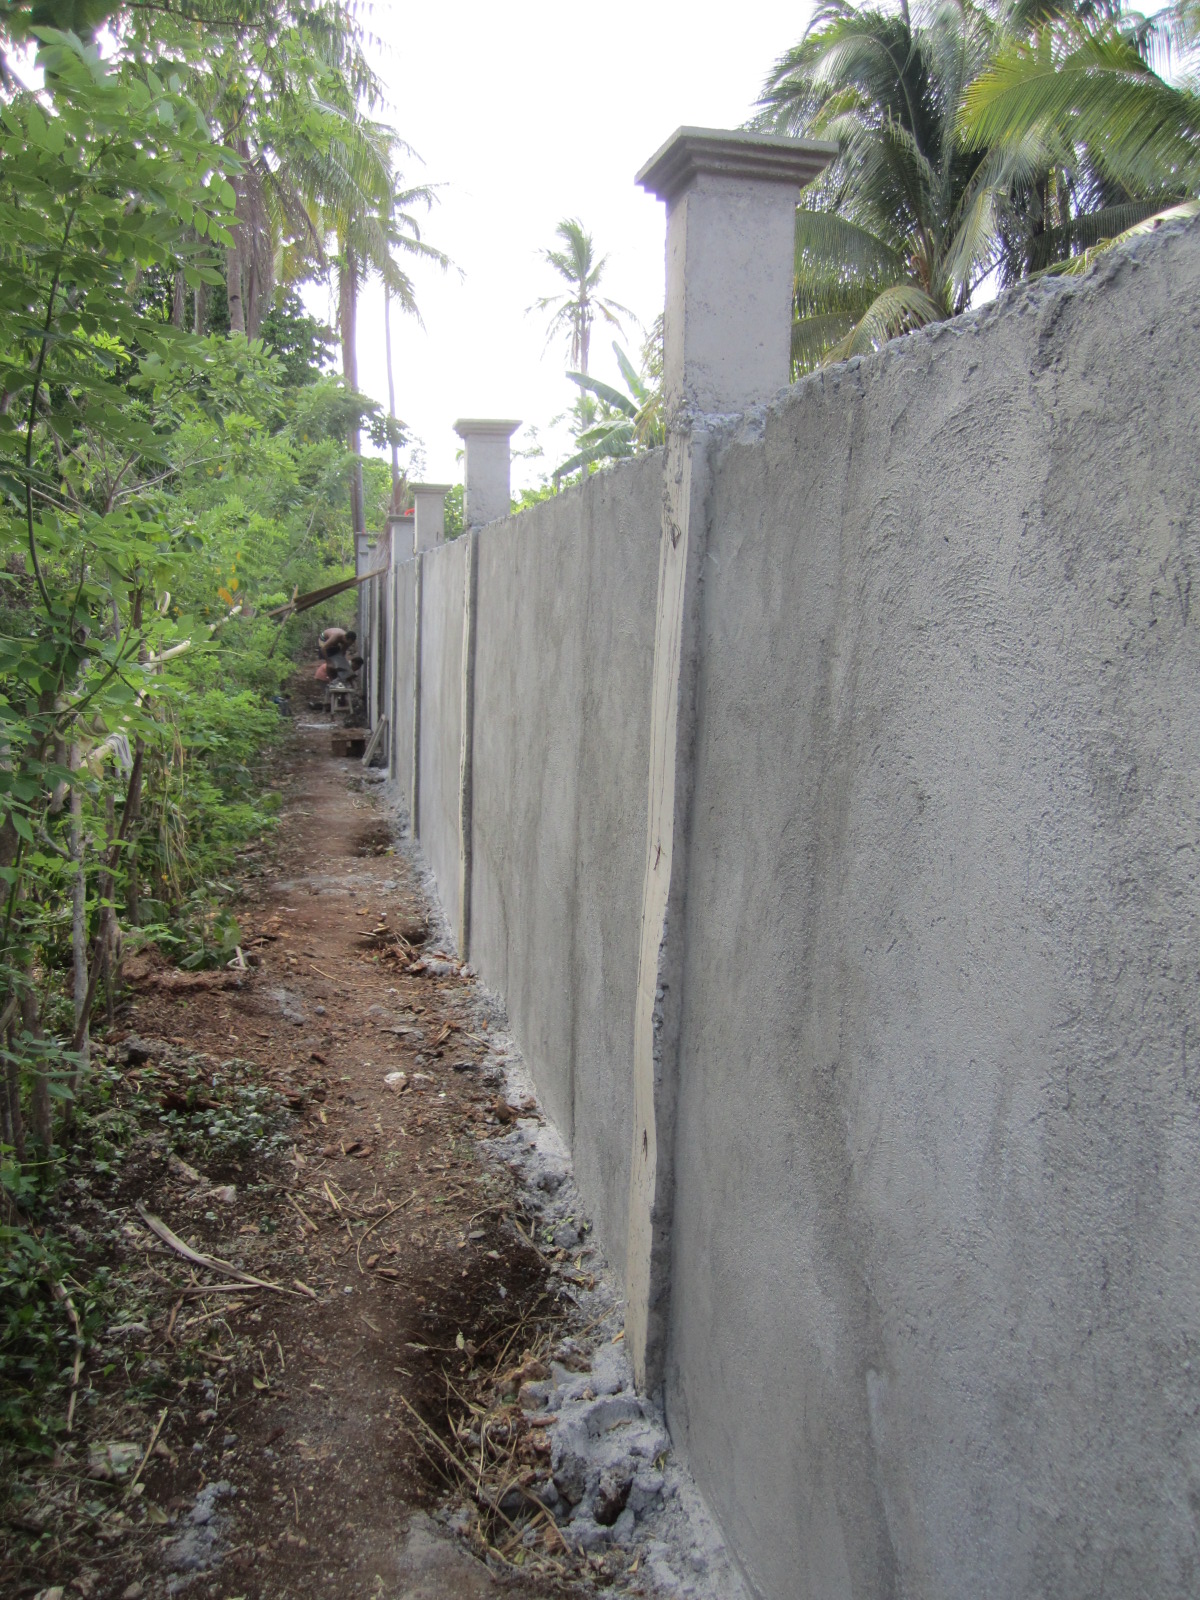
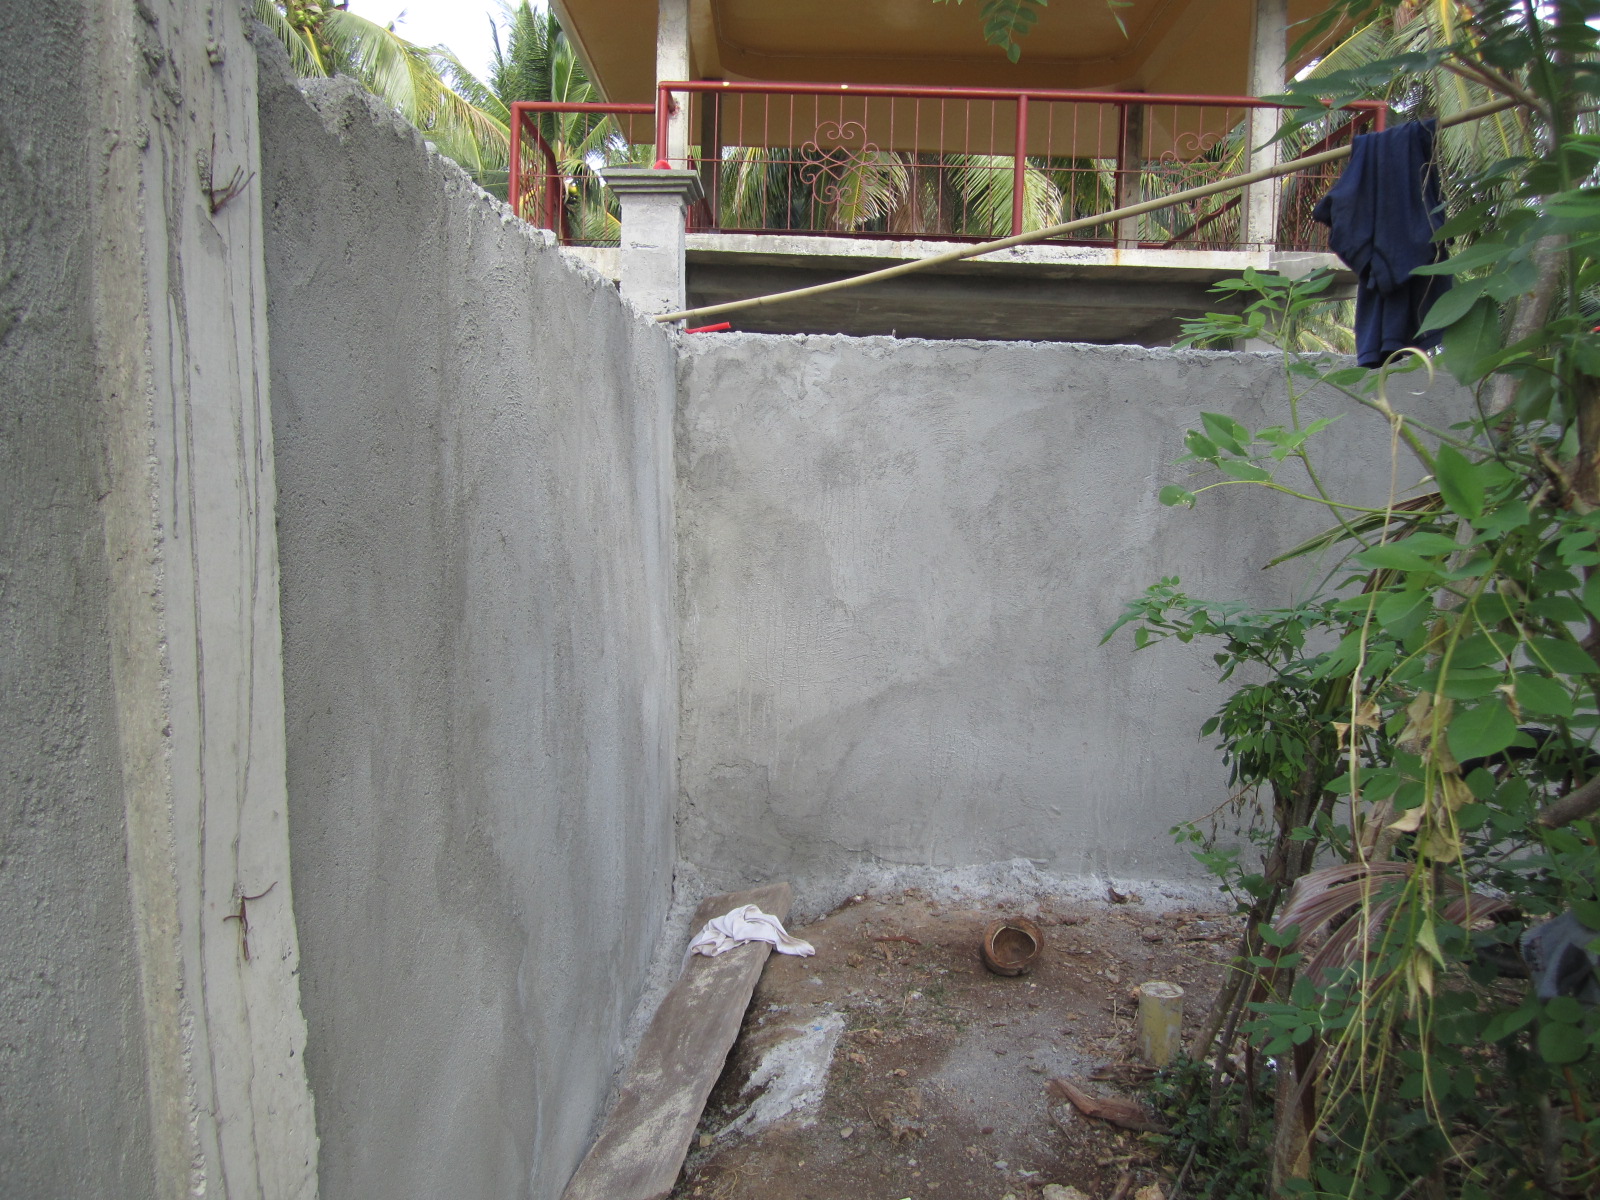
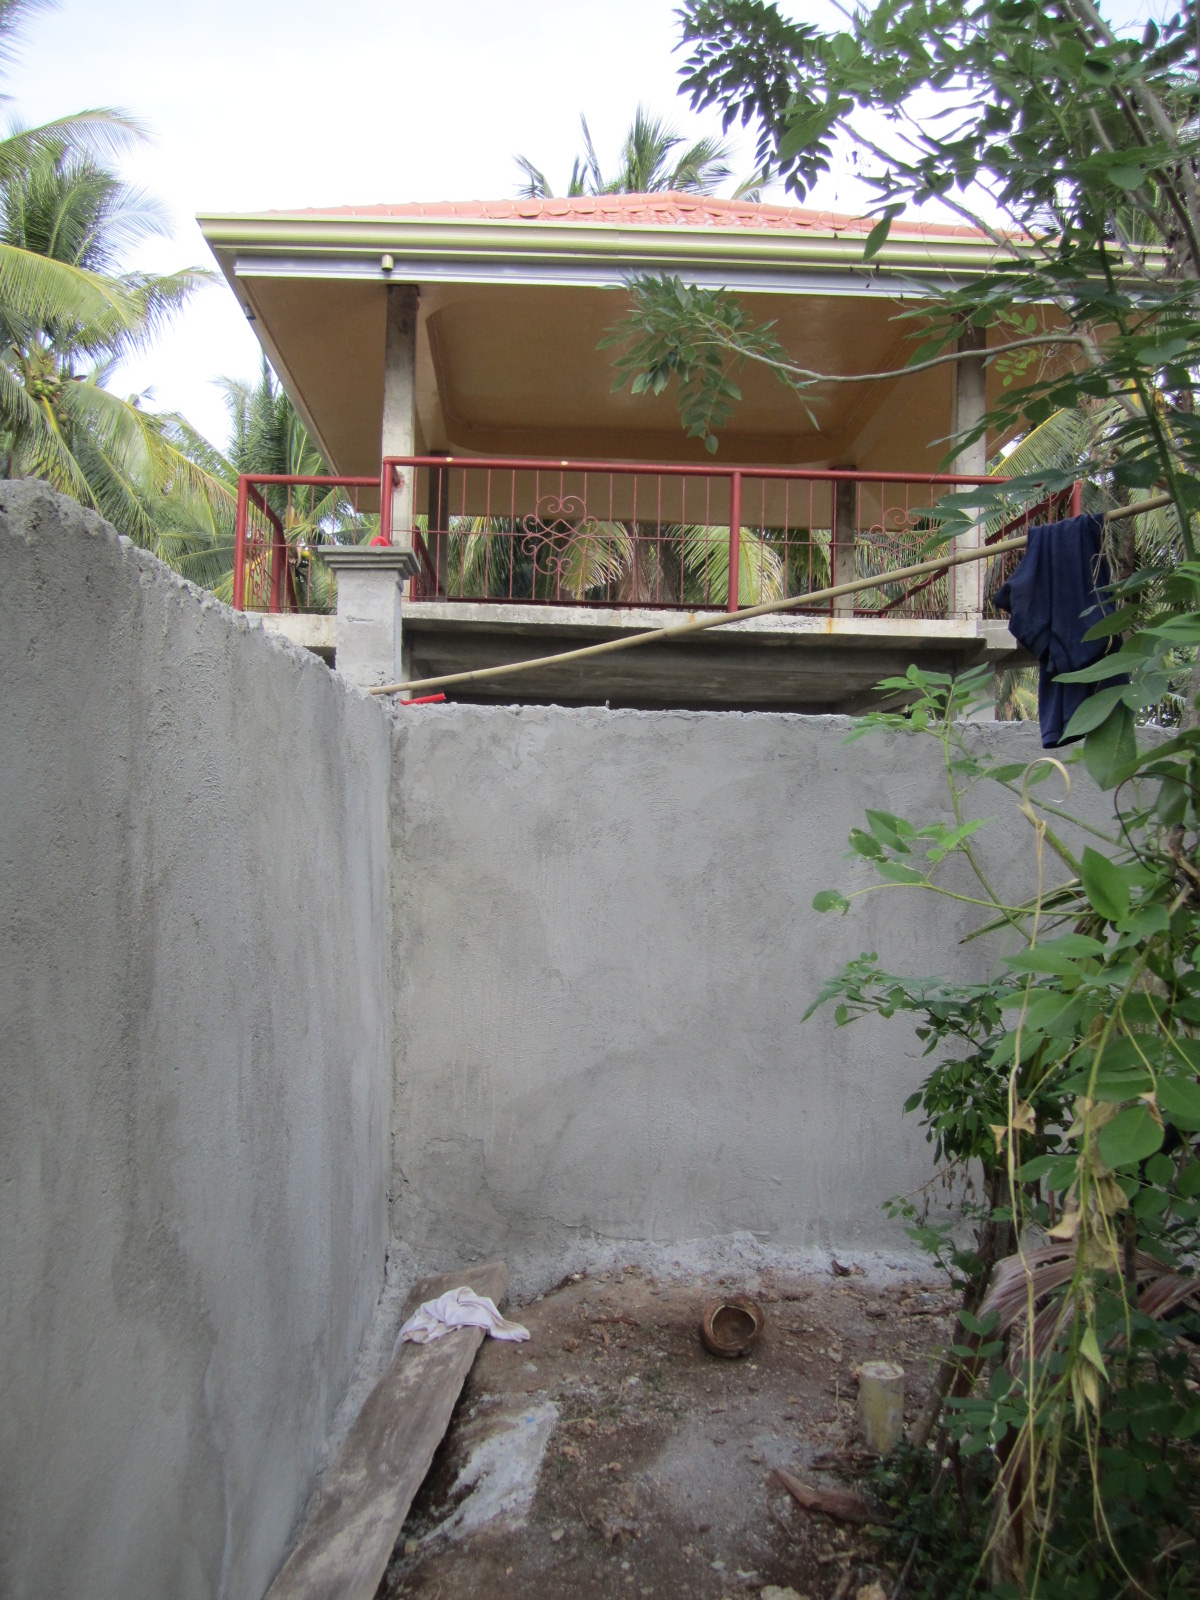
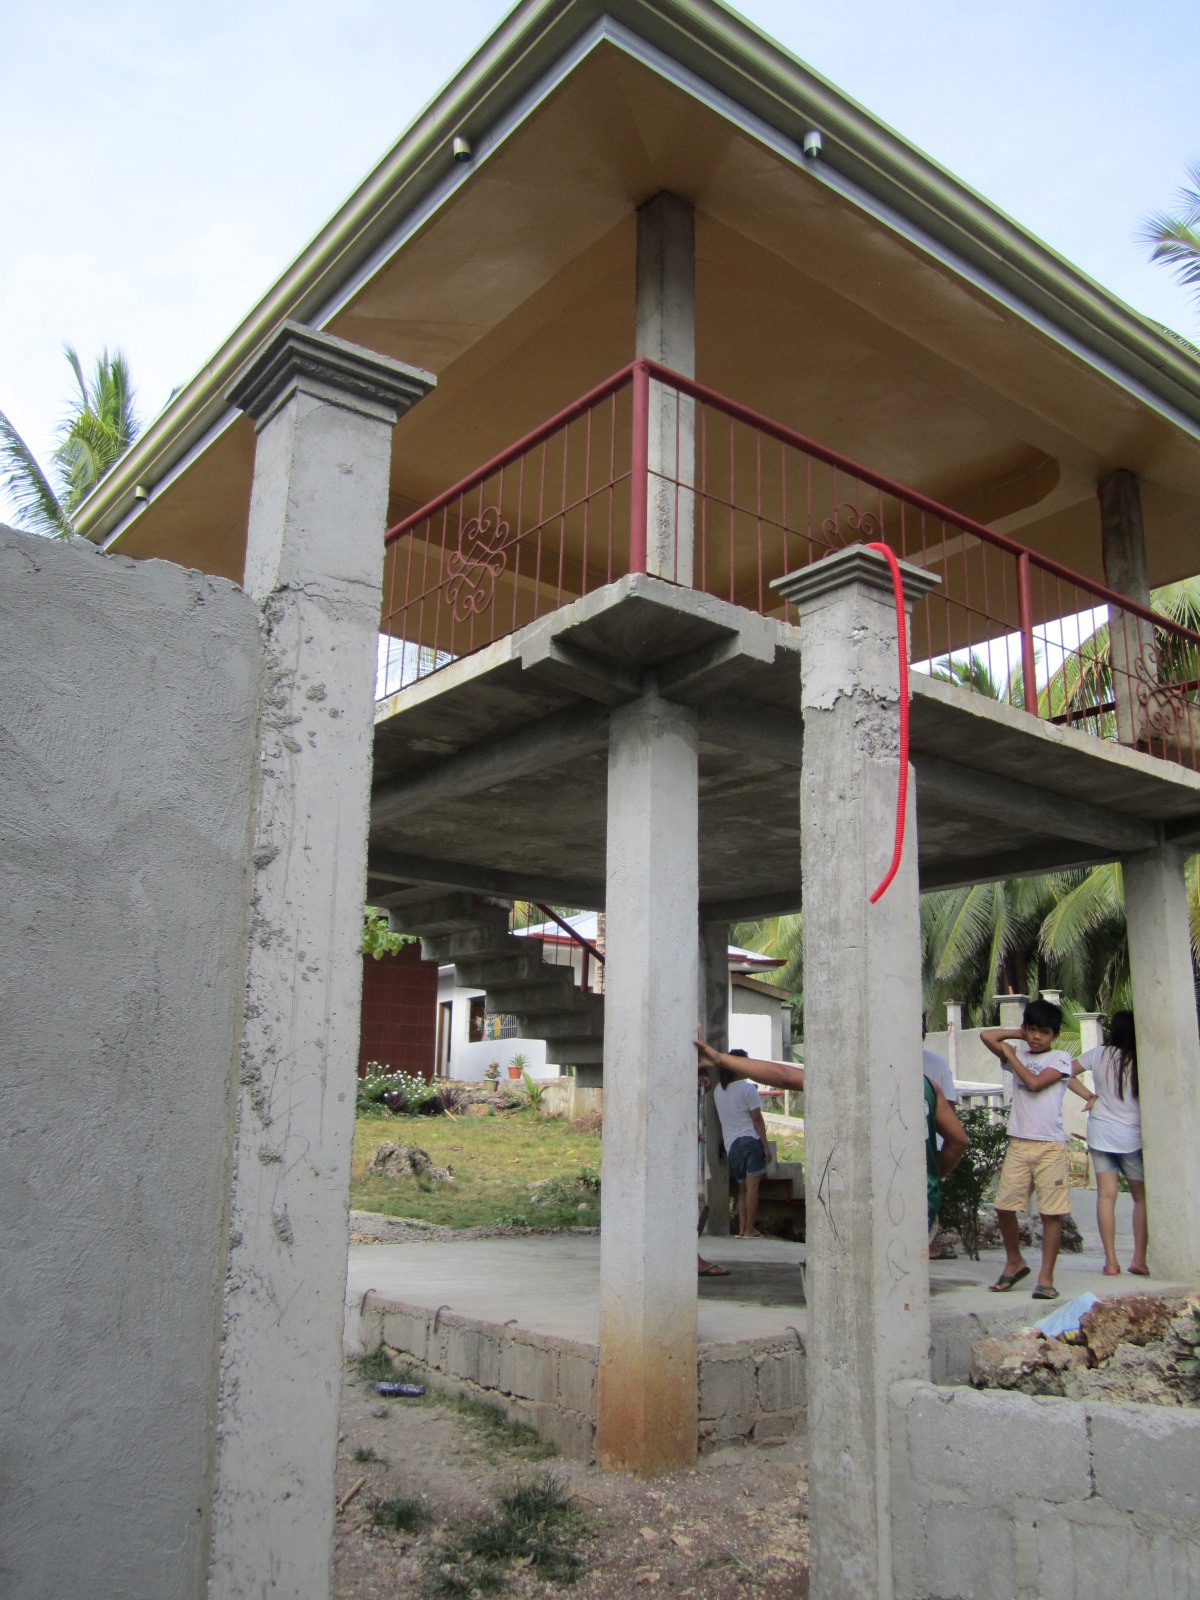
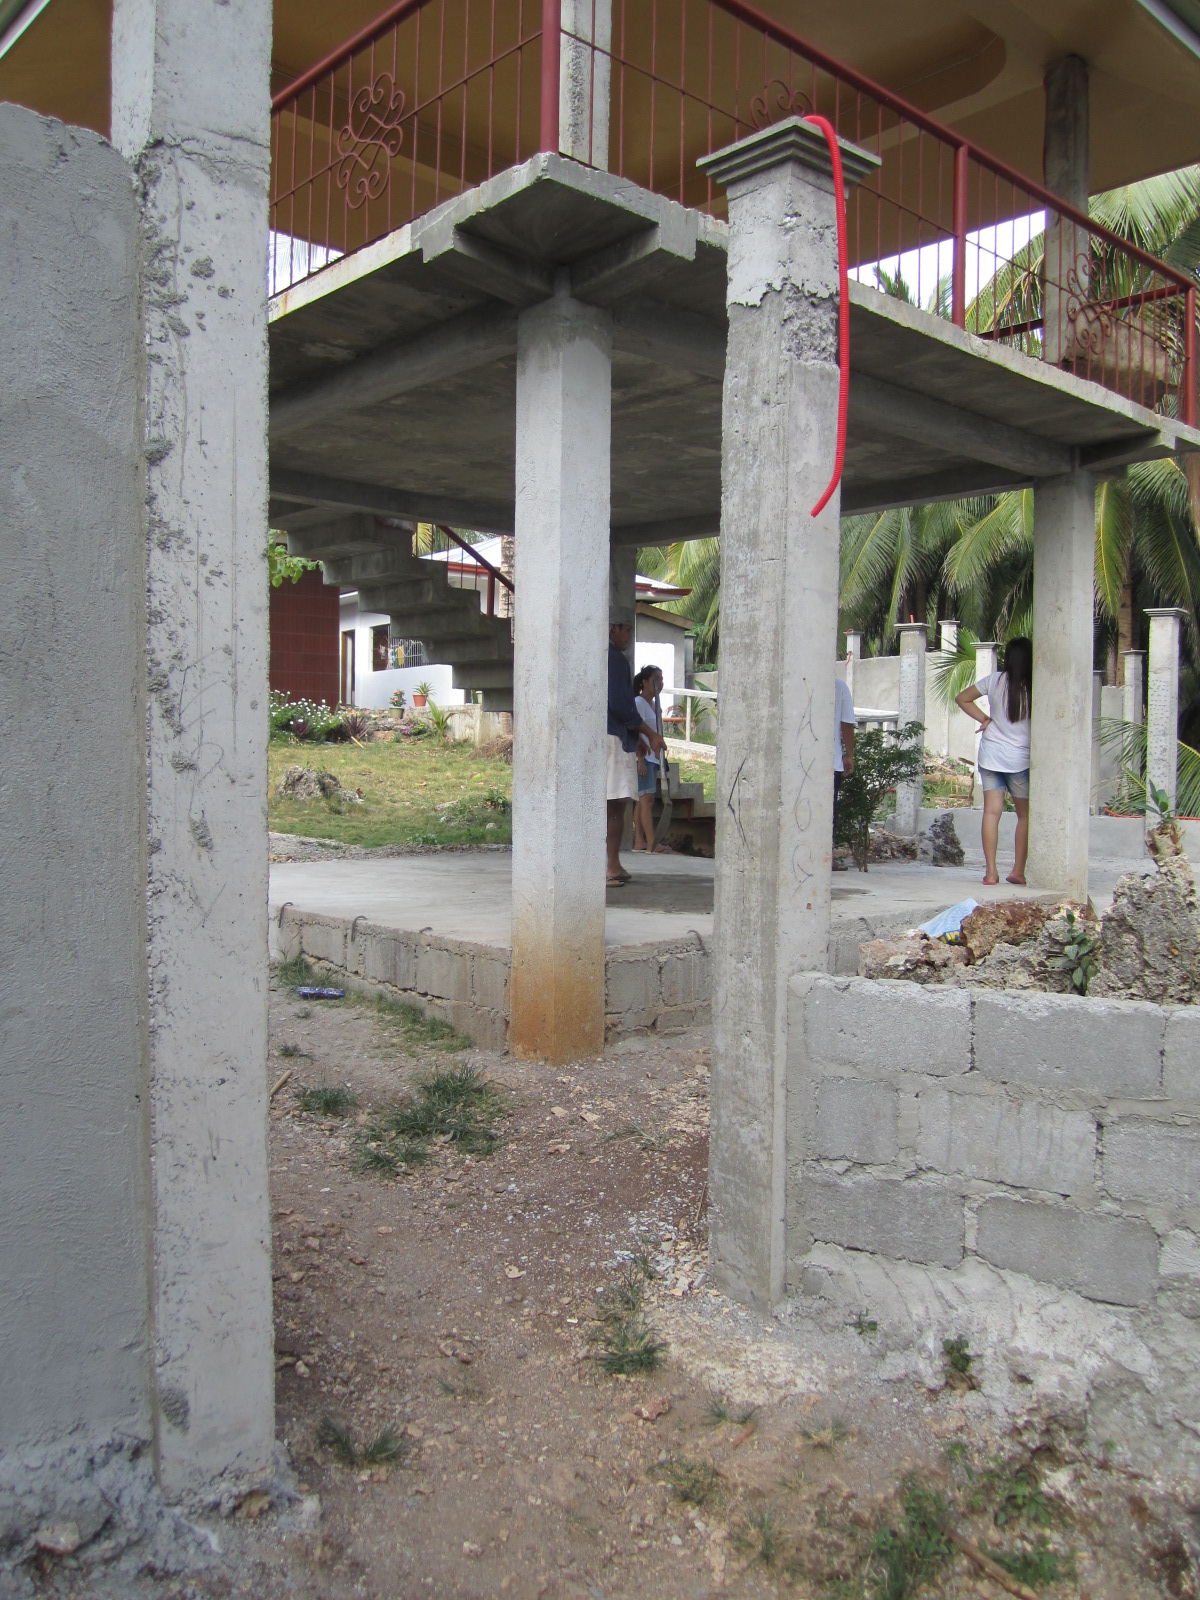
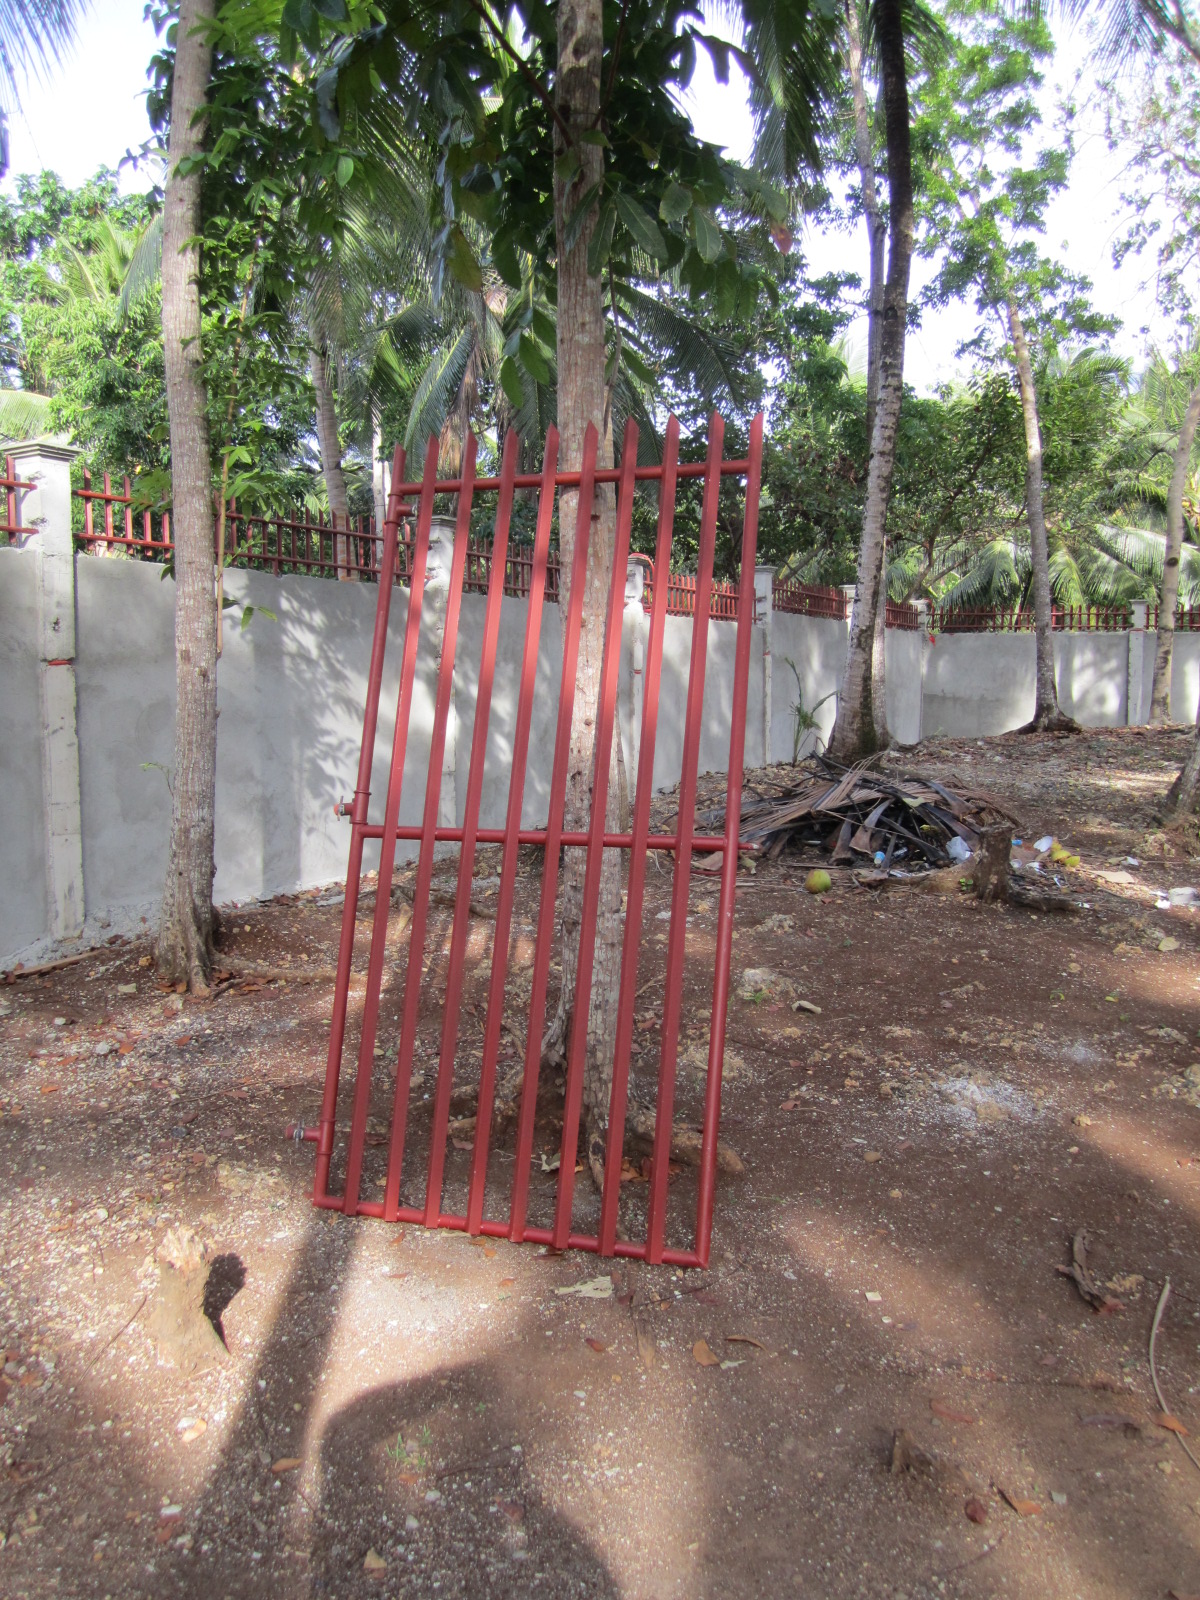
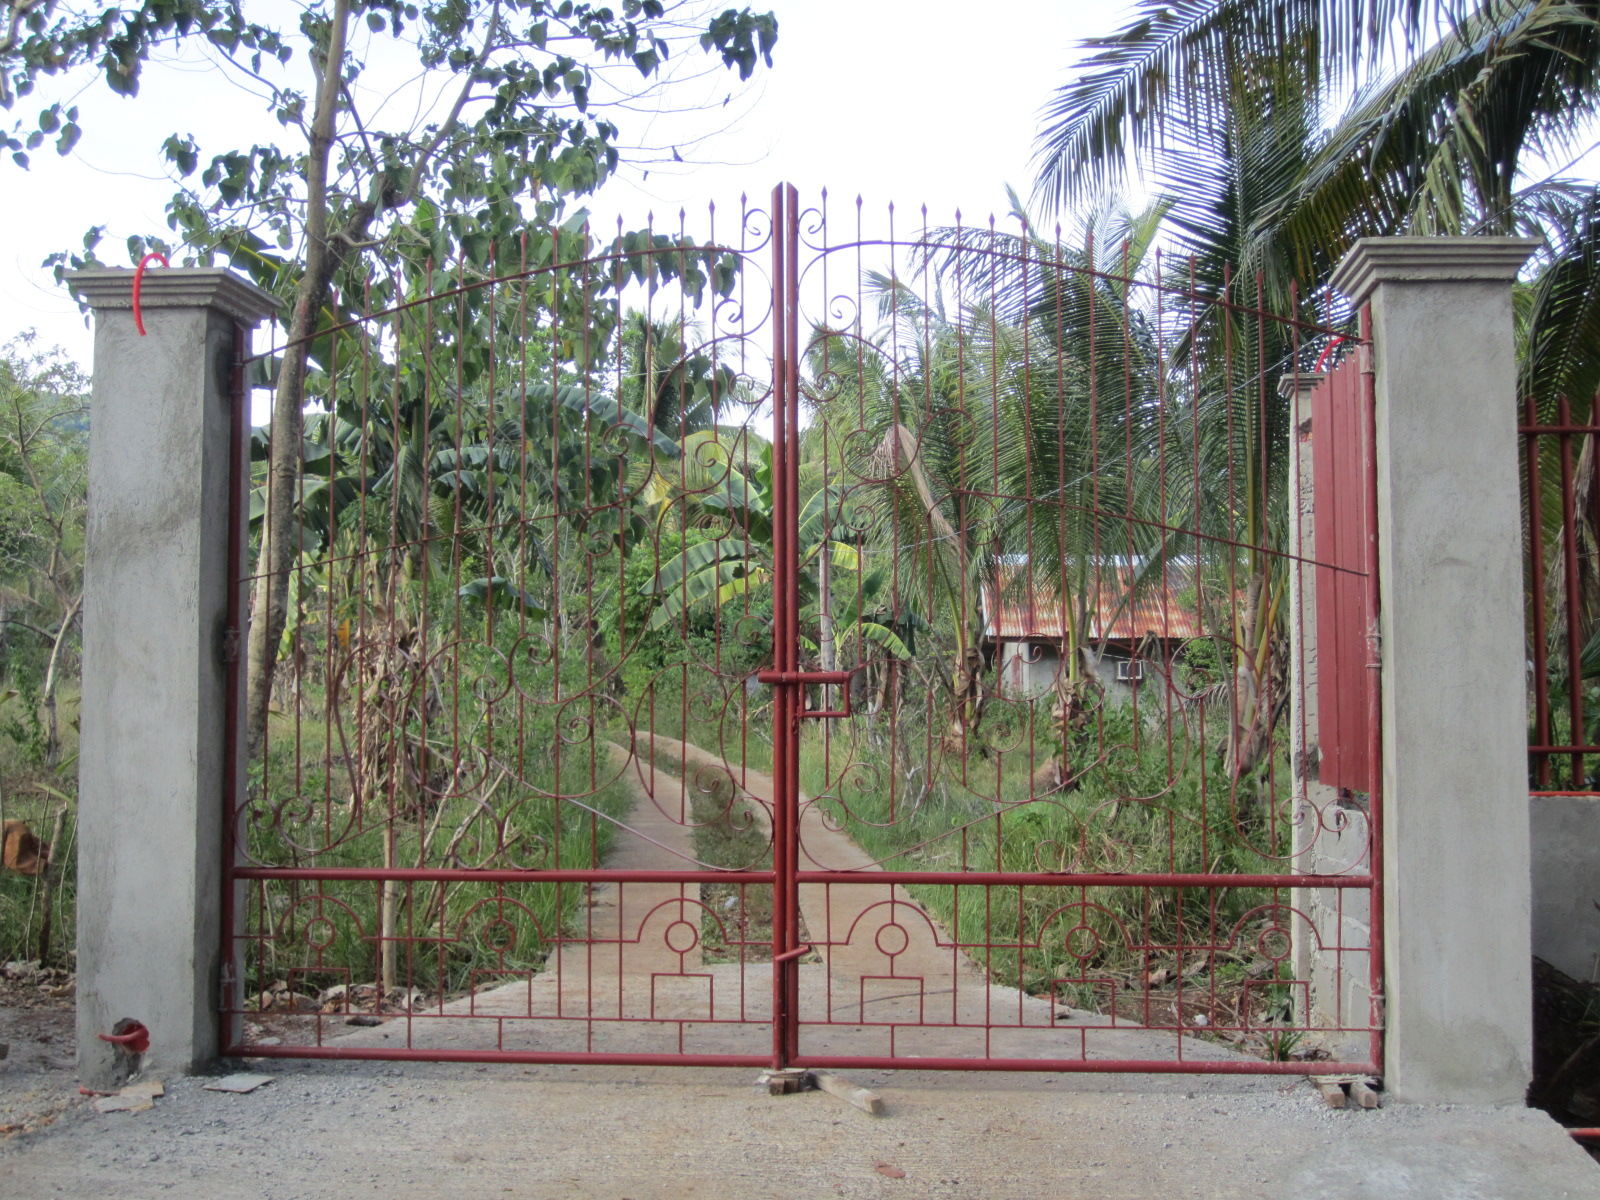
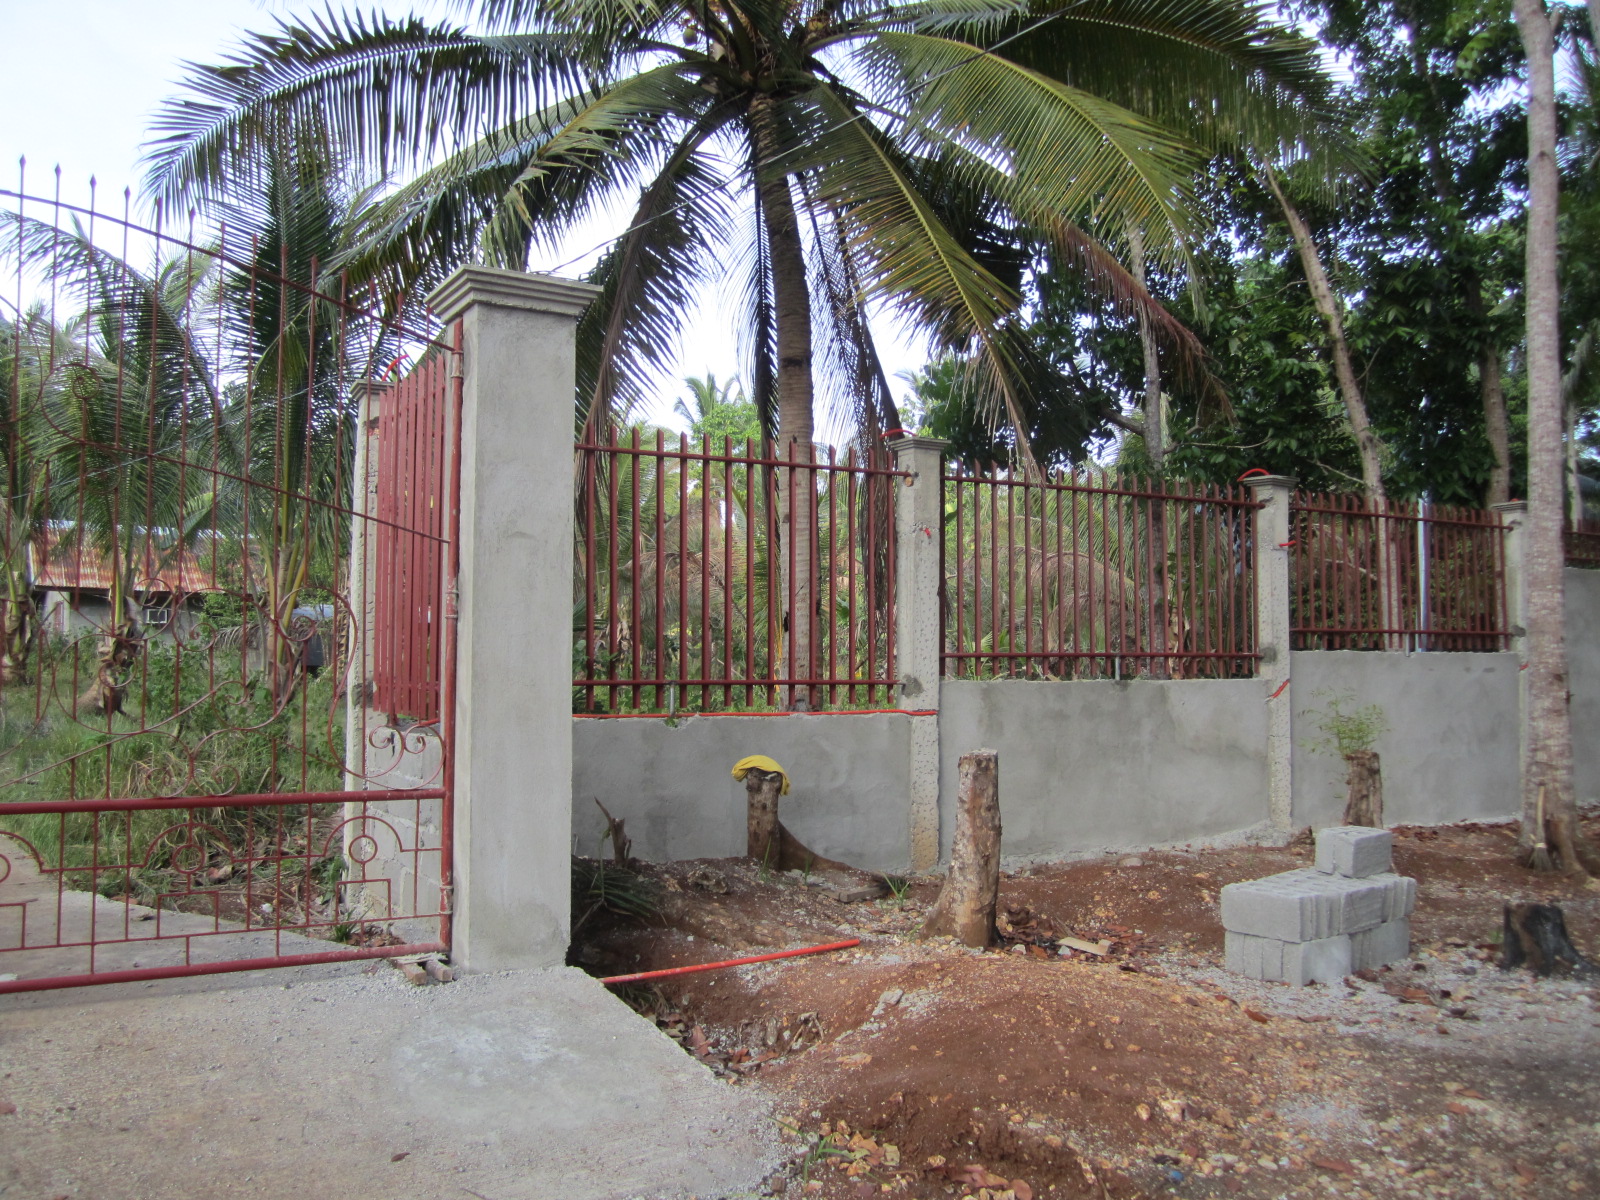
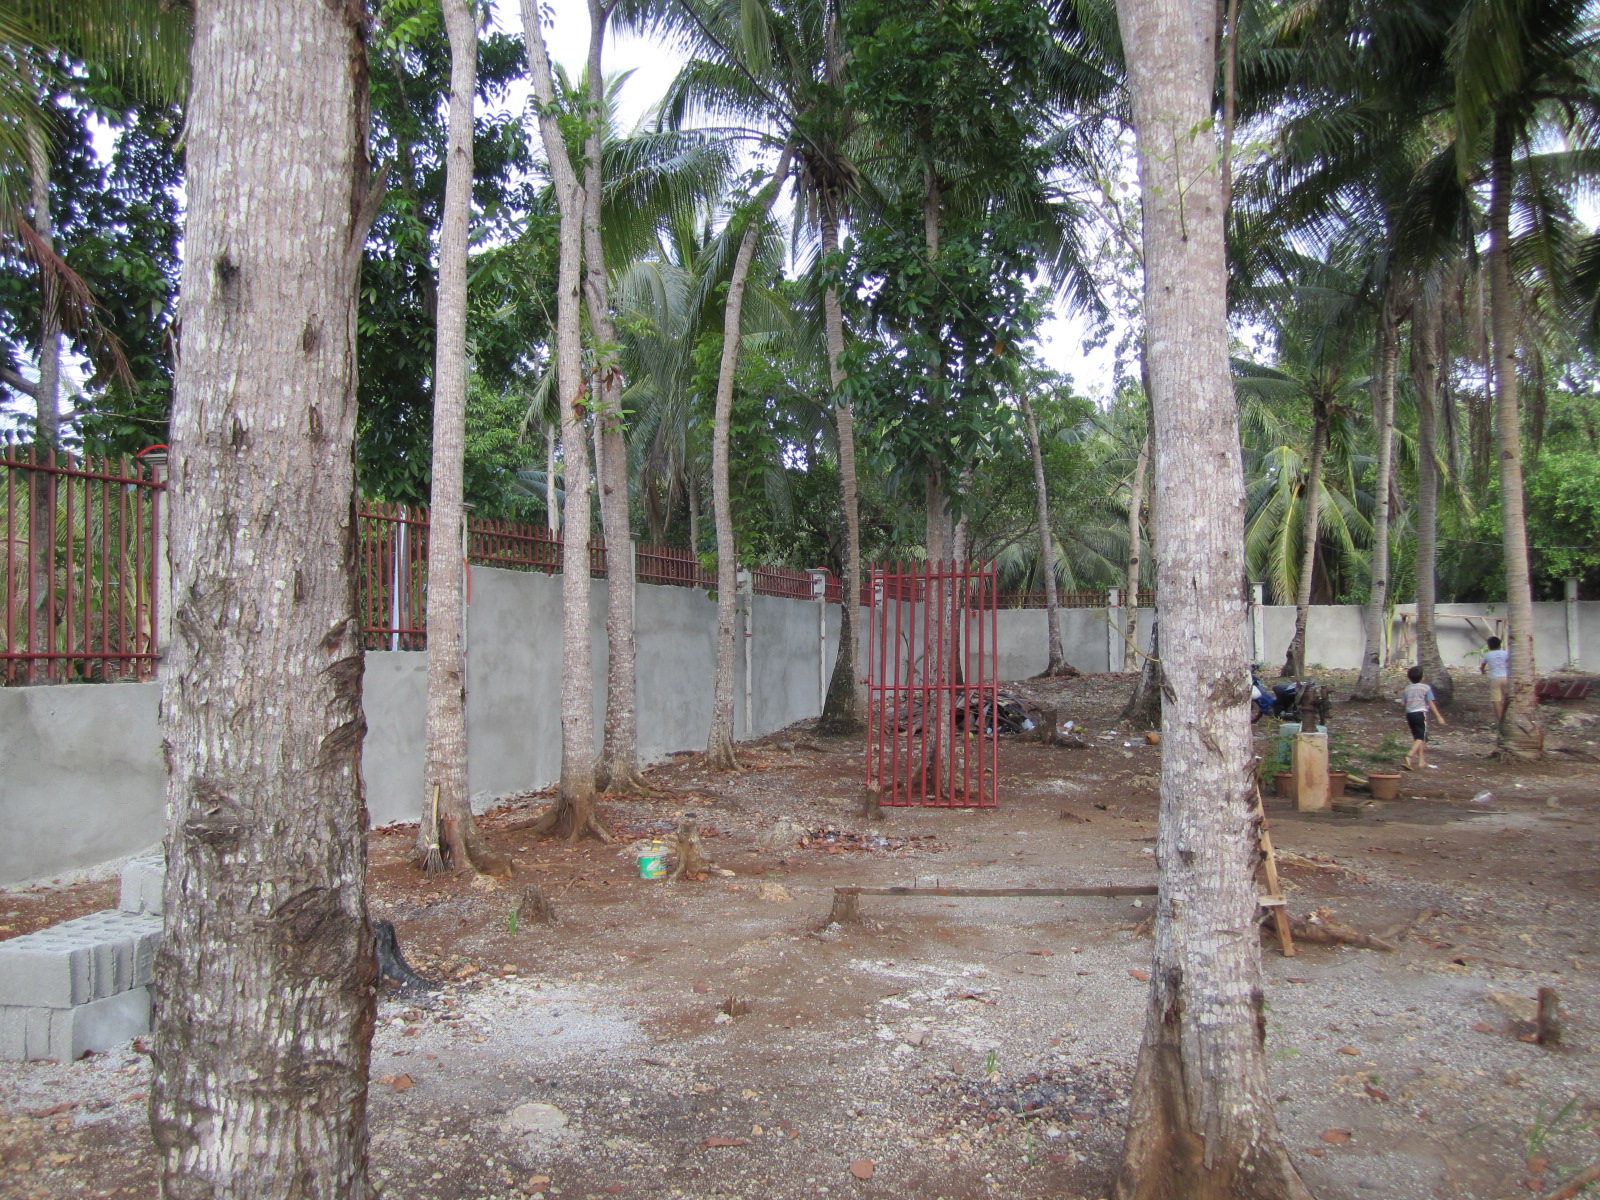
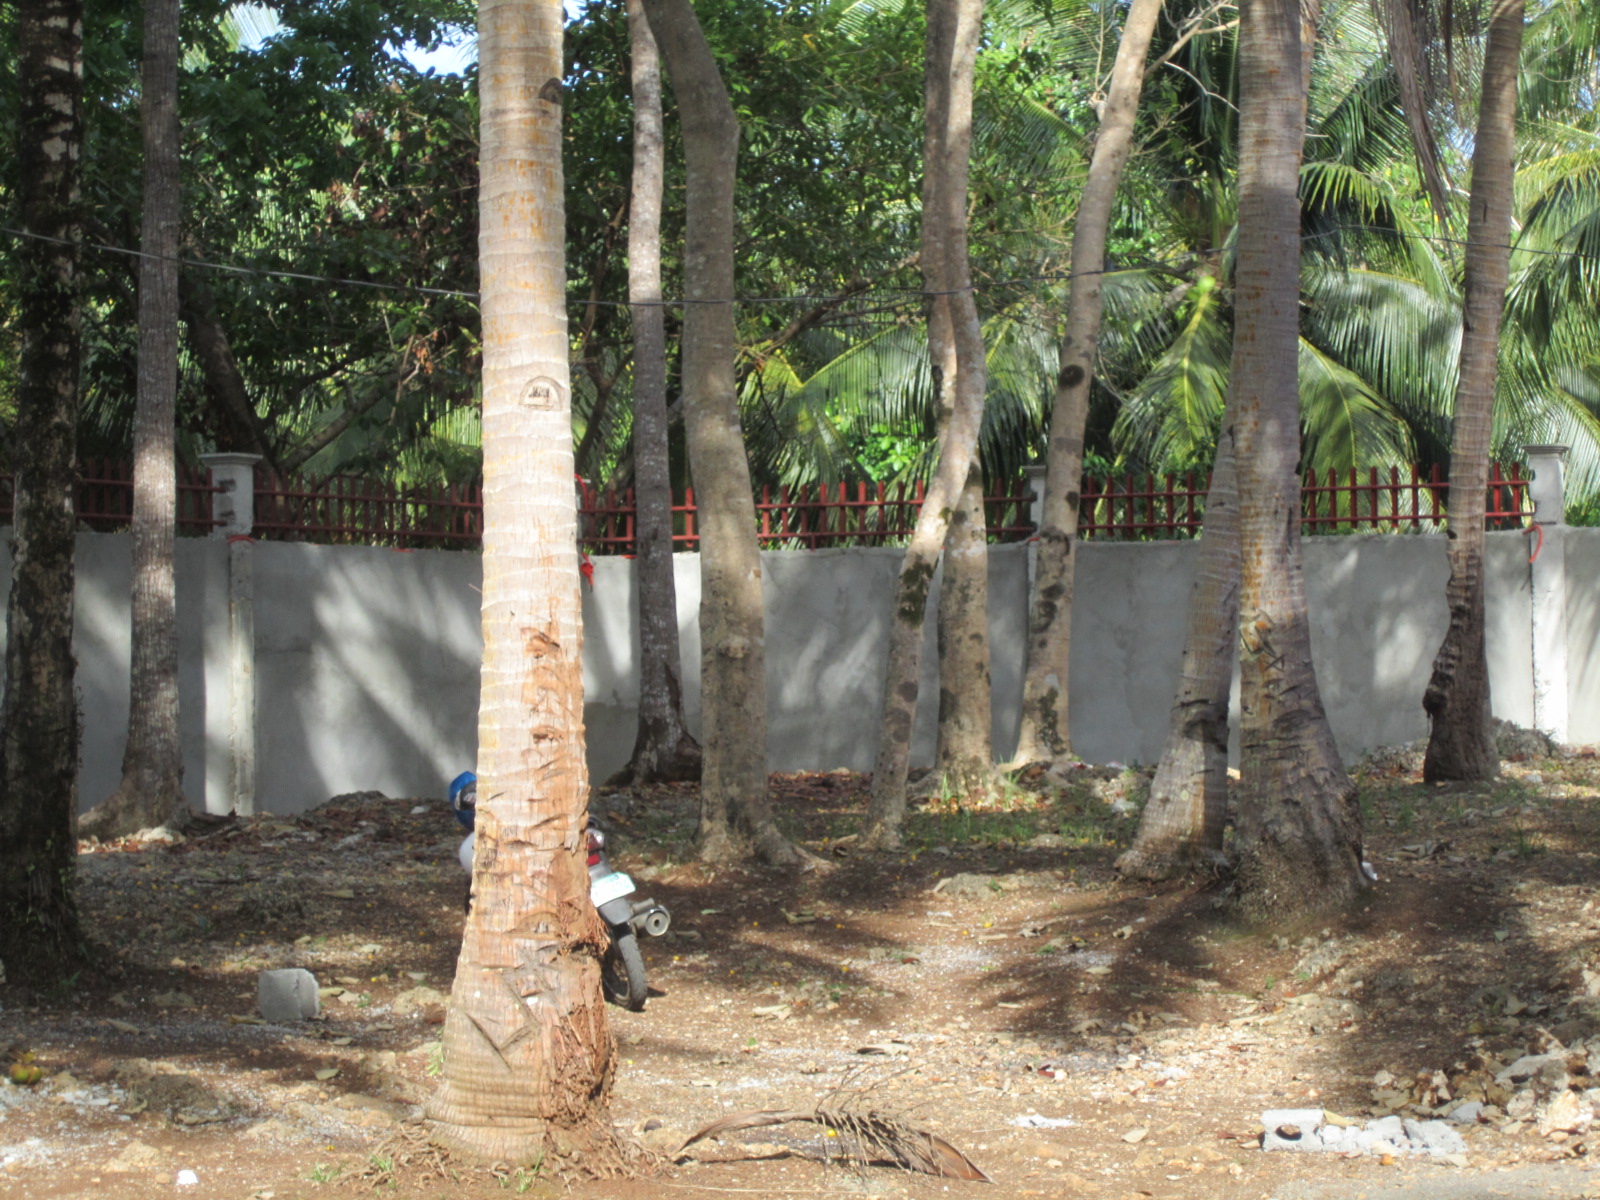
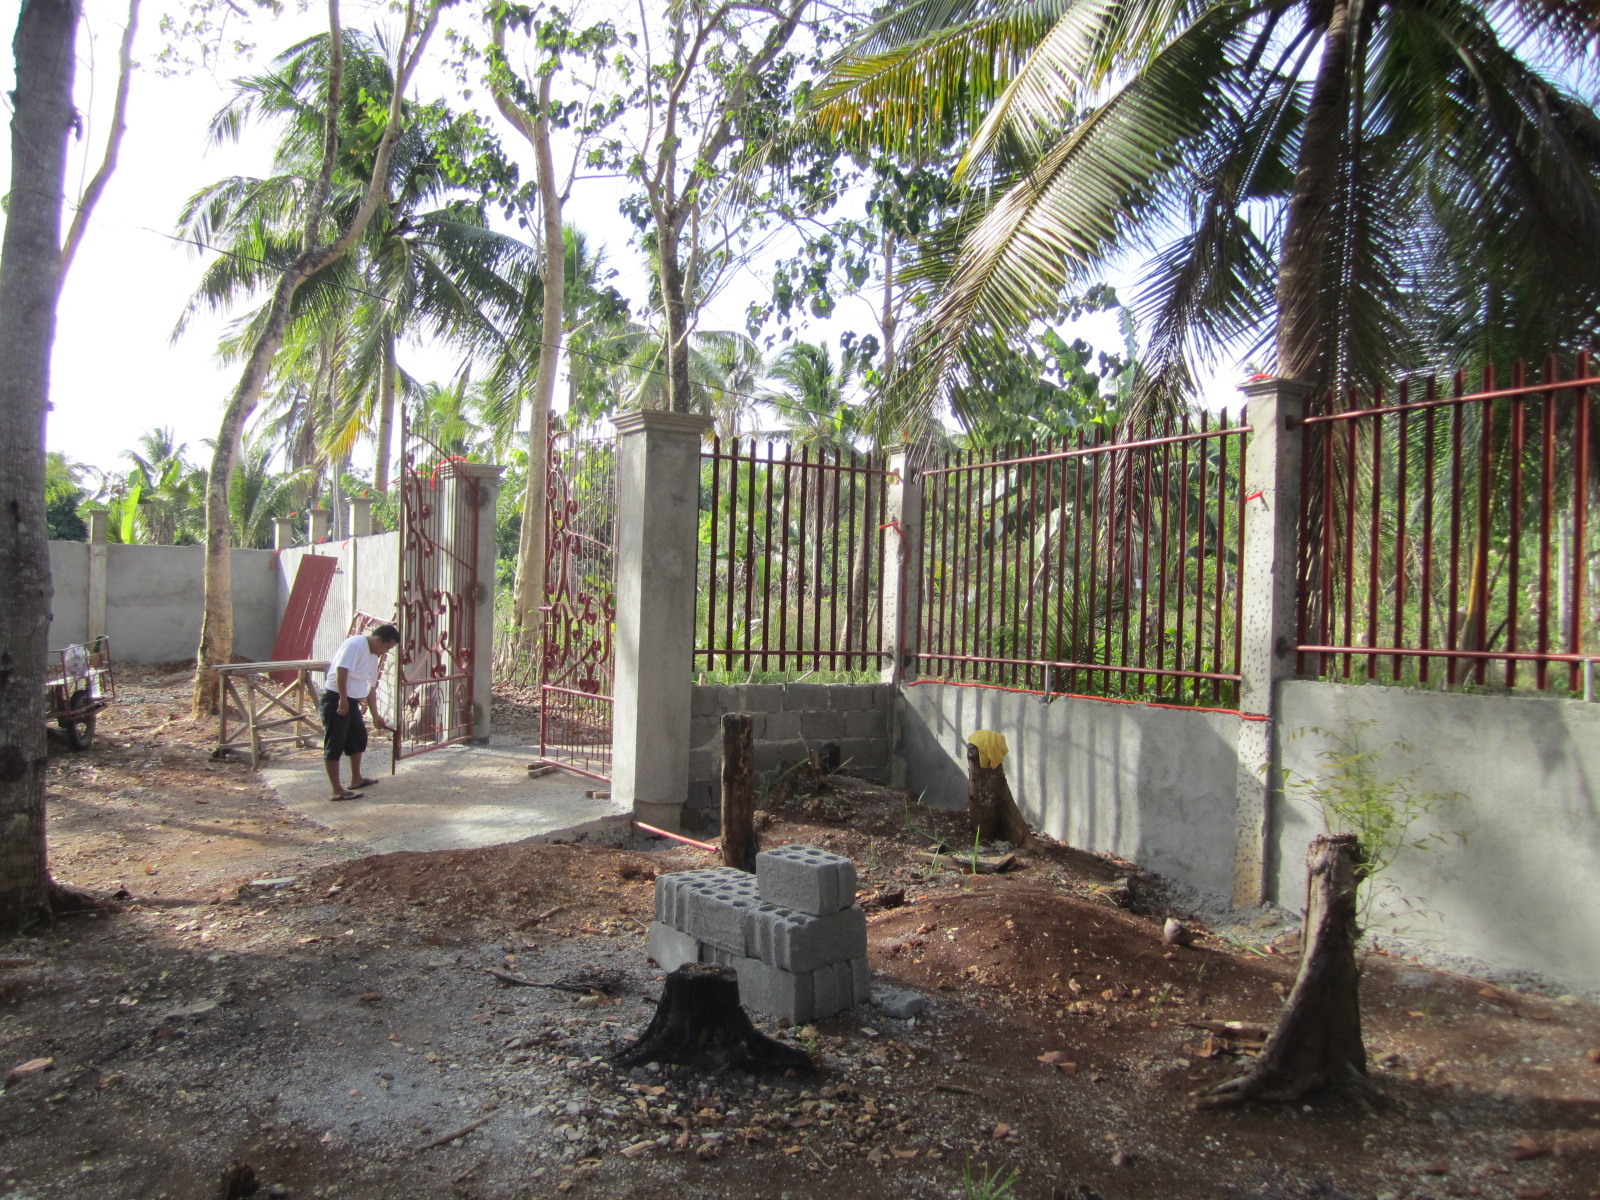
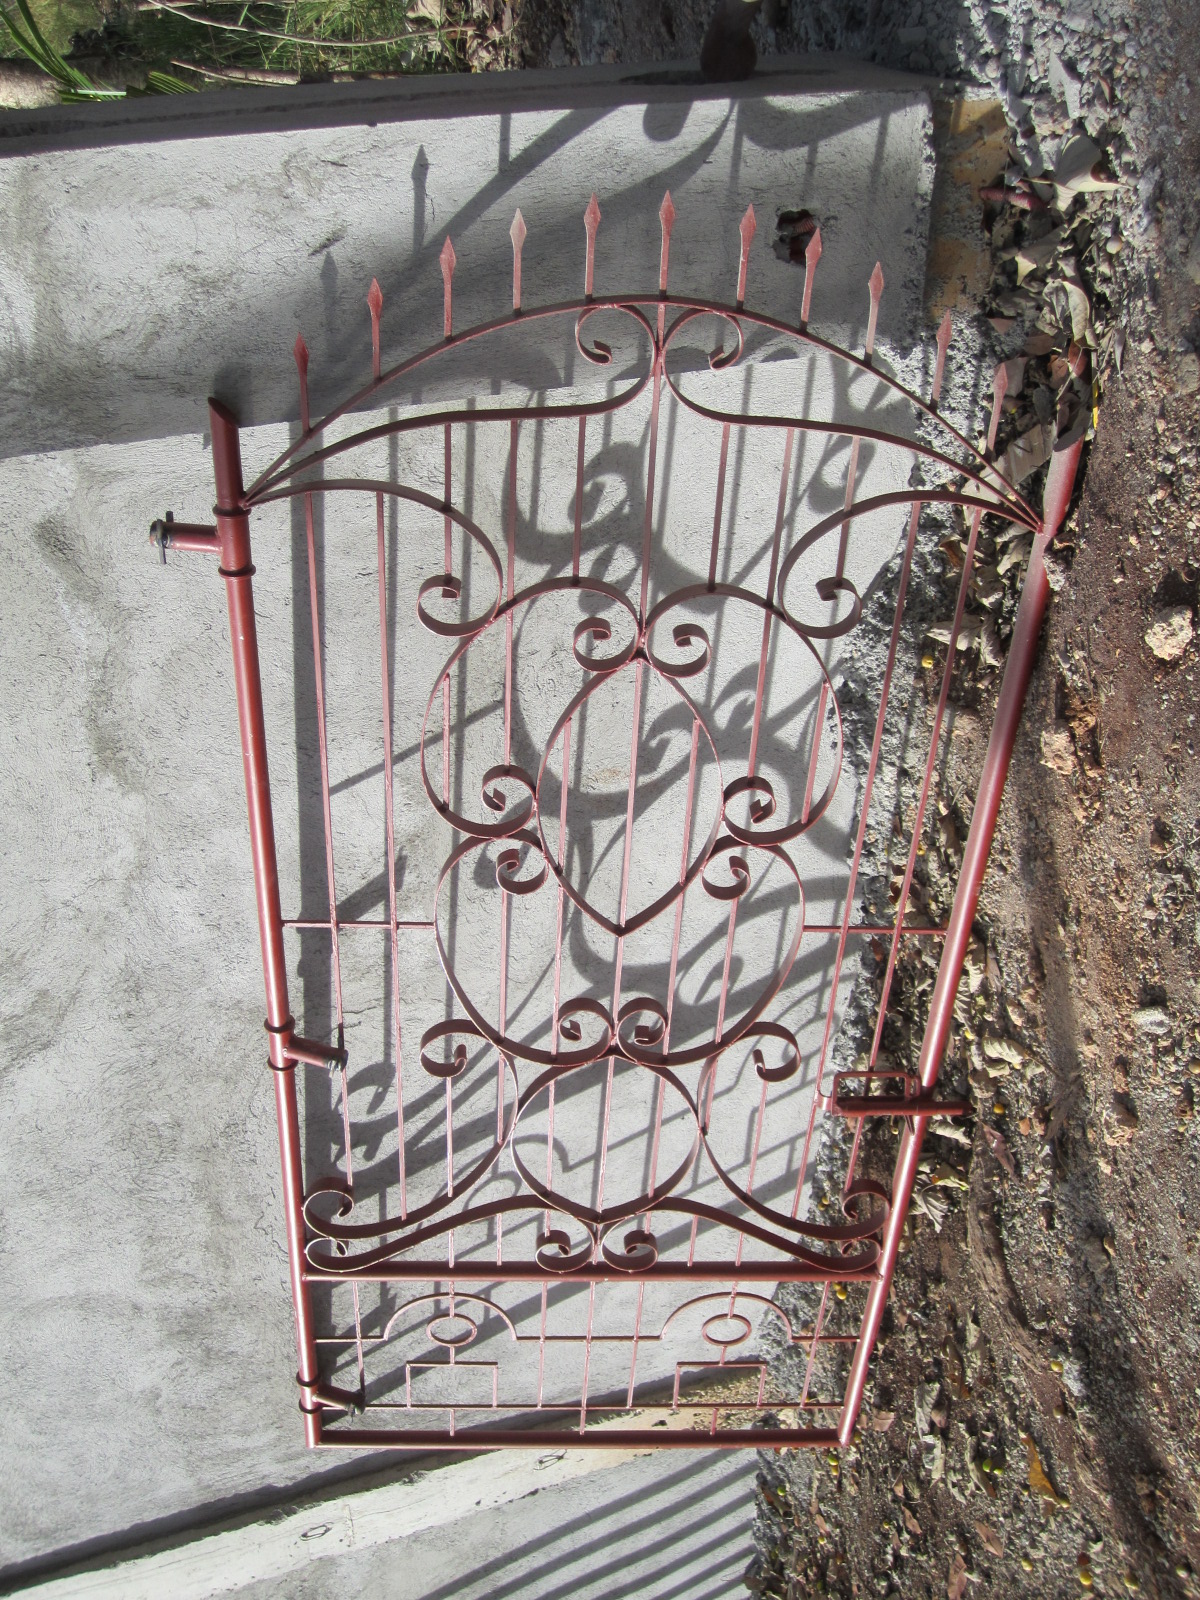
The first 2 photos show the two halves of the main driveway iron gate ready for installation. The 3rd photo shows the first two East wall fence sections installed.
The 4th photo shows the outside of the East Wall with all of the iron fence installed on that side. You can see the Guest house through the ironwork.
The last 2 photos show the main gate from the outside on the road into the property. The workman to the right is working on installation of the walk-through gate at
the side of the main driveway gate.
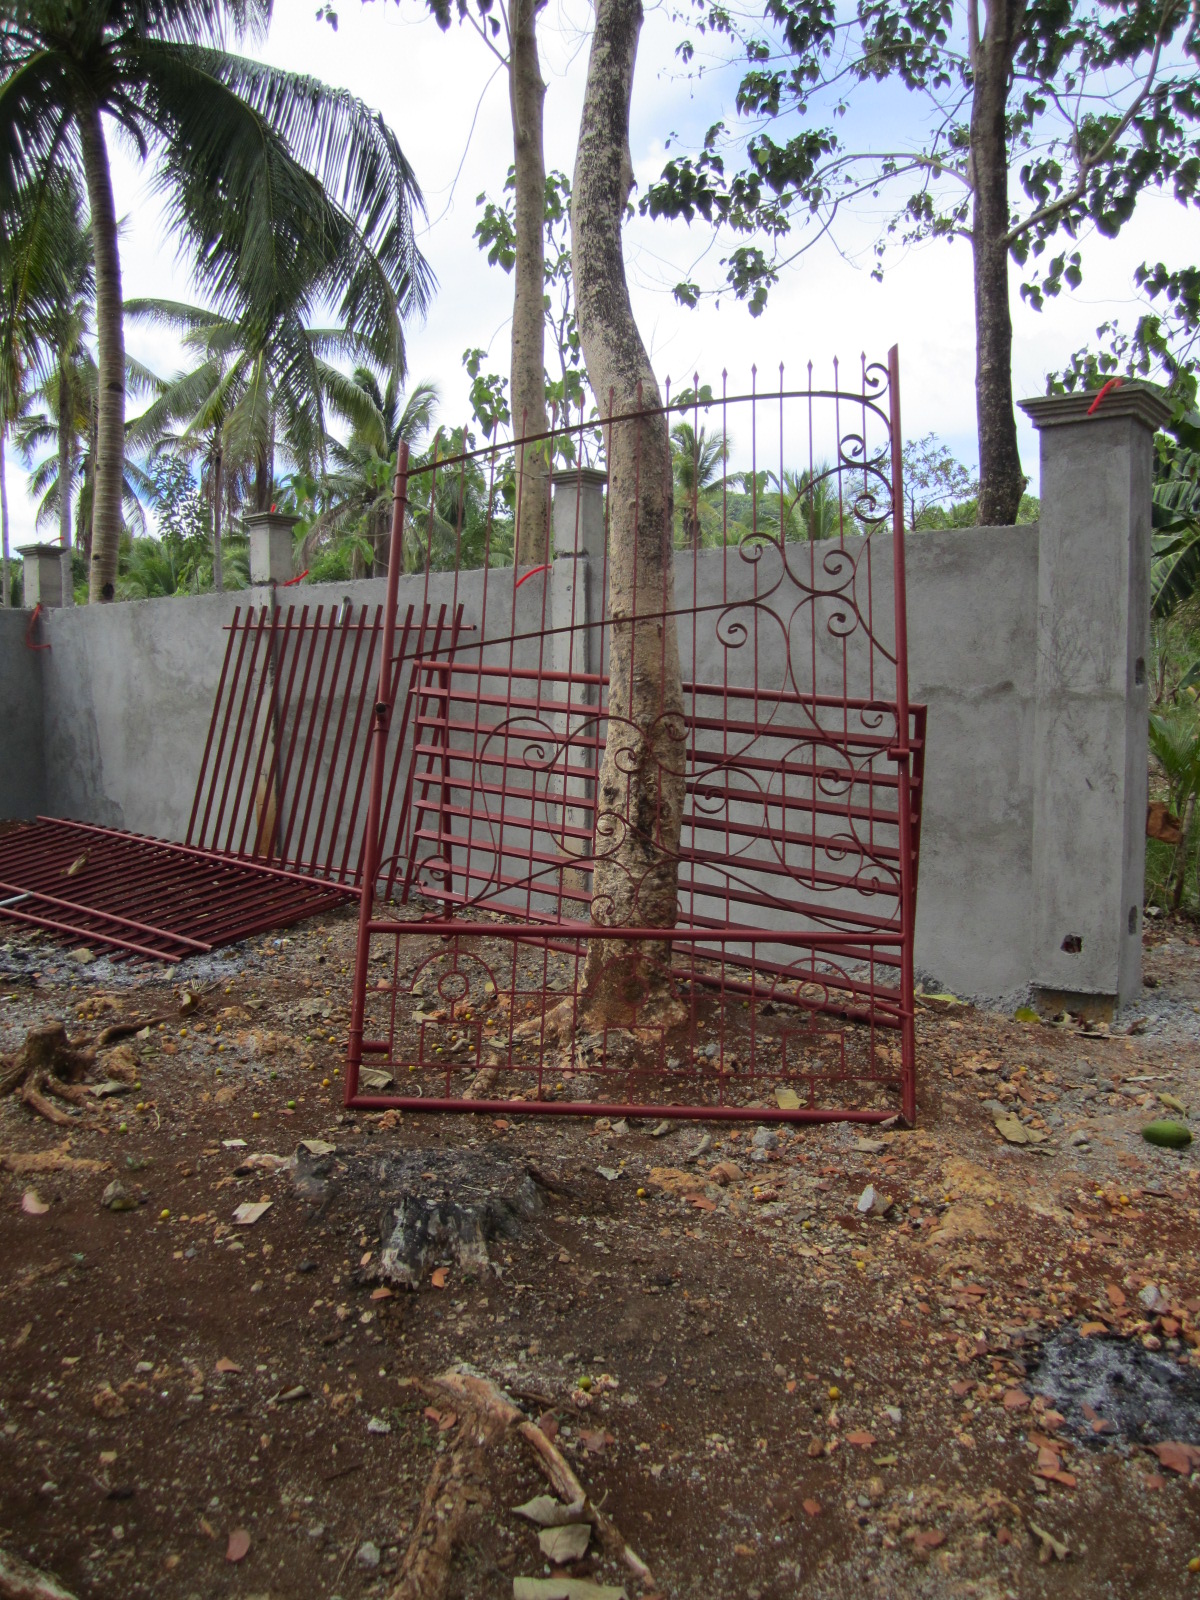
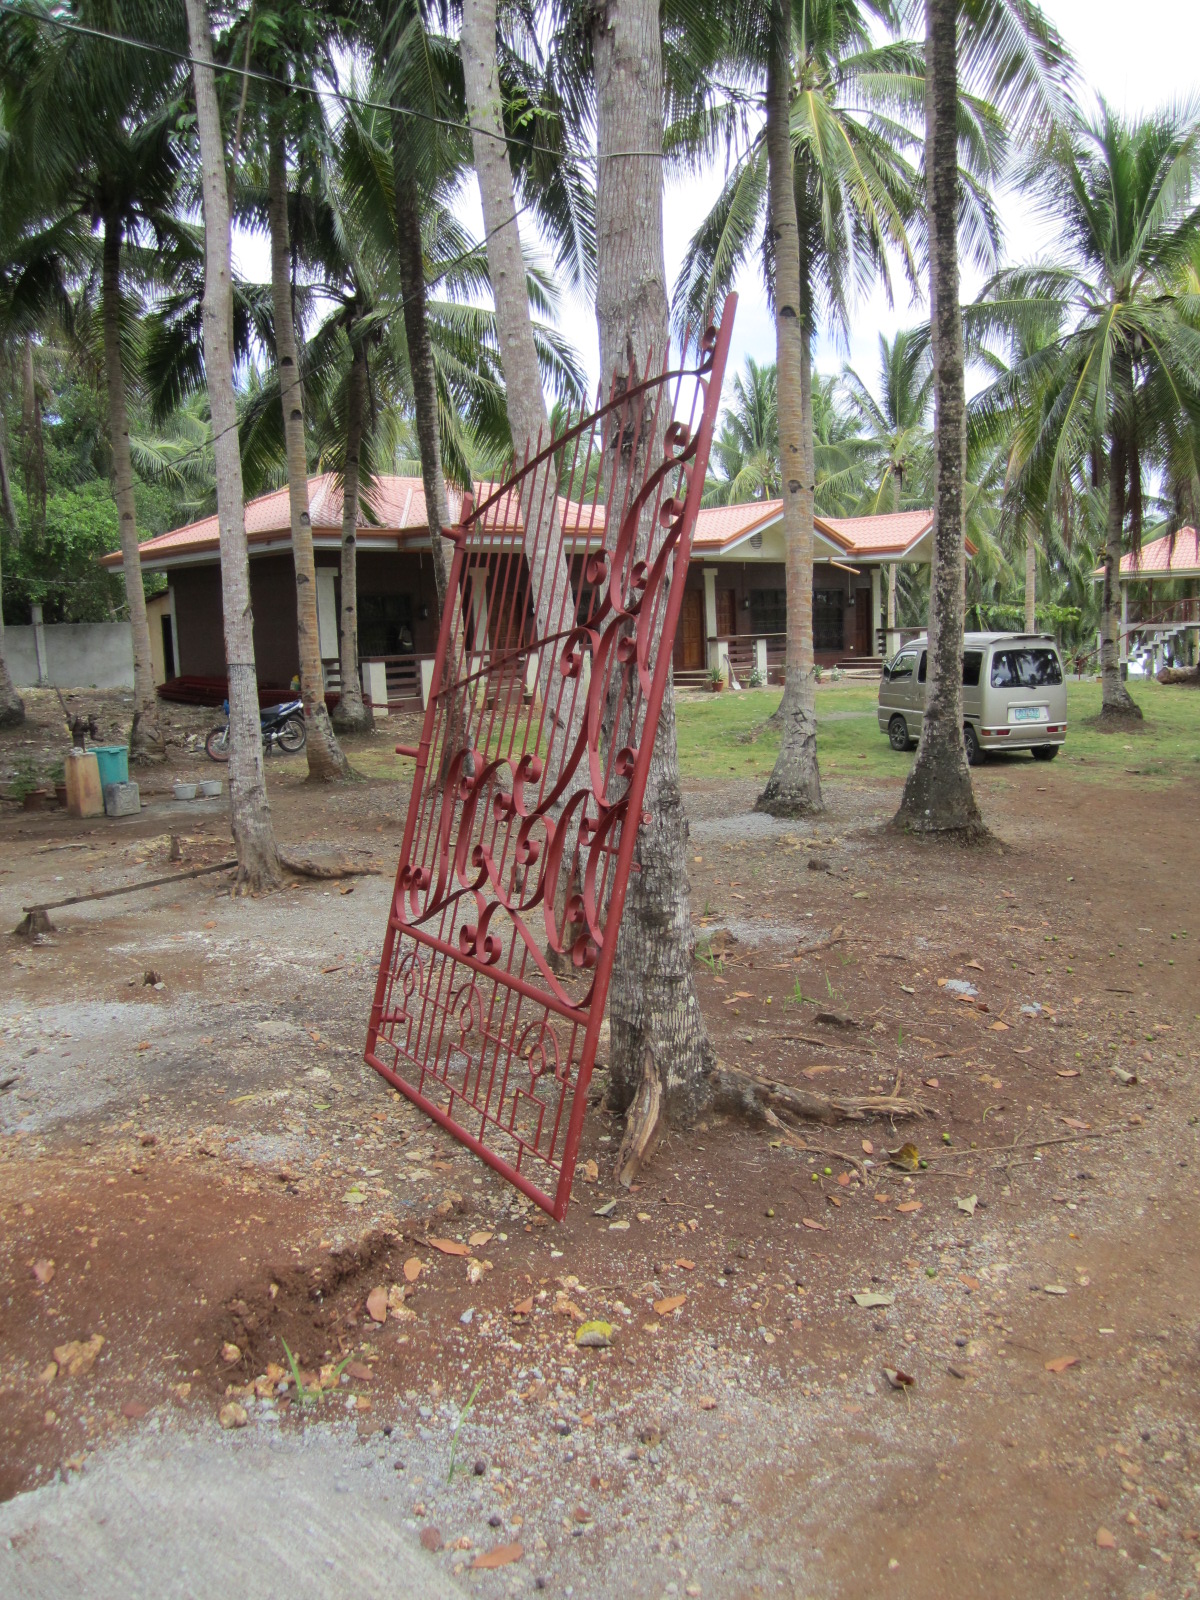
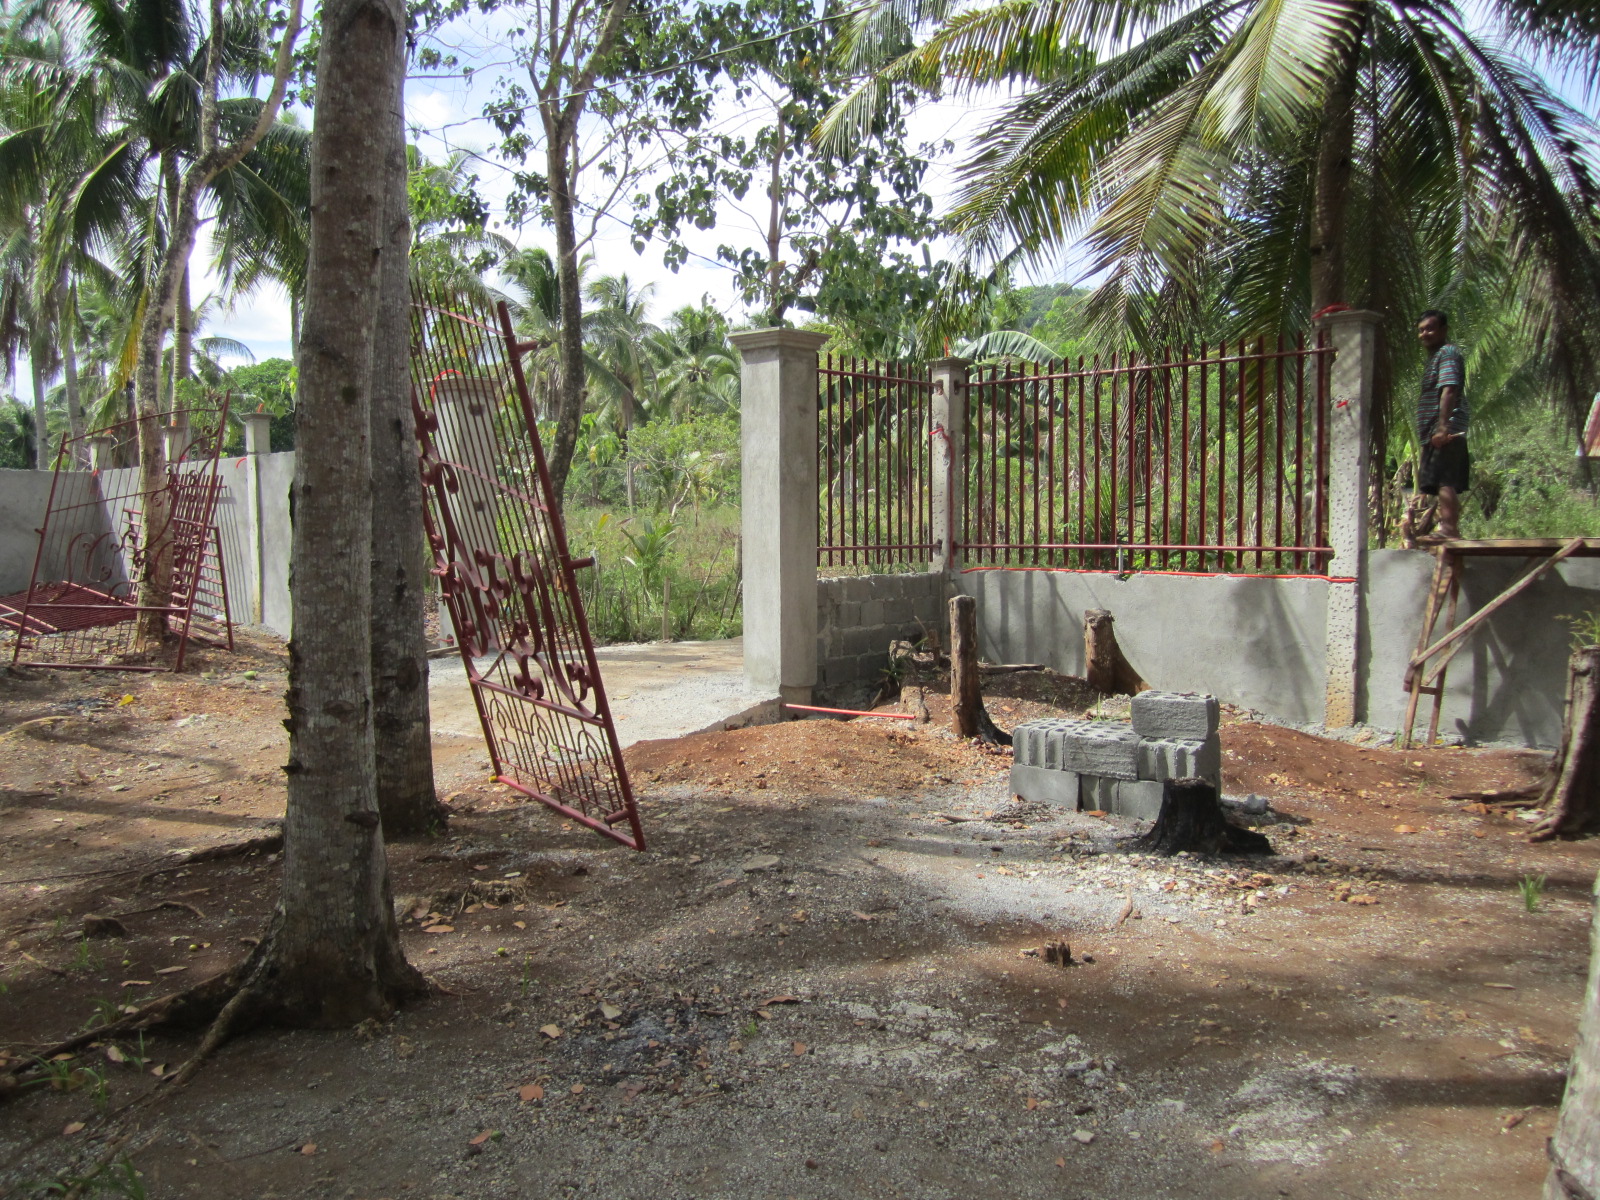
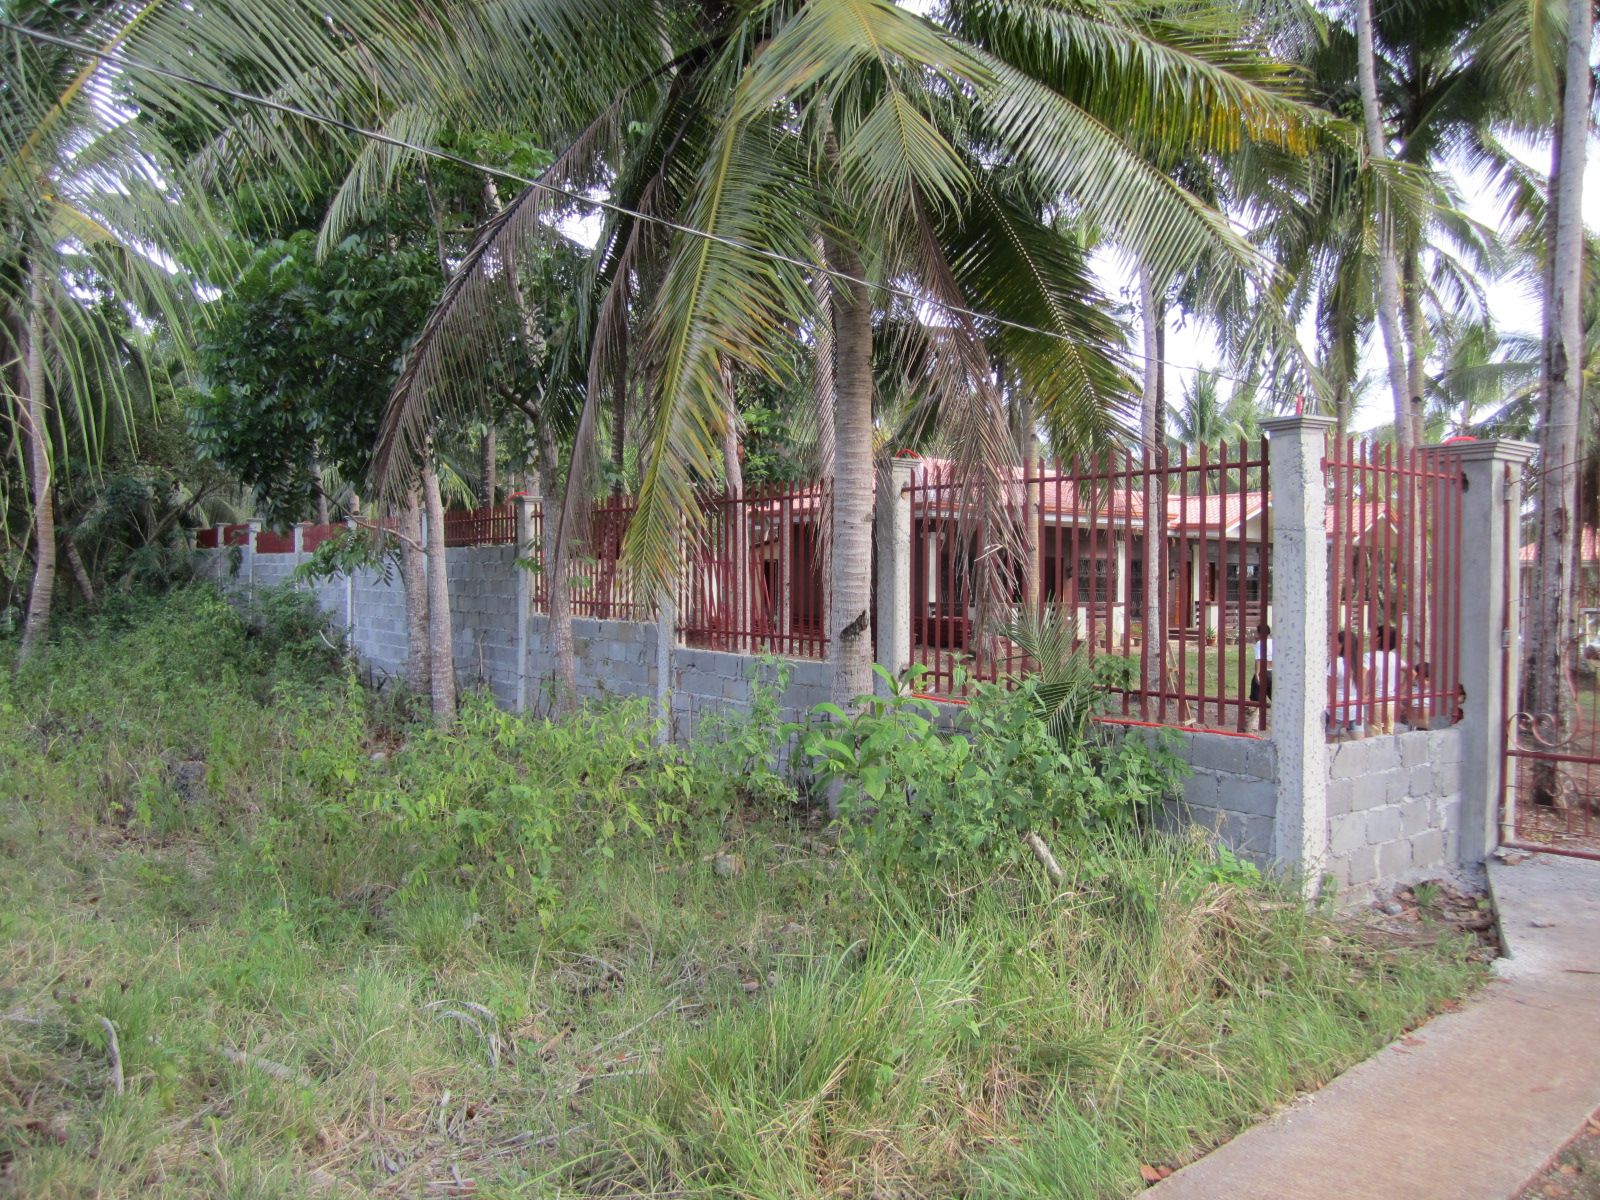
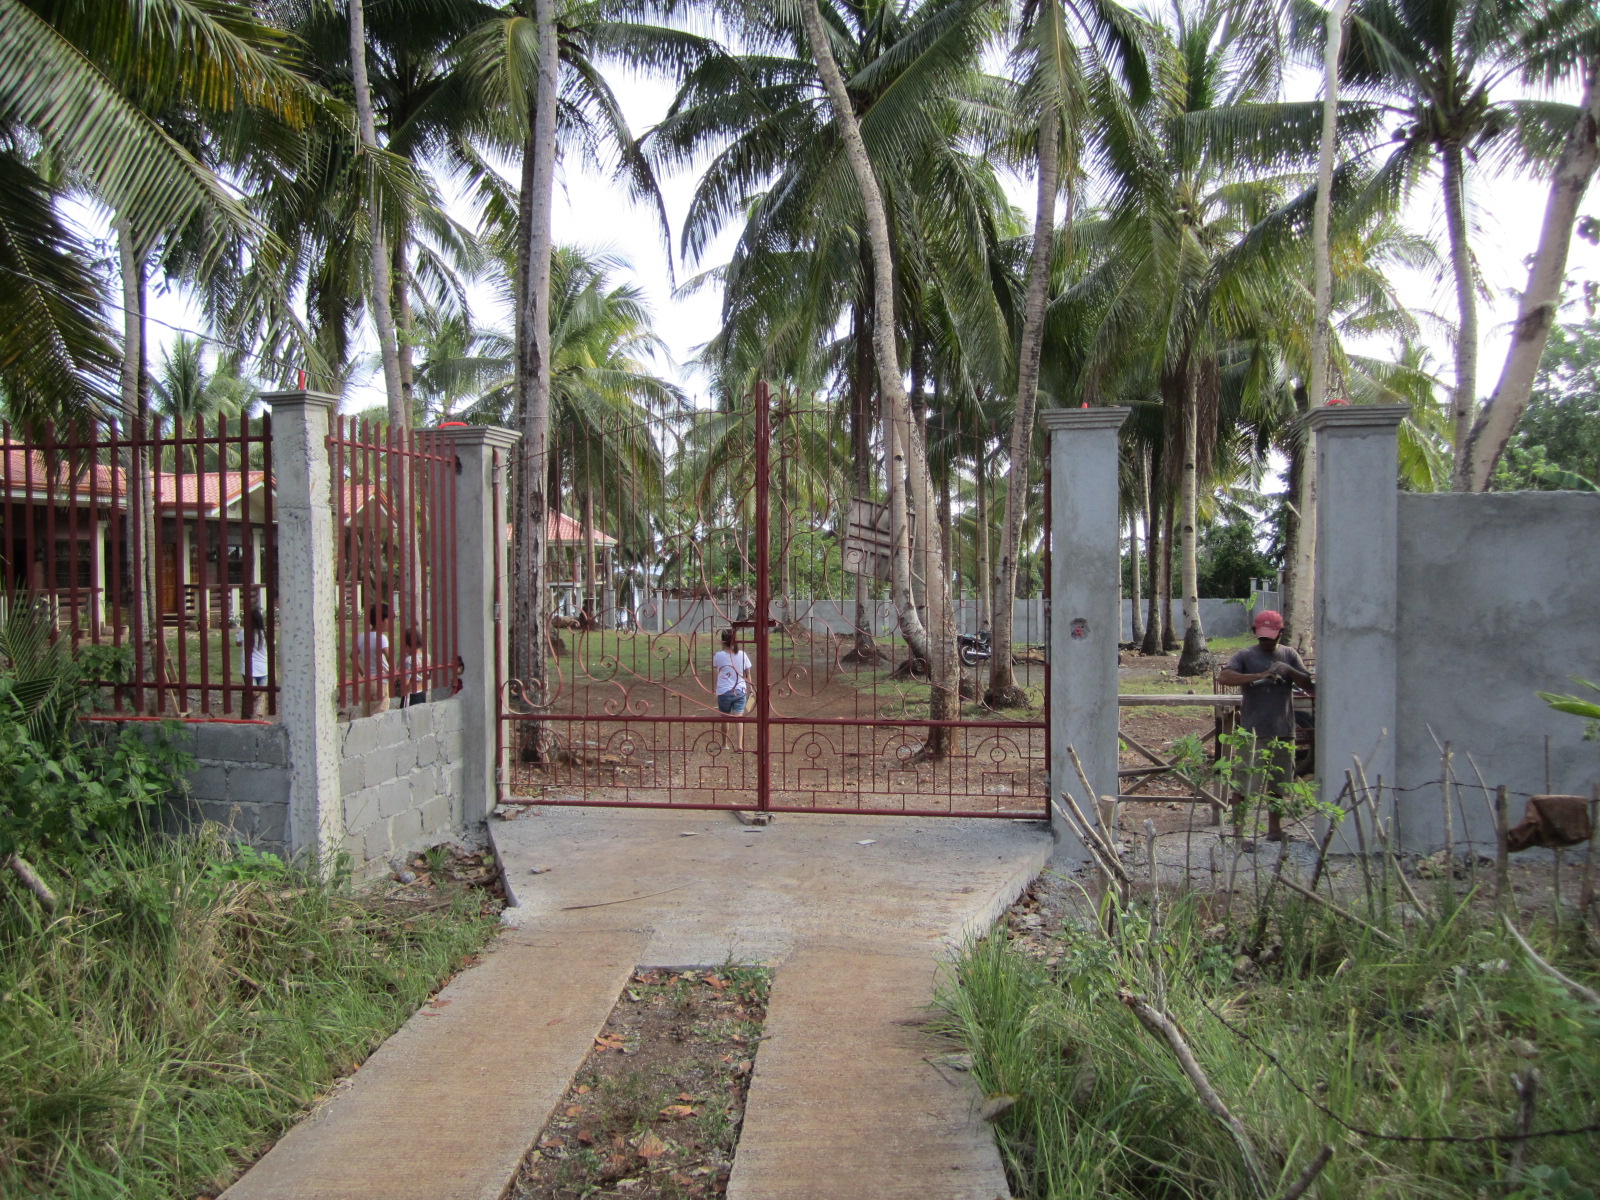
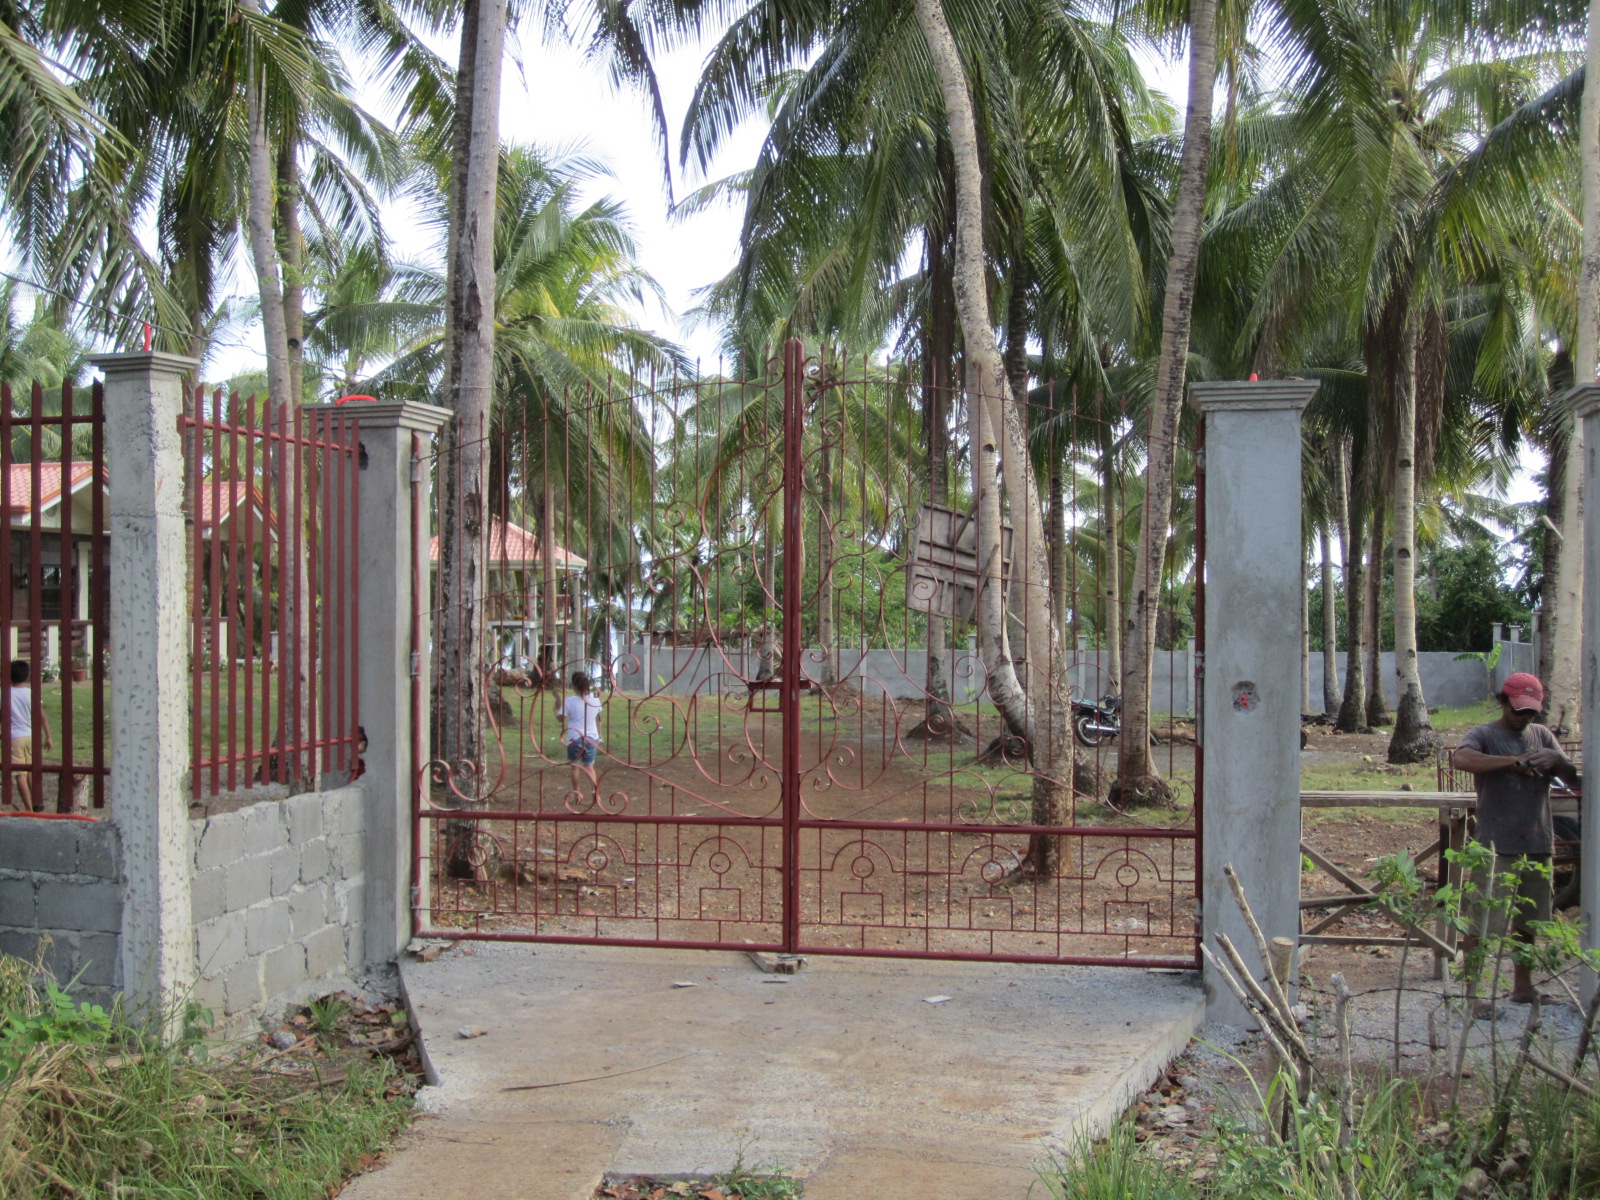
The first photo shows the main driveway gate from the inside of the property looking up the entrance roadway. The next 3 photos show the east wall and part of the South
wall with ironwork installed. The 5th photo shows the main gate being opened. The last photo is the walk-through gate that will be installed in the next day or so.
June 10, 2013
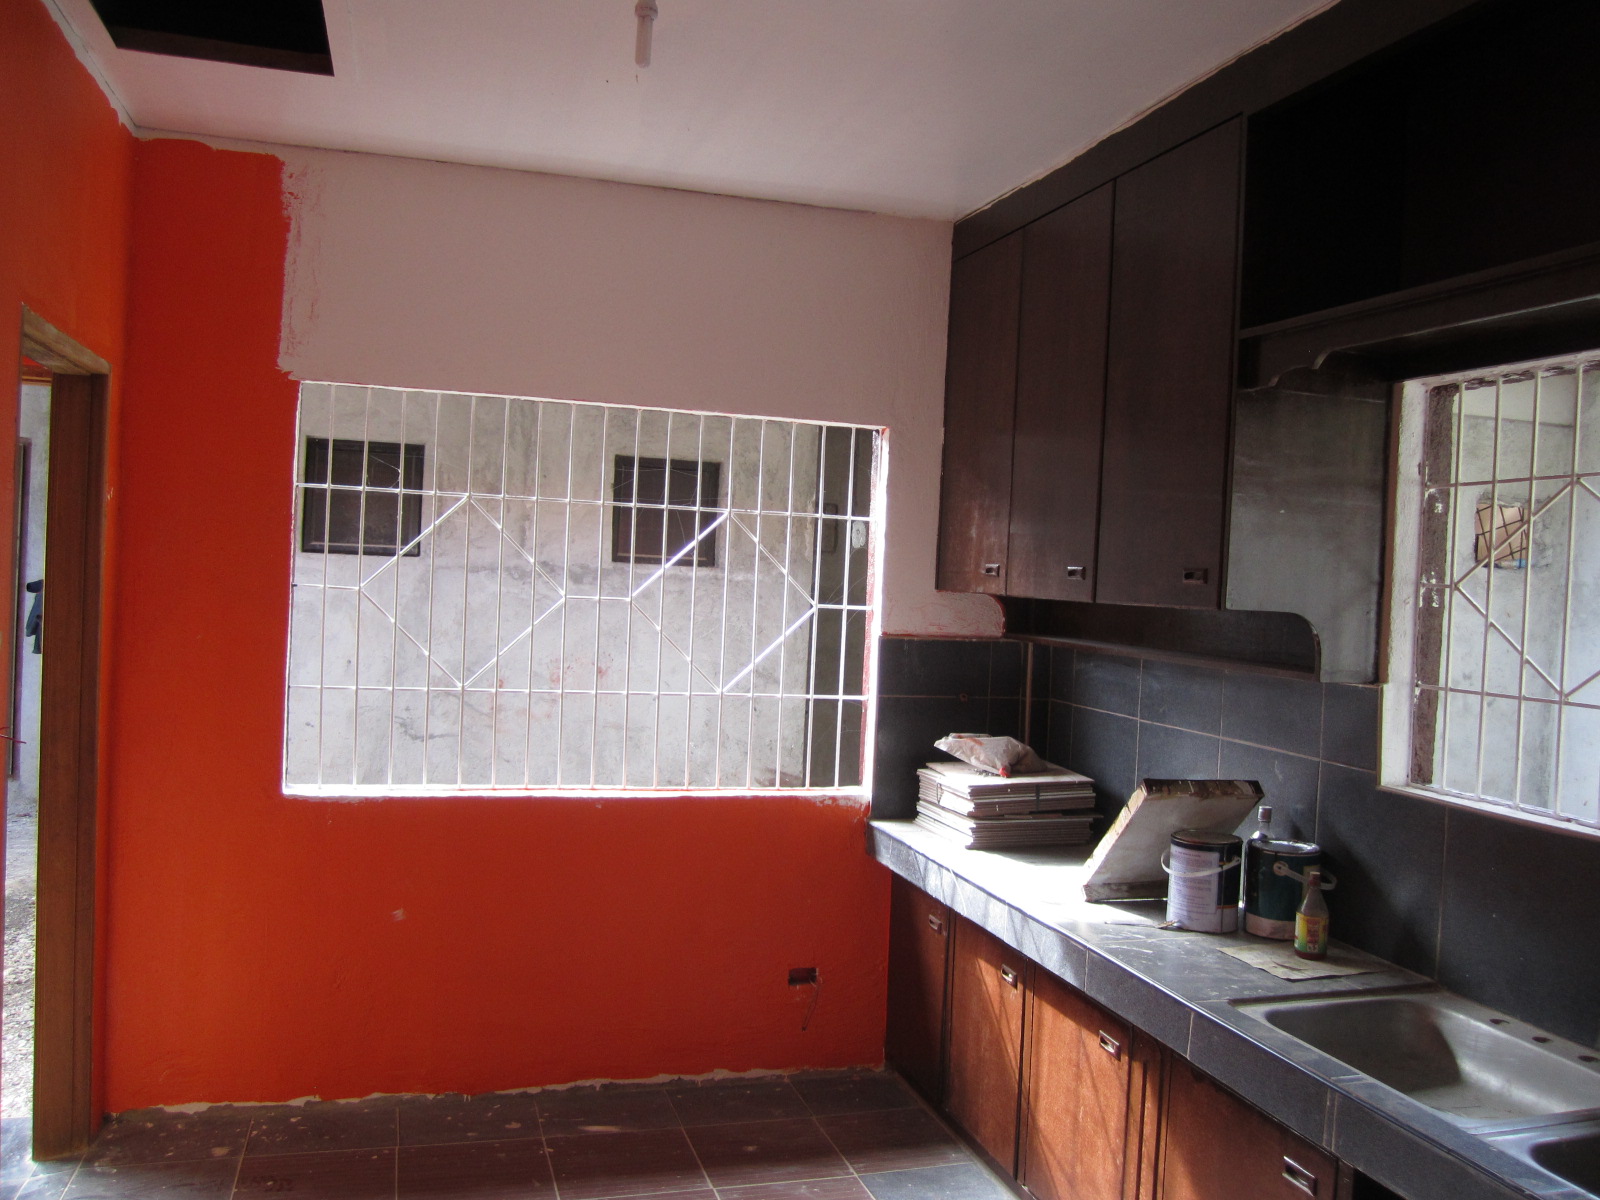
Exterior painting of the Kitchen is done and most of the interior as well. The following photos start with the East end of the kitchen. The next photo is the North side
of the kitchen that is towards the back of the Guest House. The next 3 photos show the main area of the kitchen.
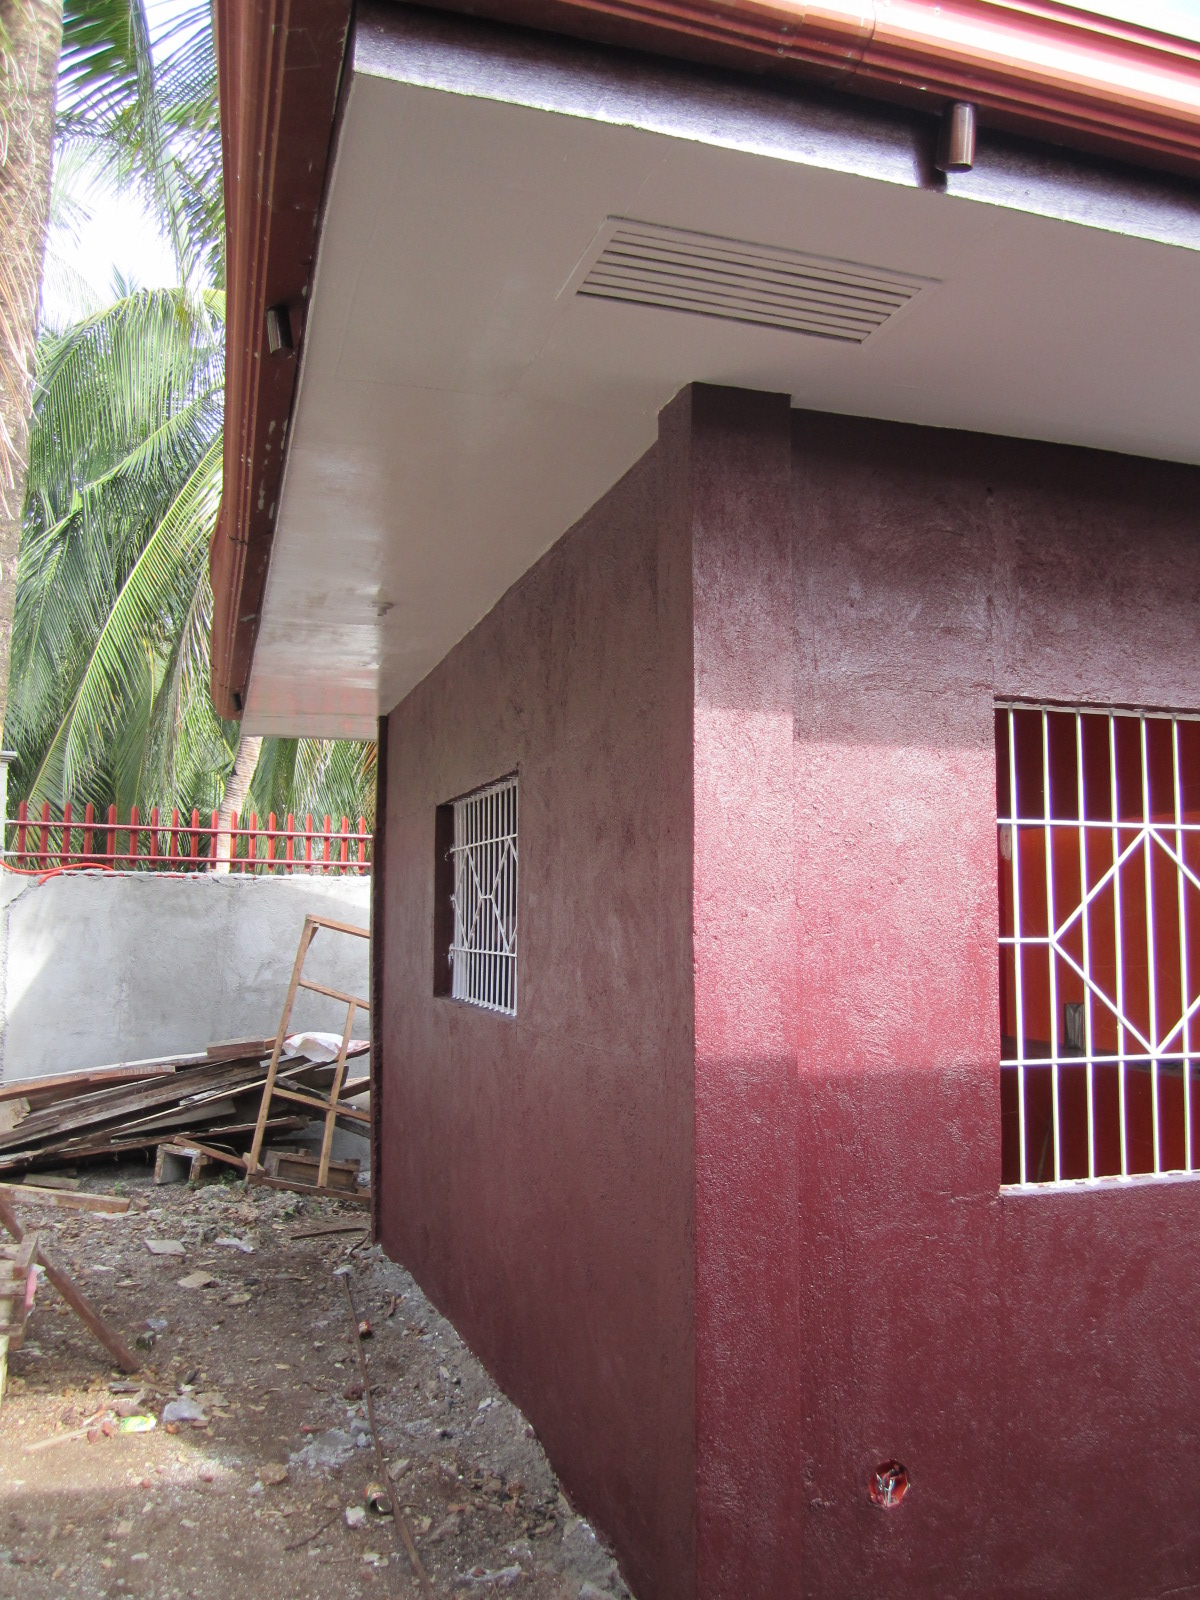
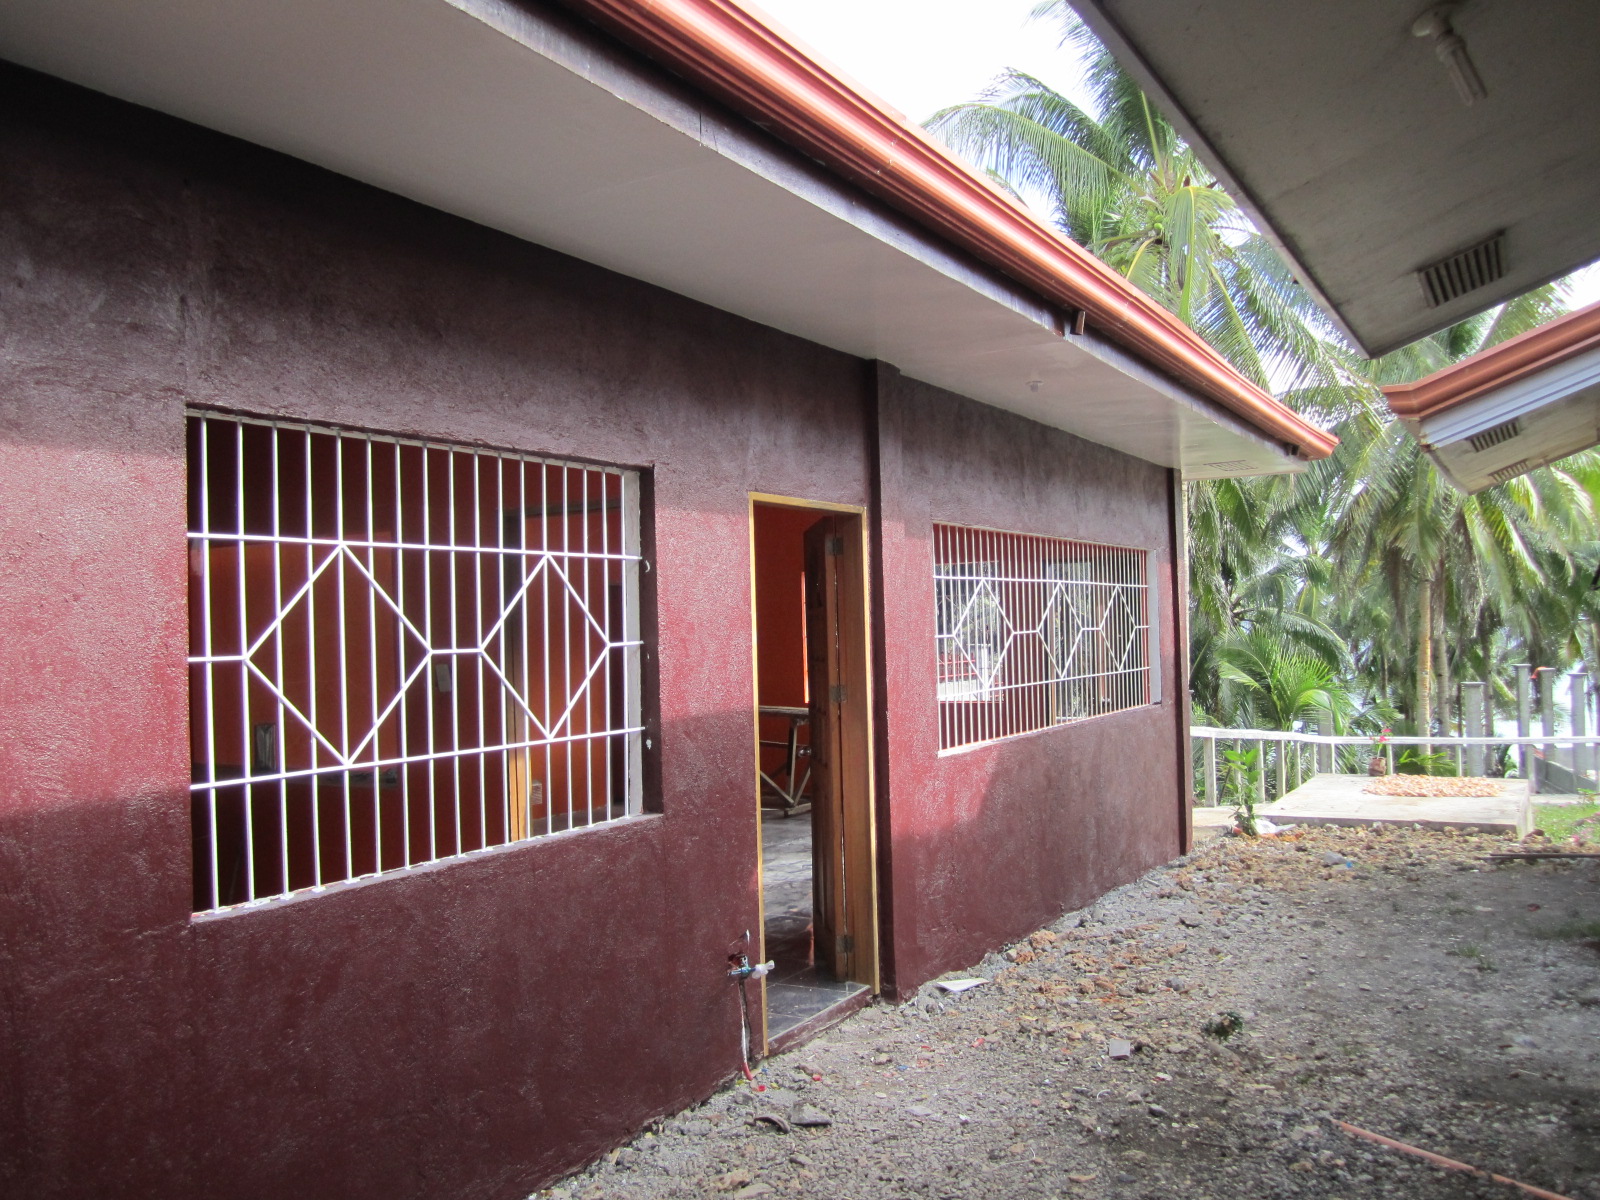
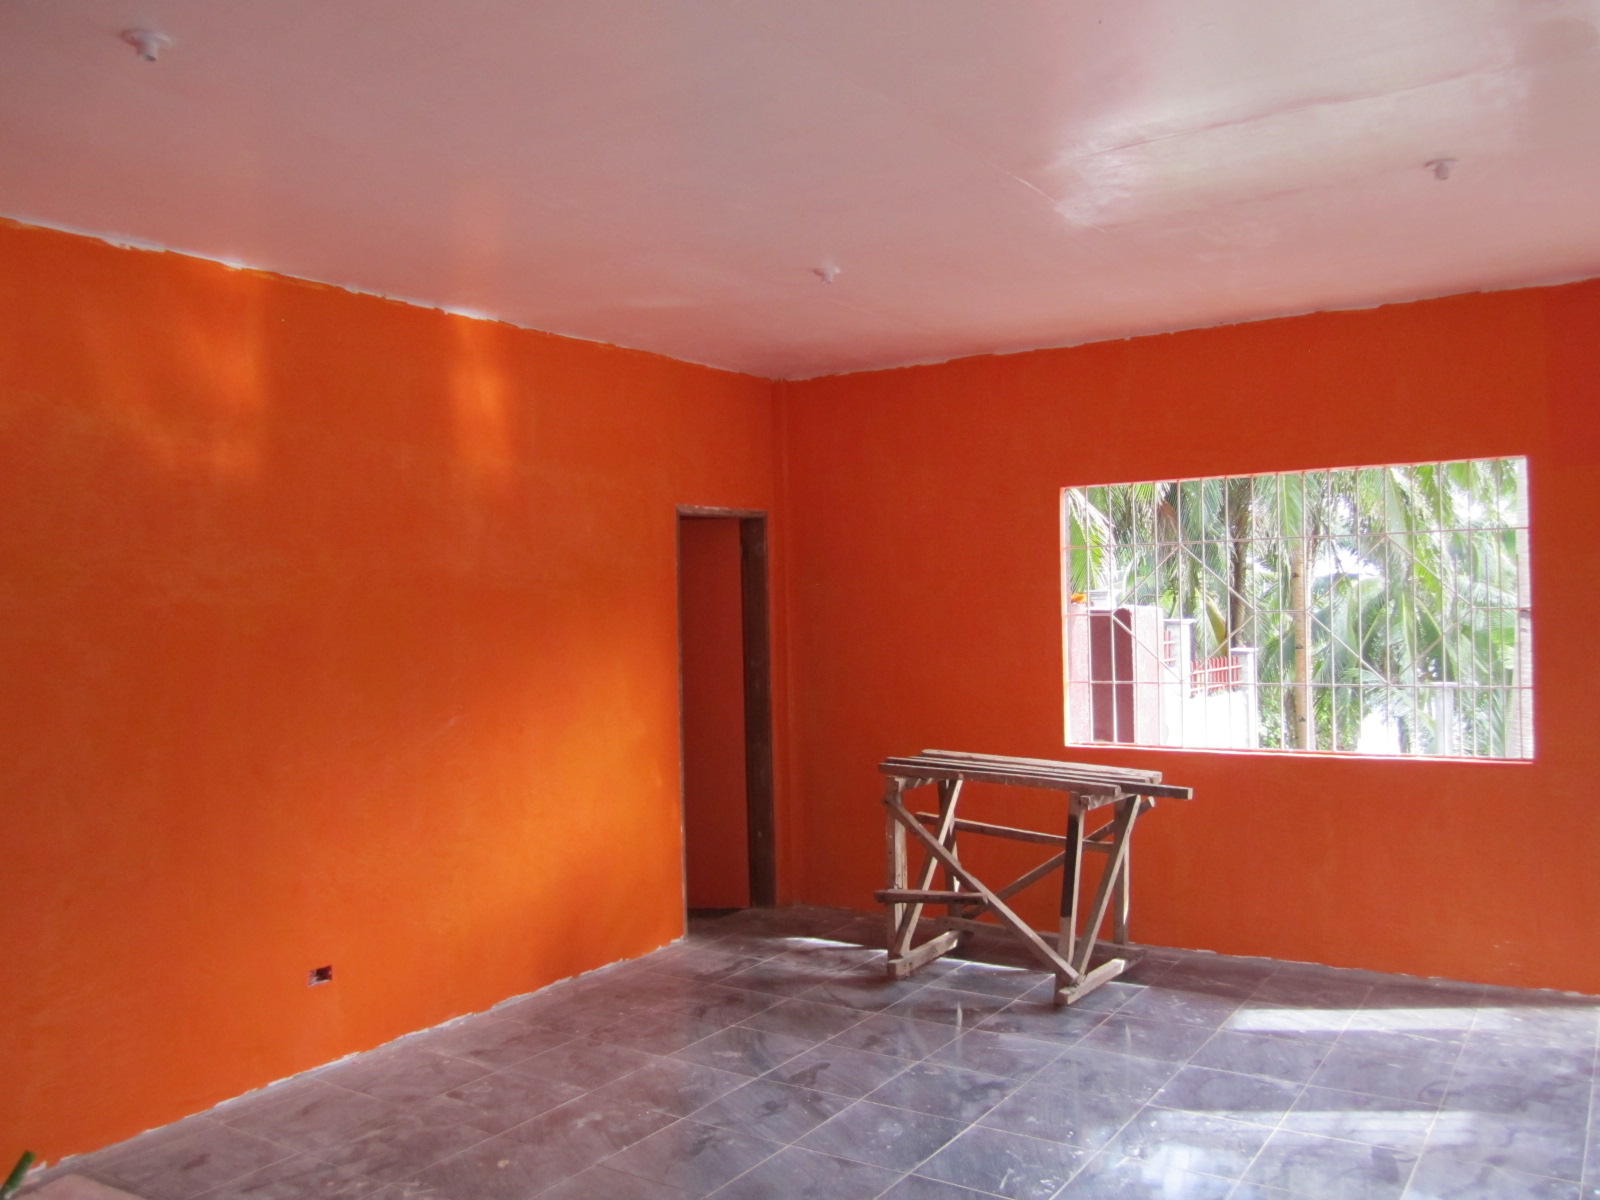
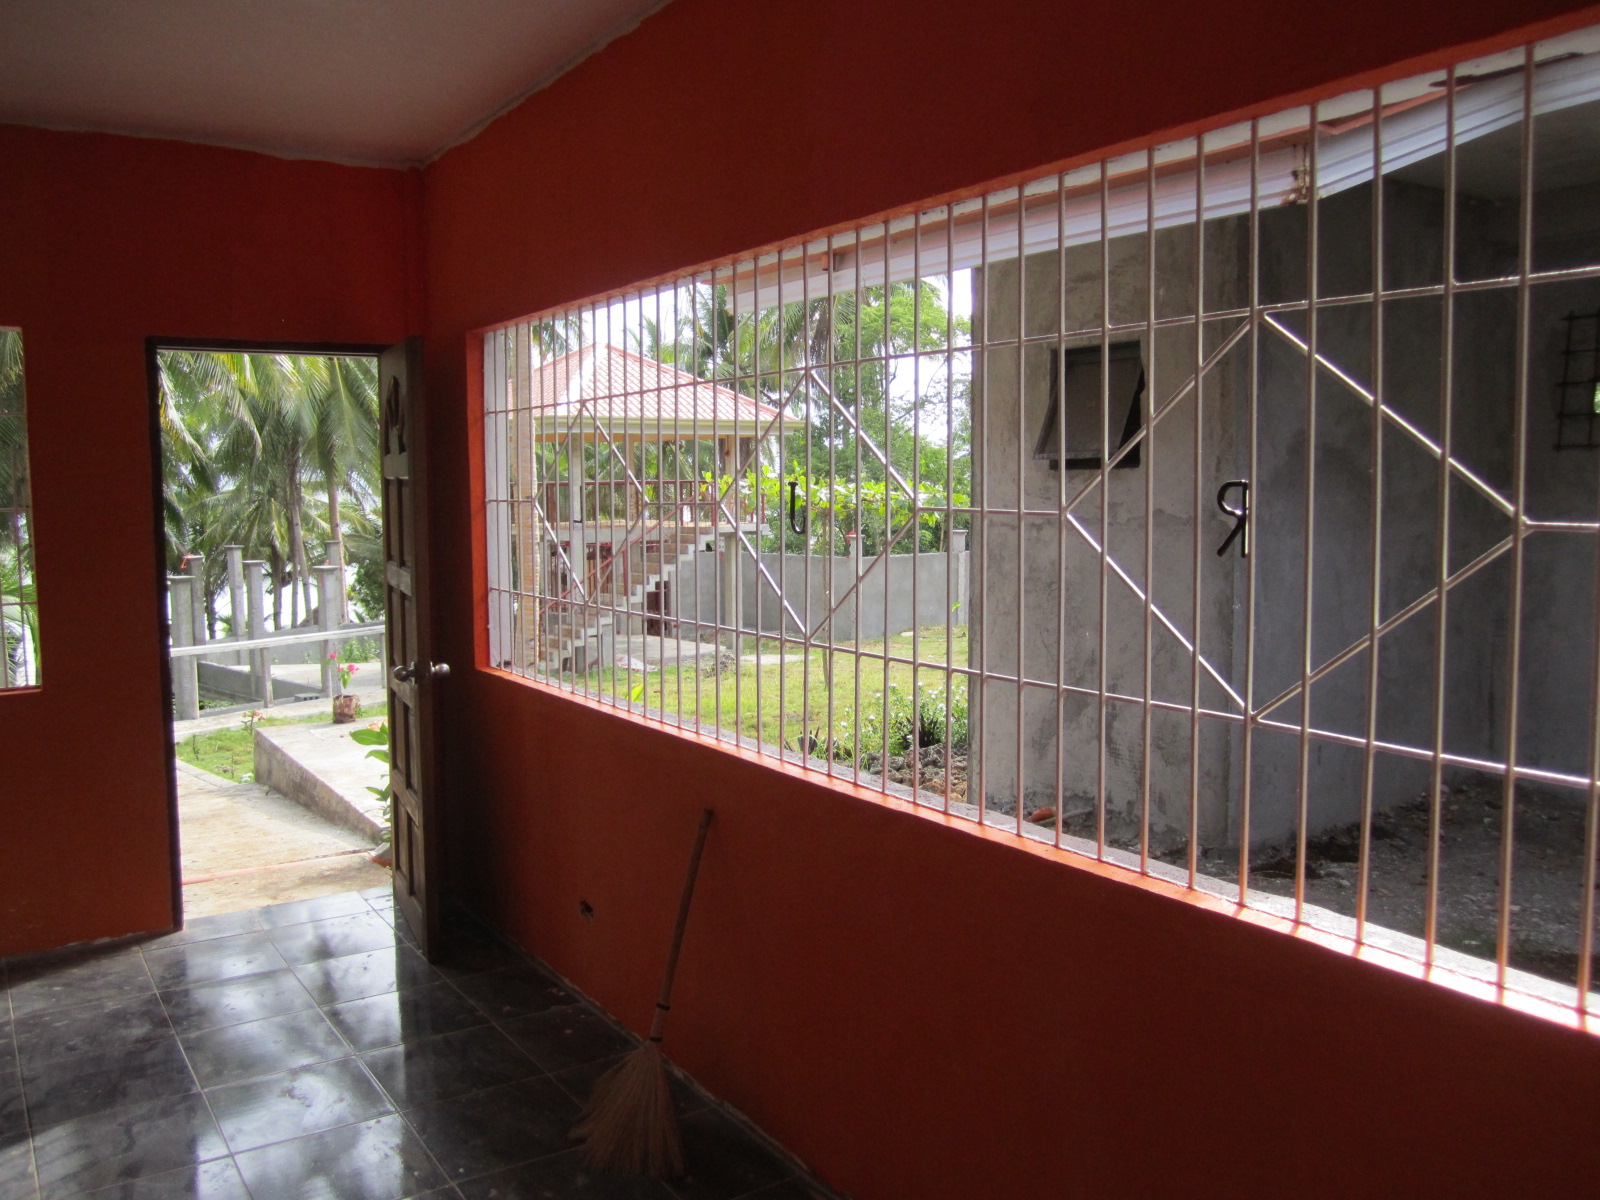
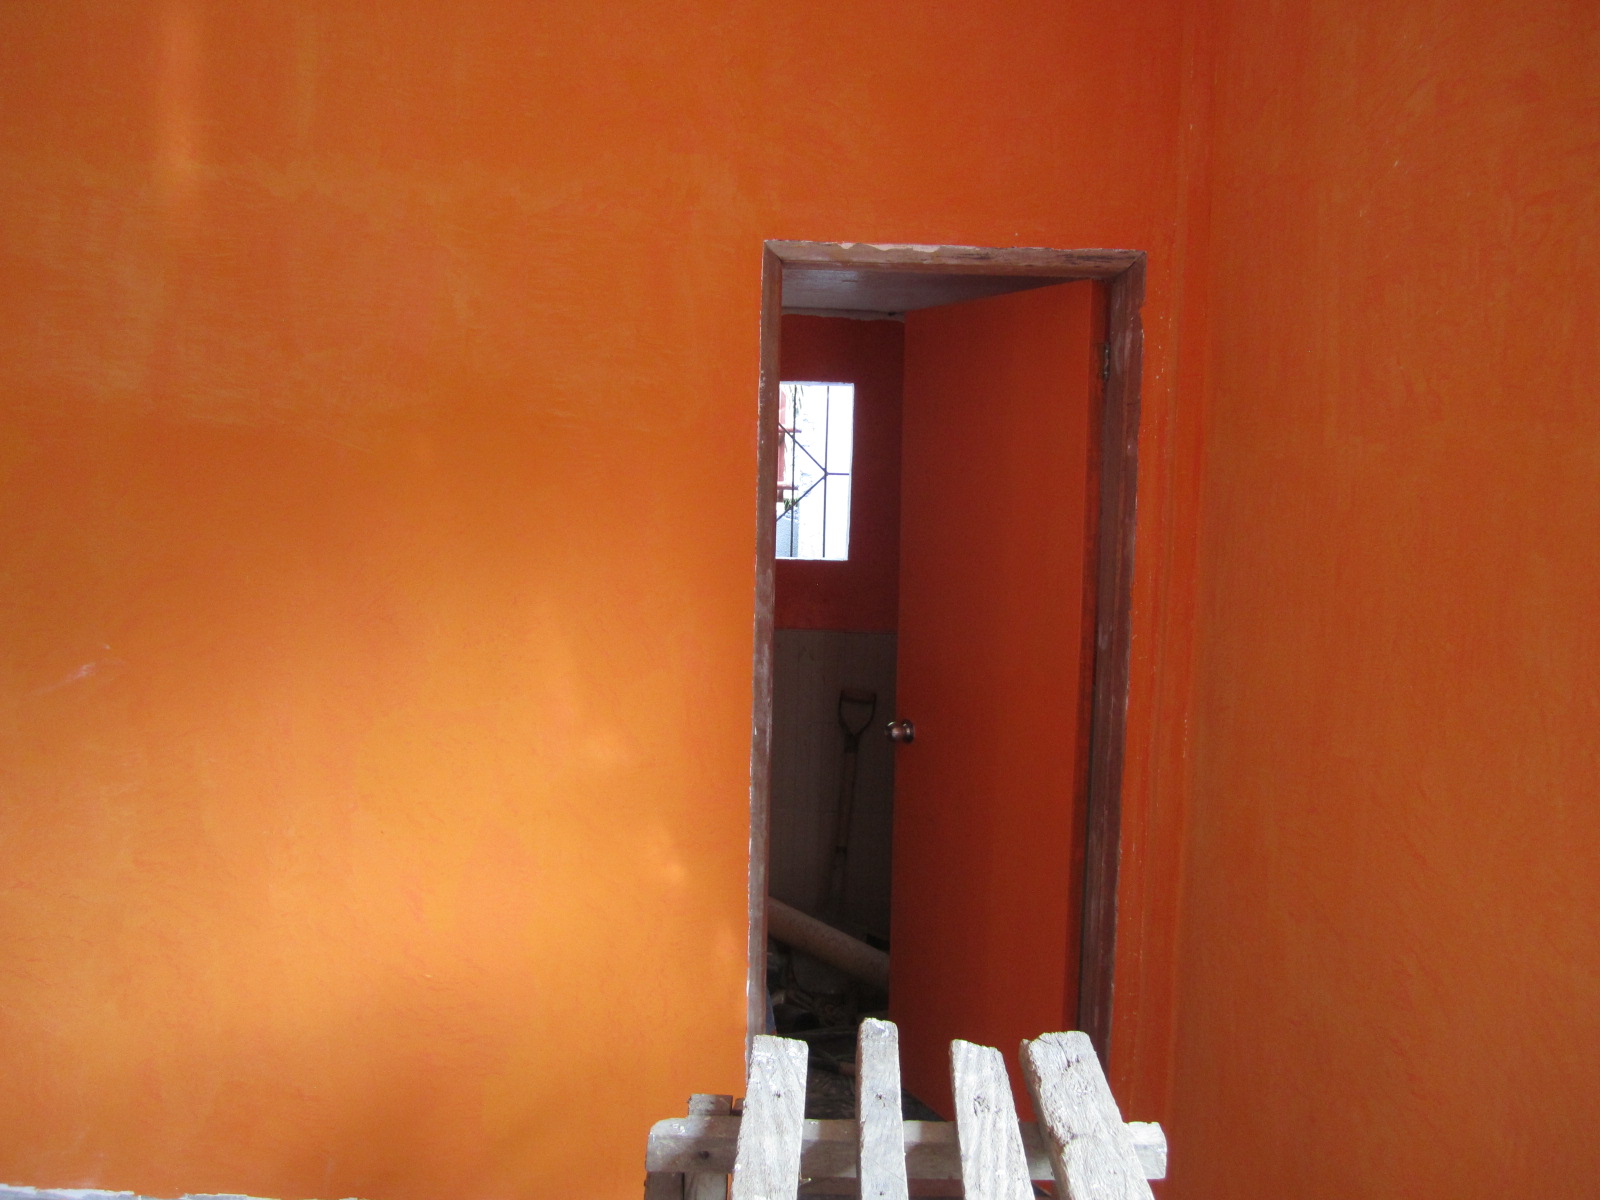
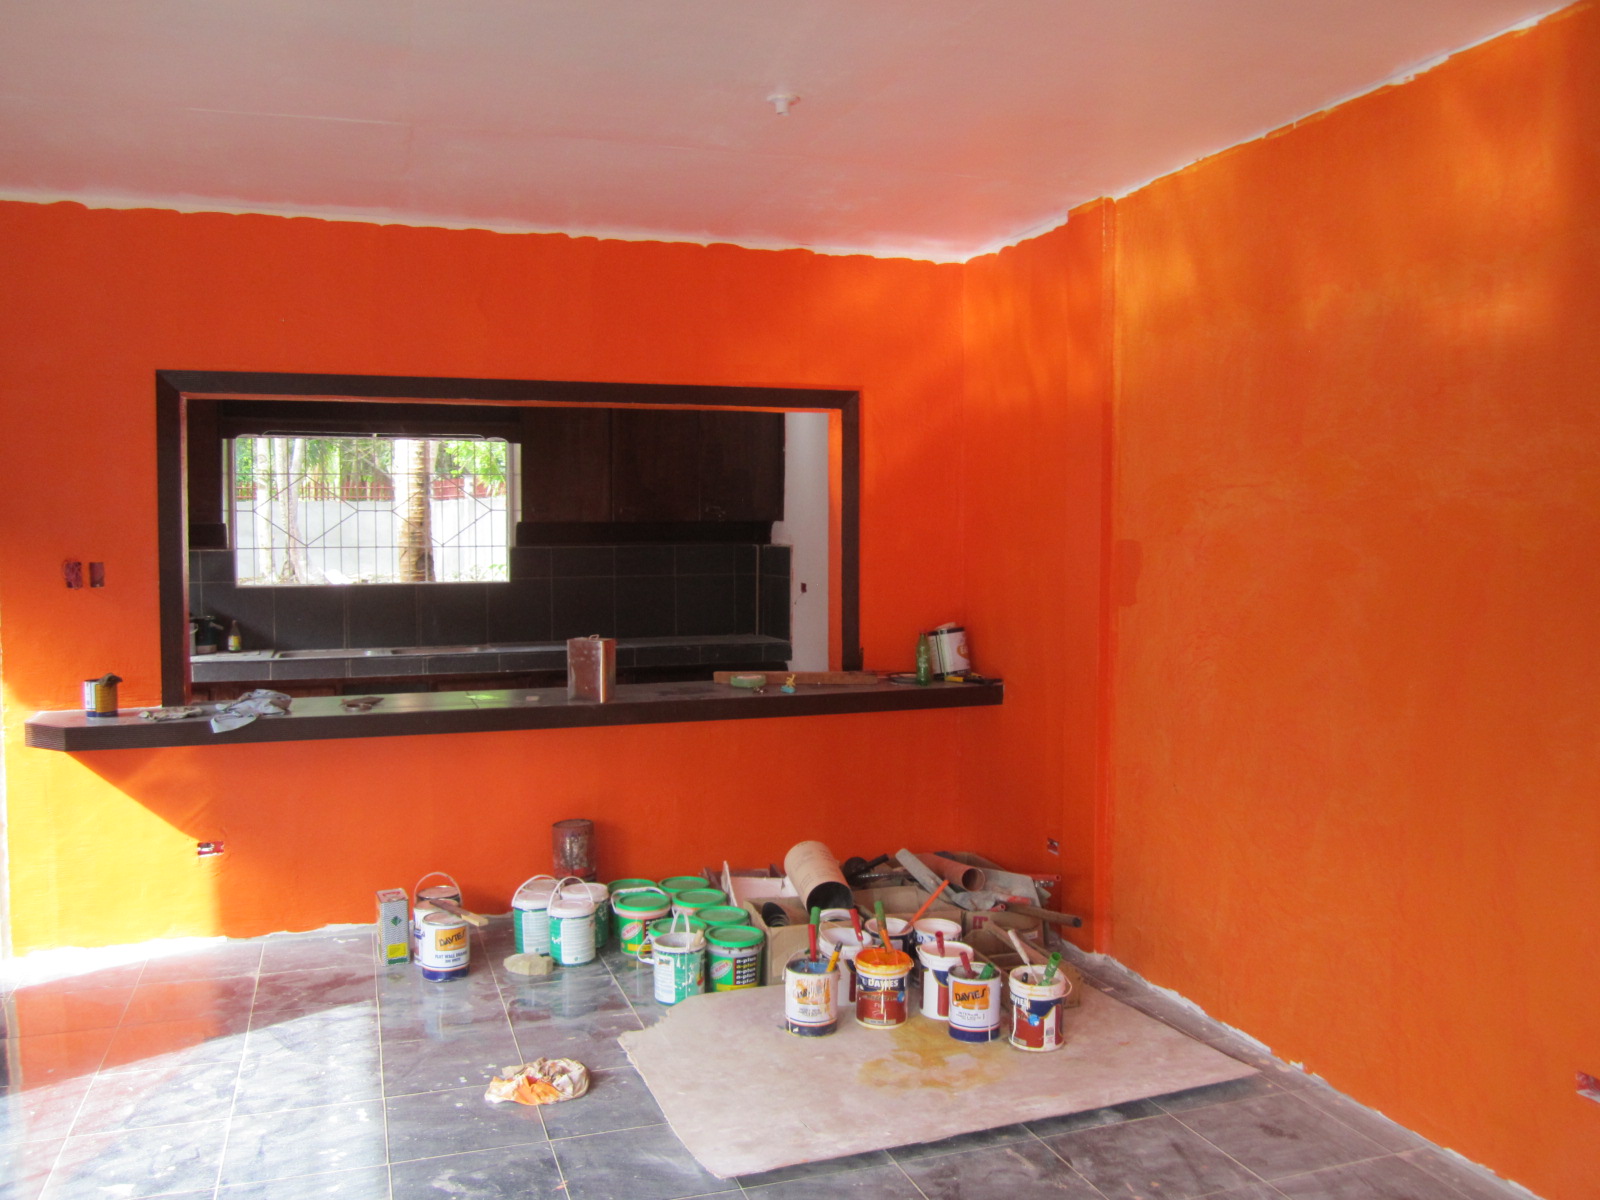
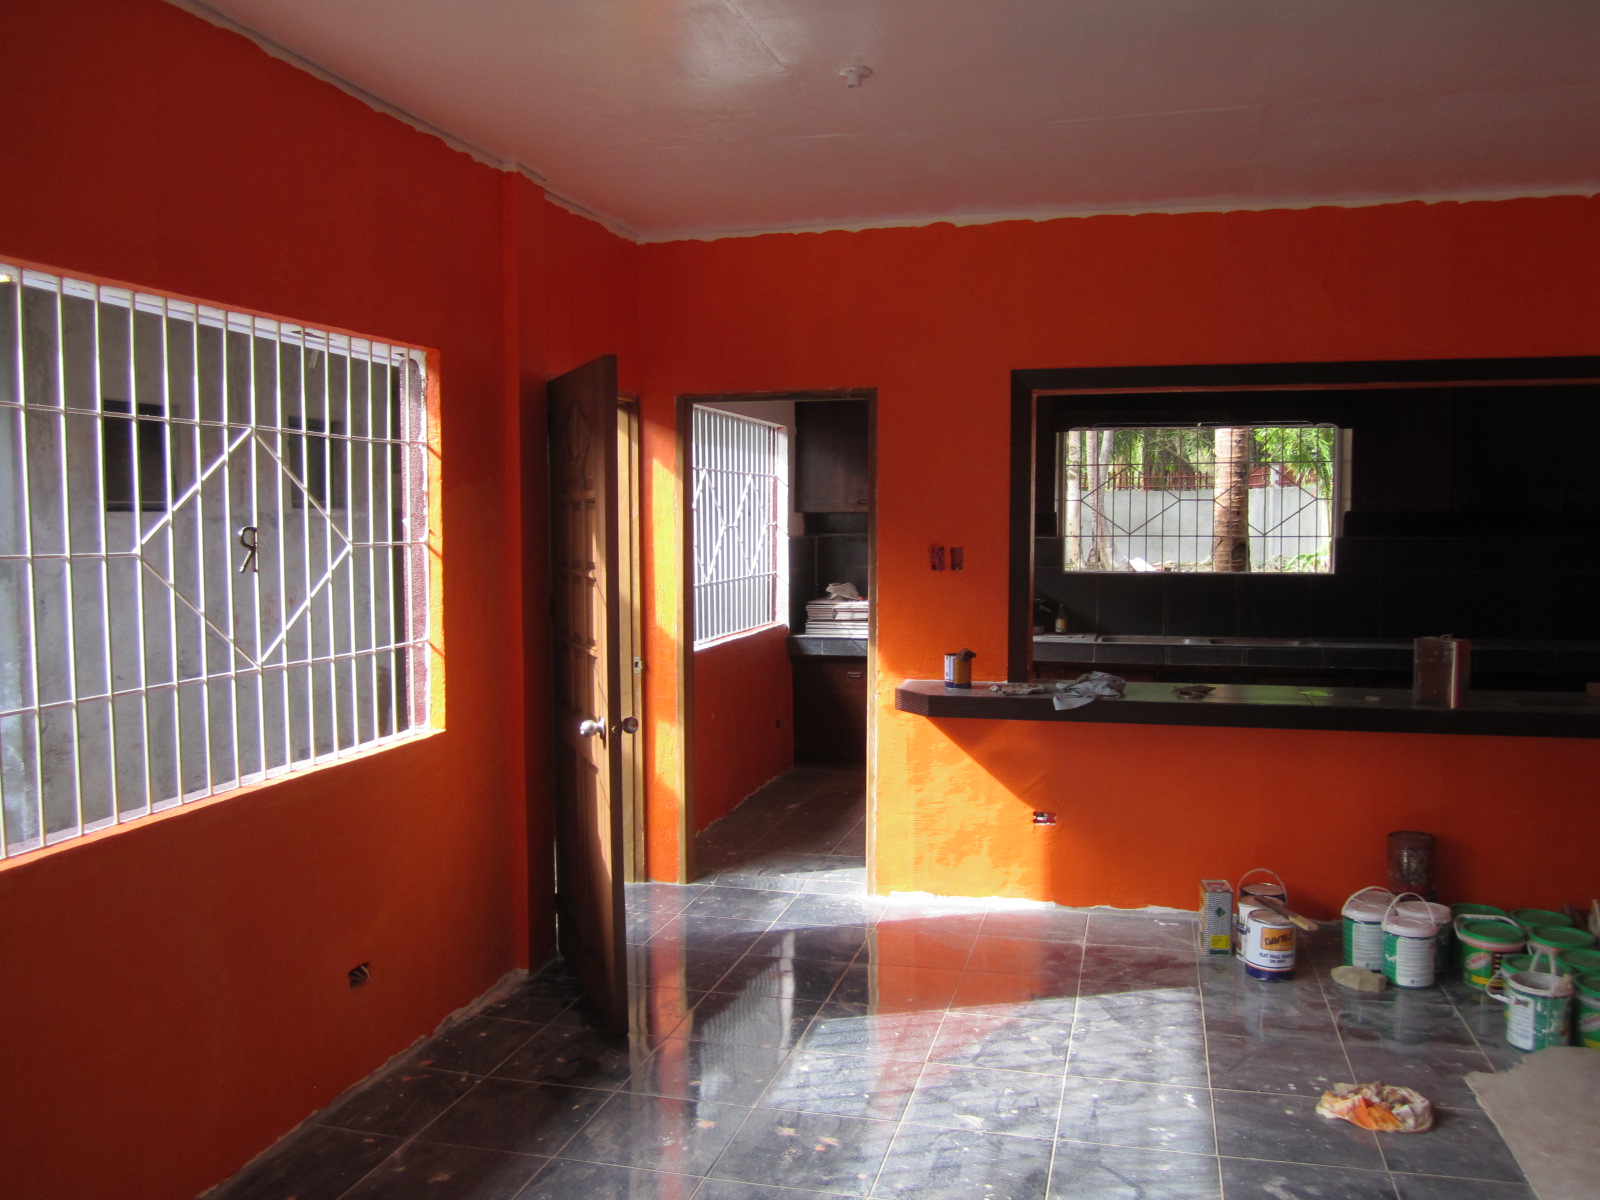
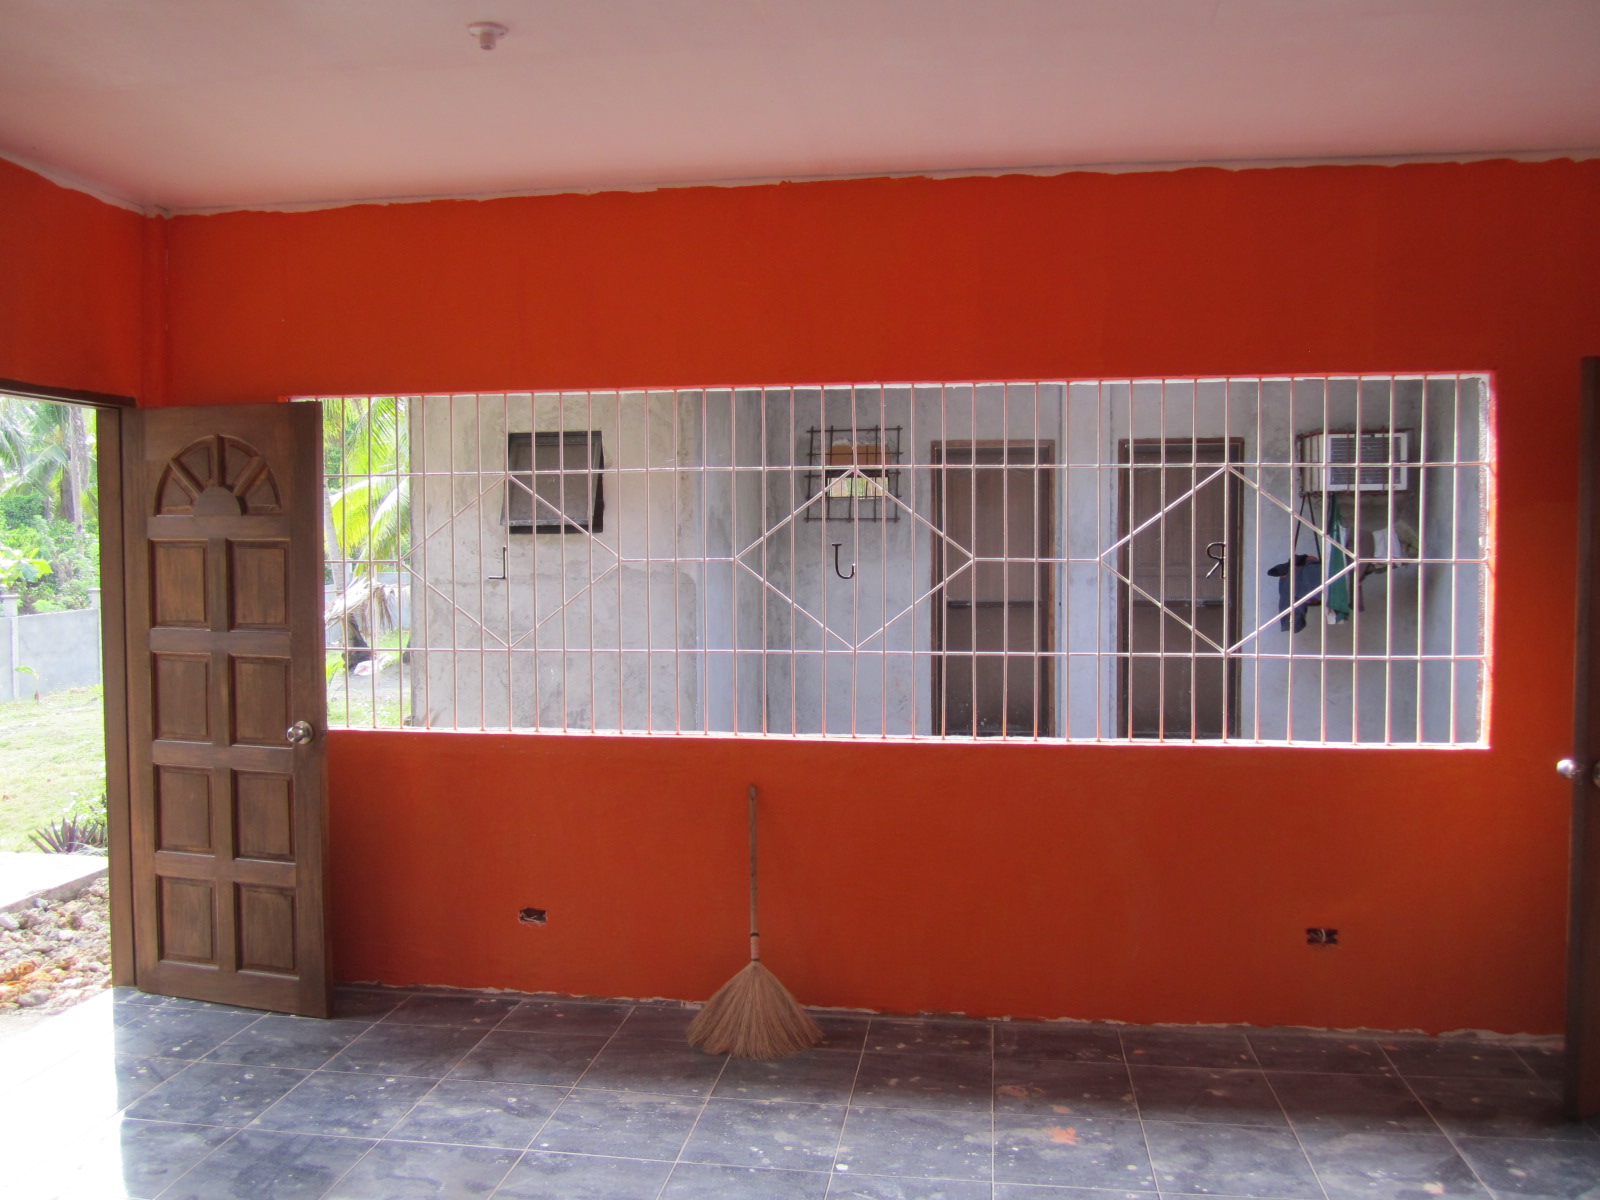
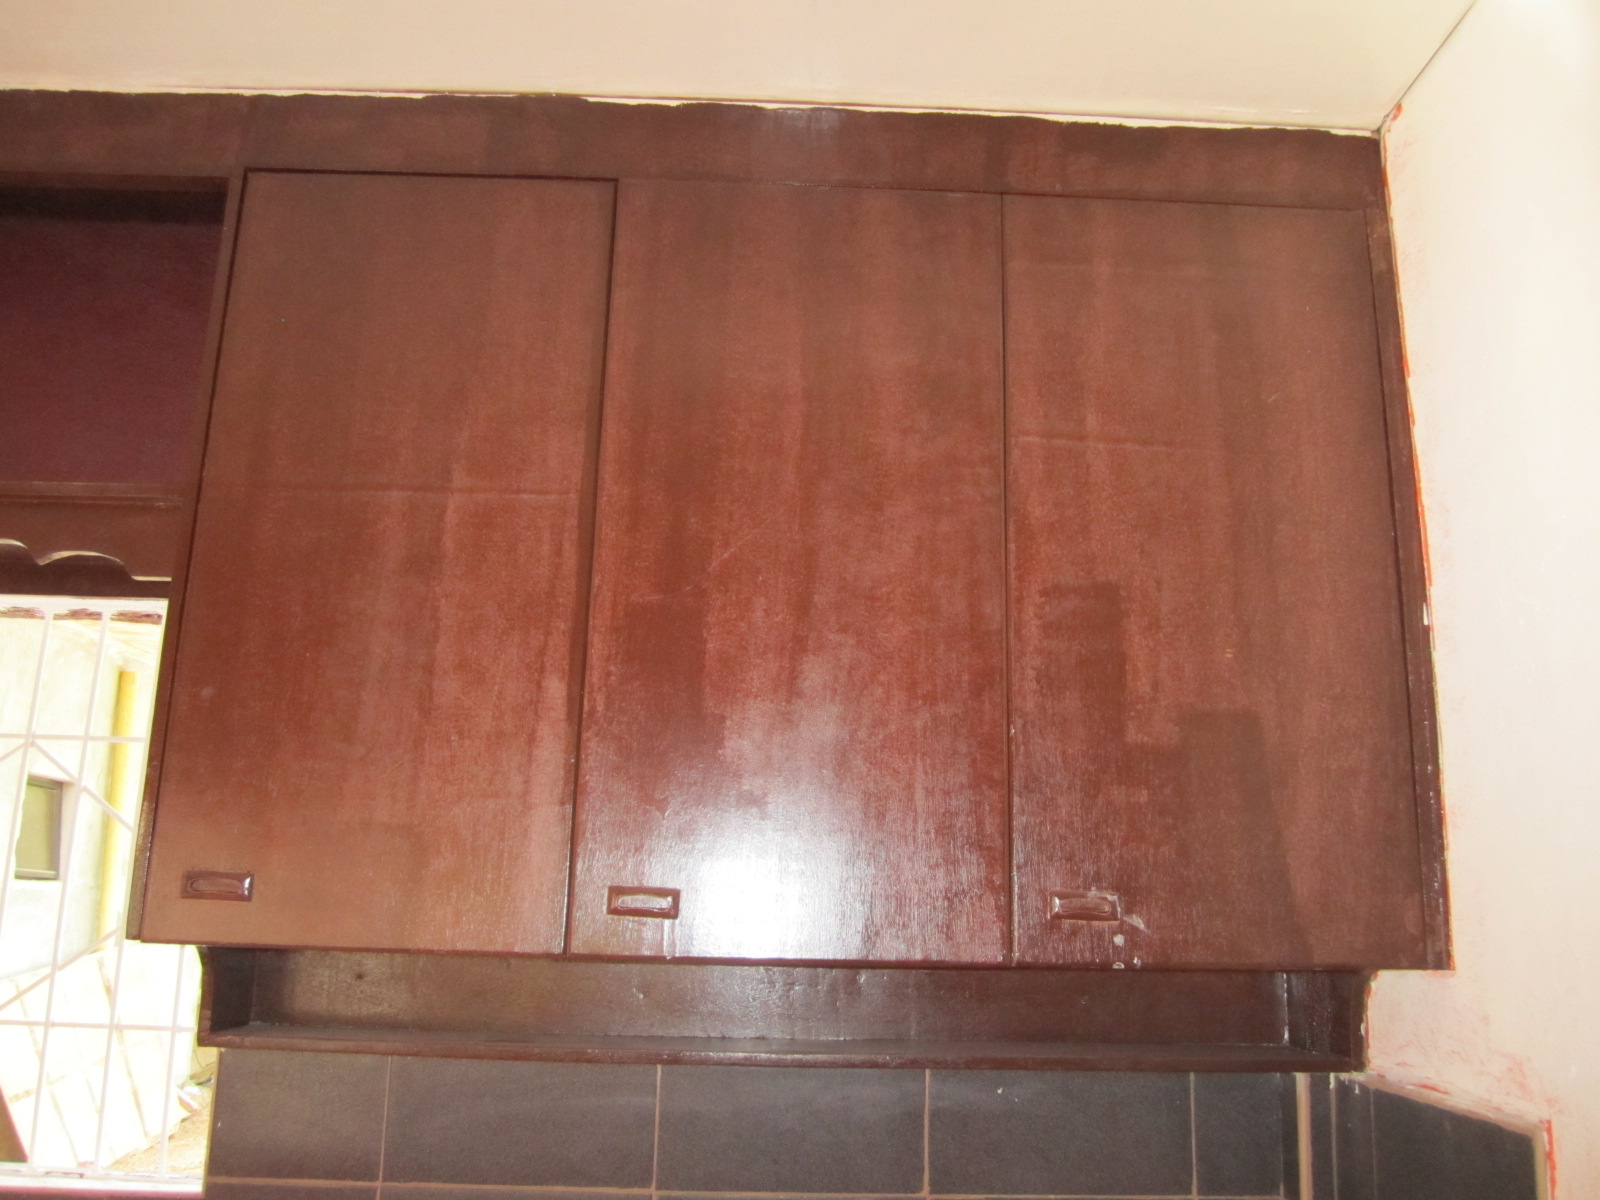
The next row starts with 3 photos of the main room area, followed by a kitchen cooking area picture with painting not complete and a picture of the cabinets with the first coat of paint.
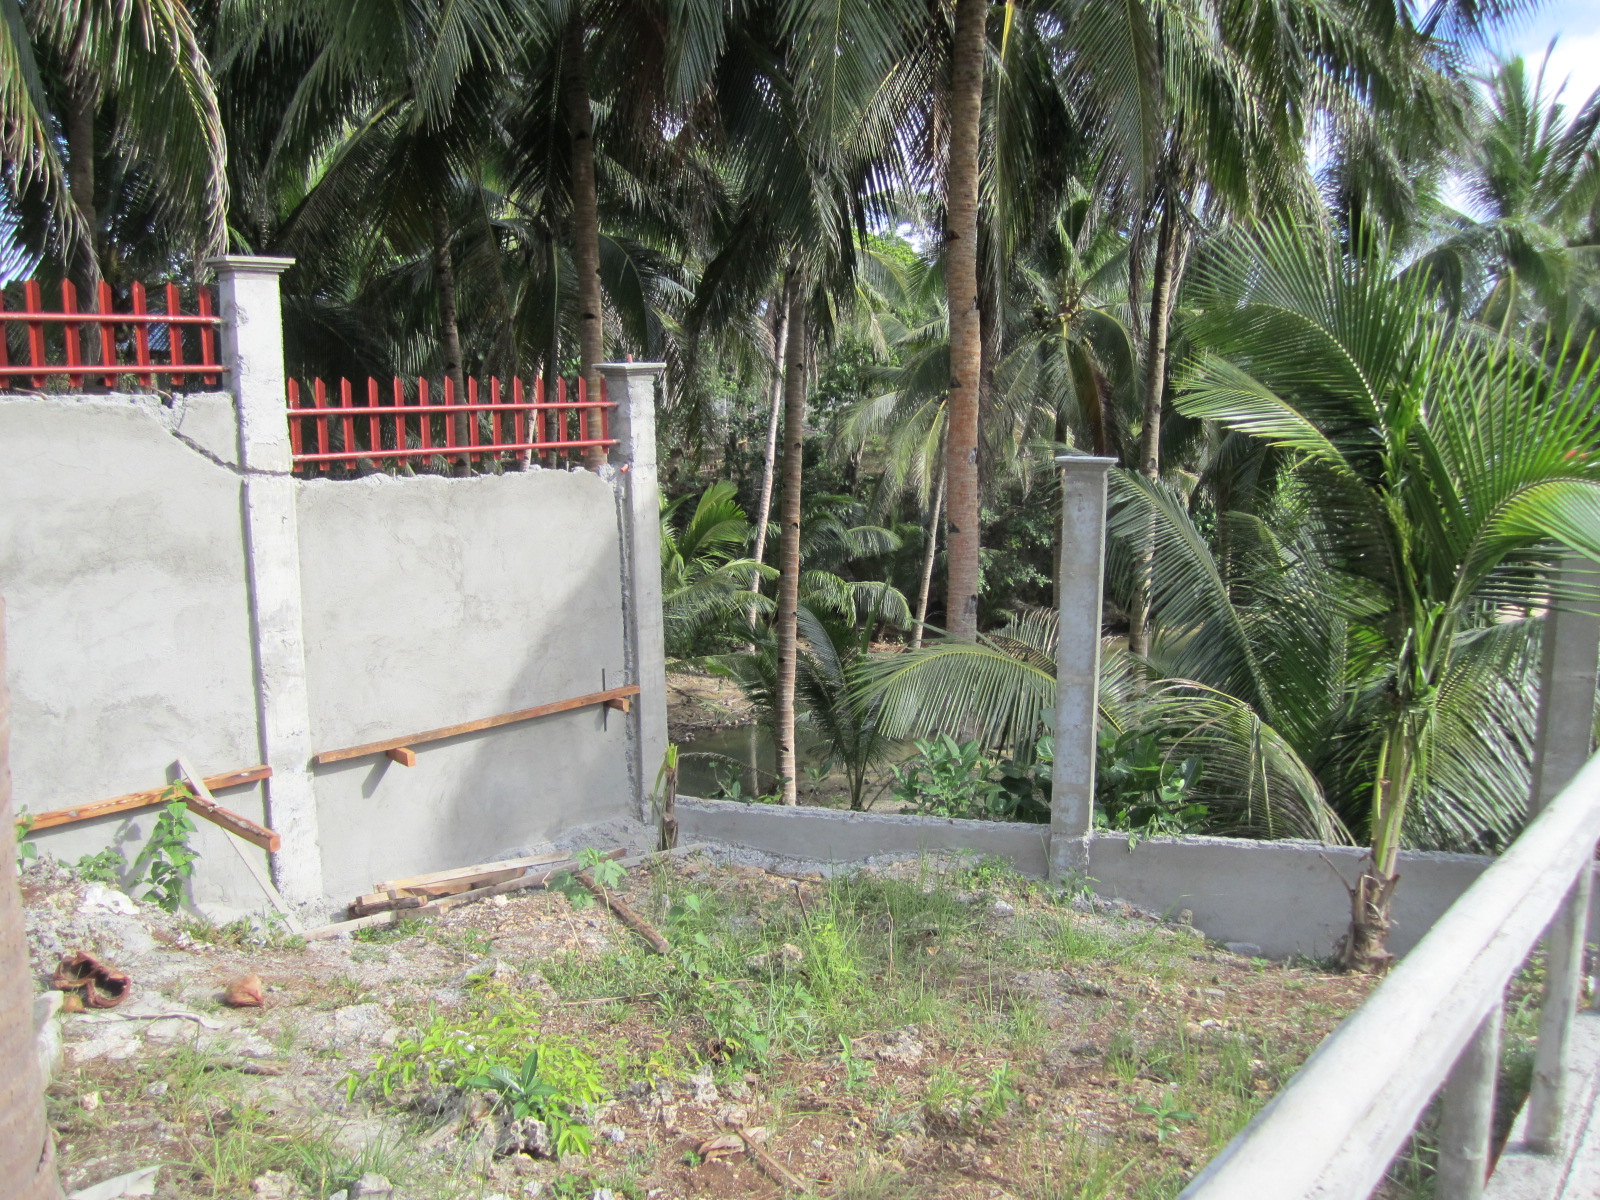
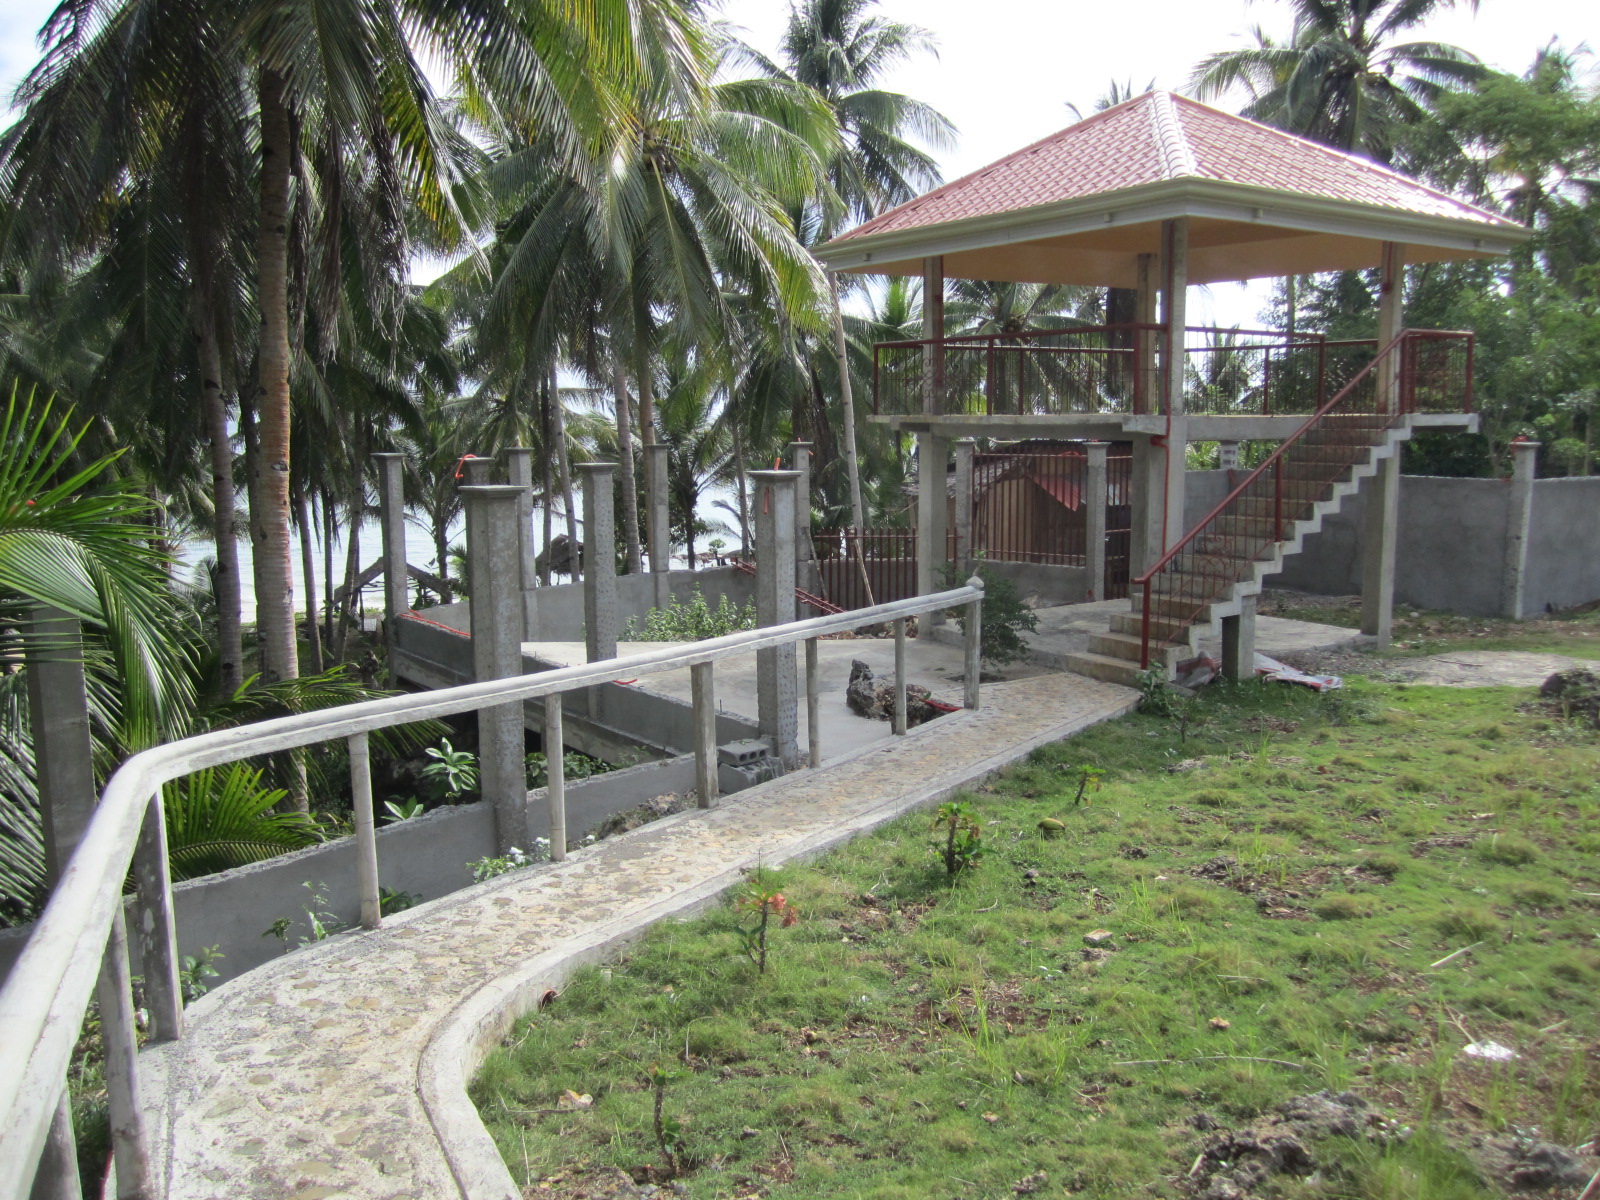
The last 3 photos show the view from the walk towards the hut from the kitchen door. The first photo shows the wall towards the ravine. Some of the fencing is installed here.
THe last 2 photos in the row show the hut/patio area from that same place on the walkway from the kitchen. You can see the heavy flooring of the patio to hold even the largest
group of people.
June 22, 2013
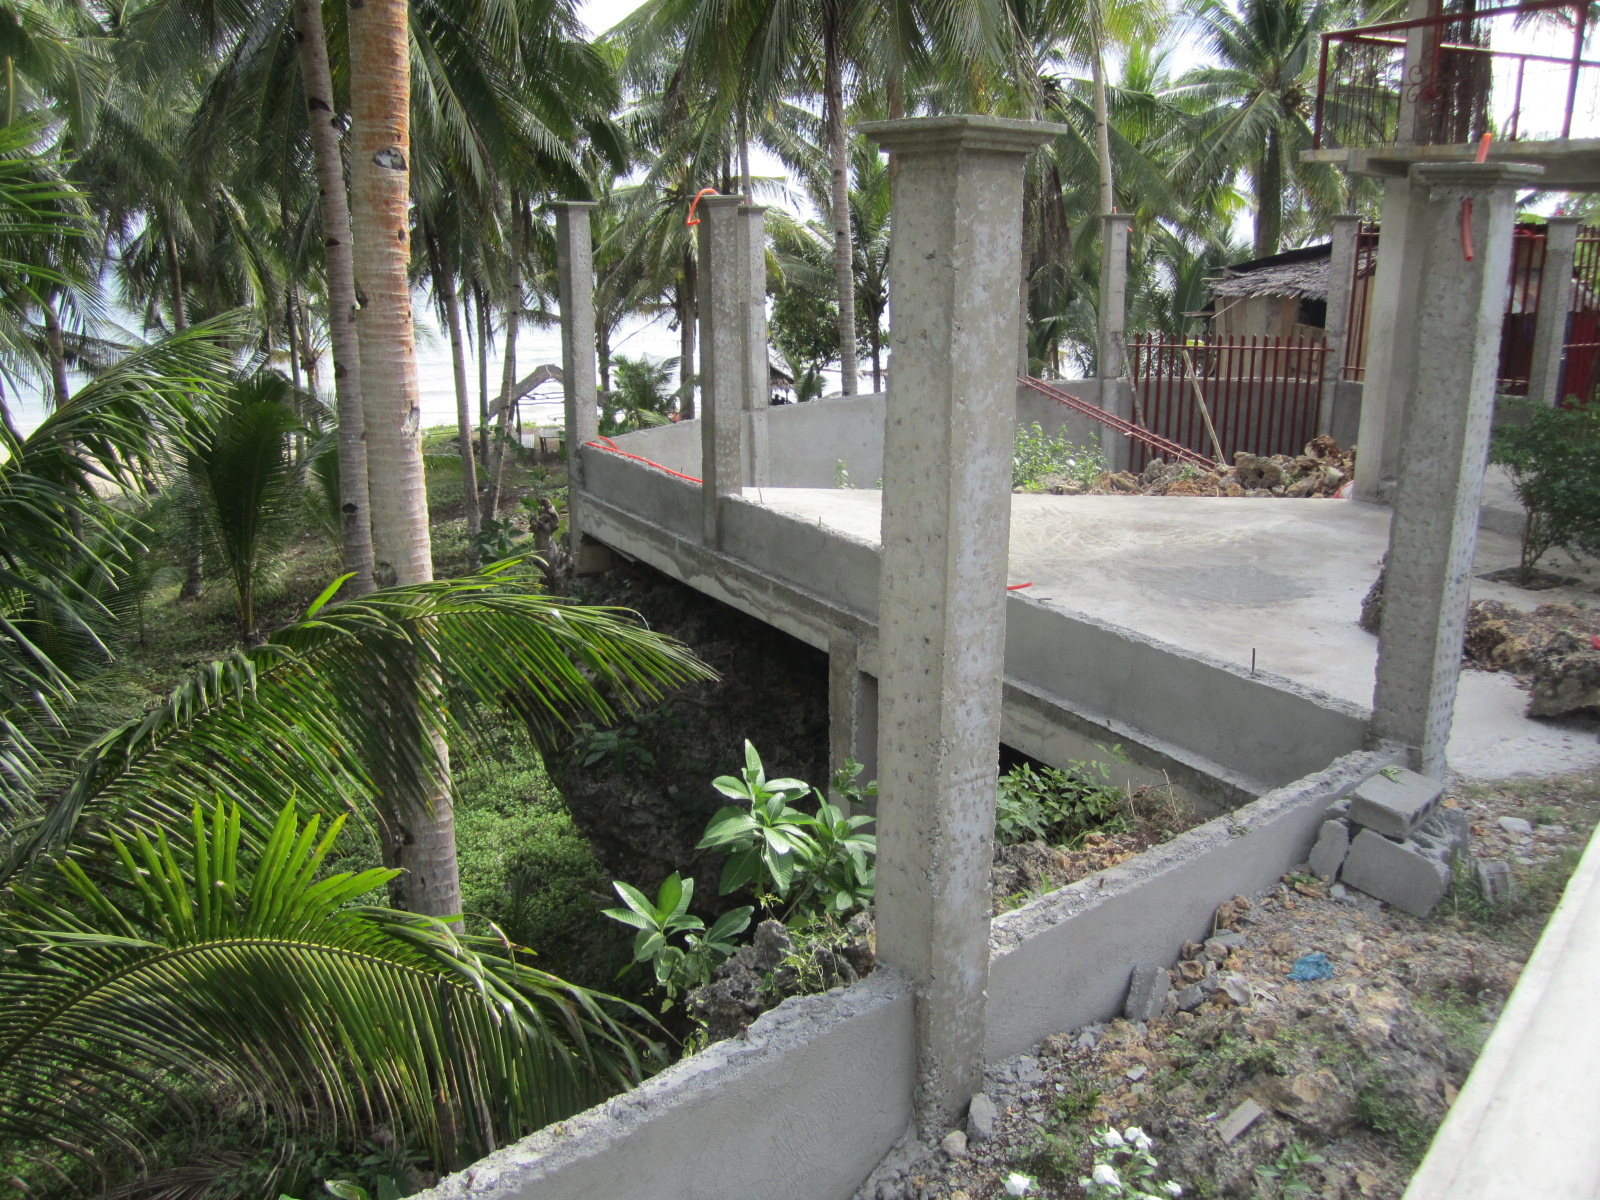
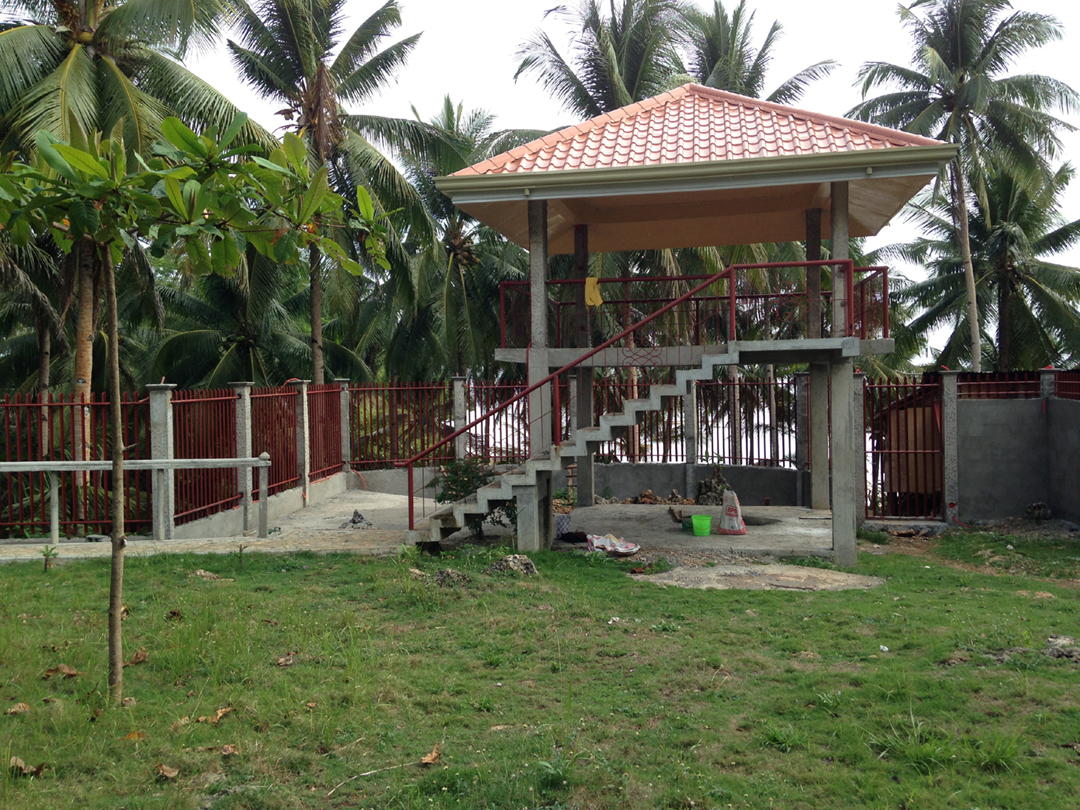
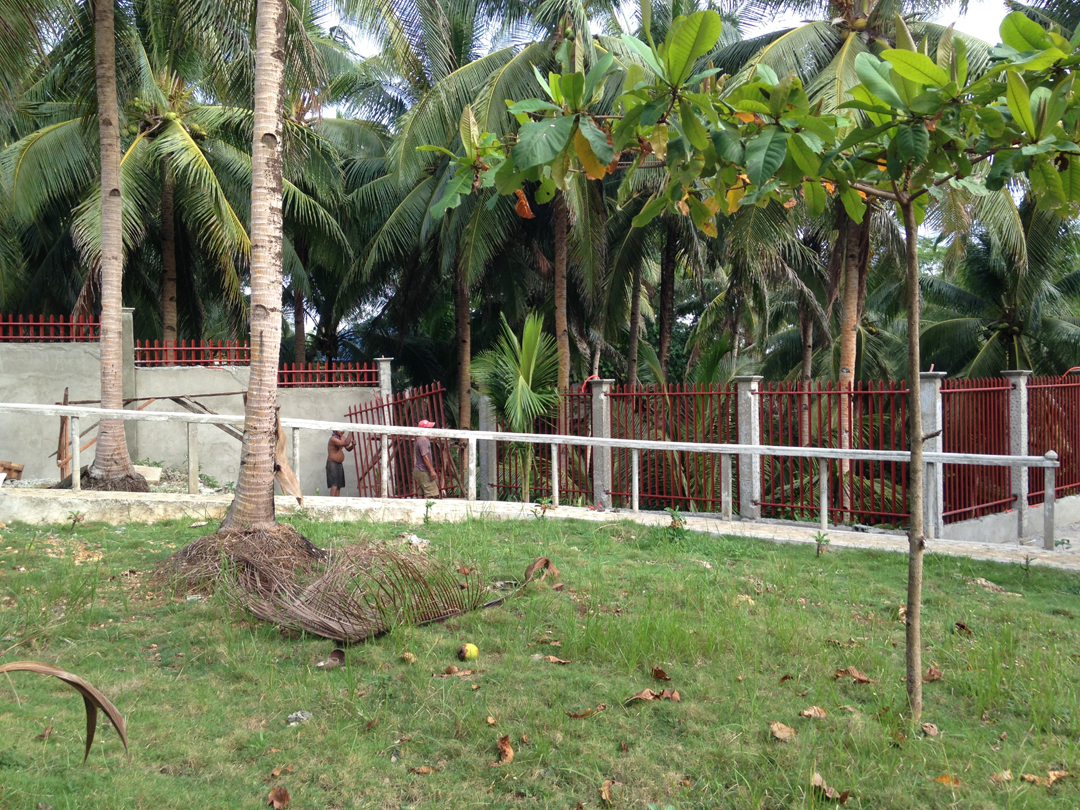
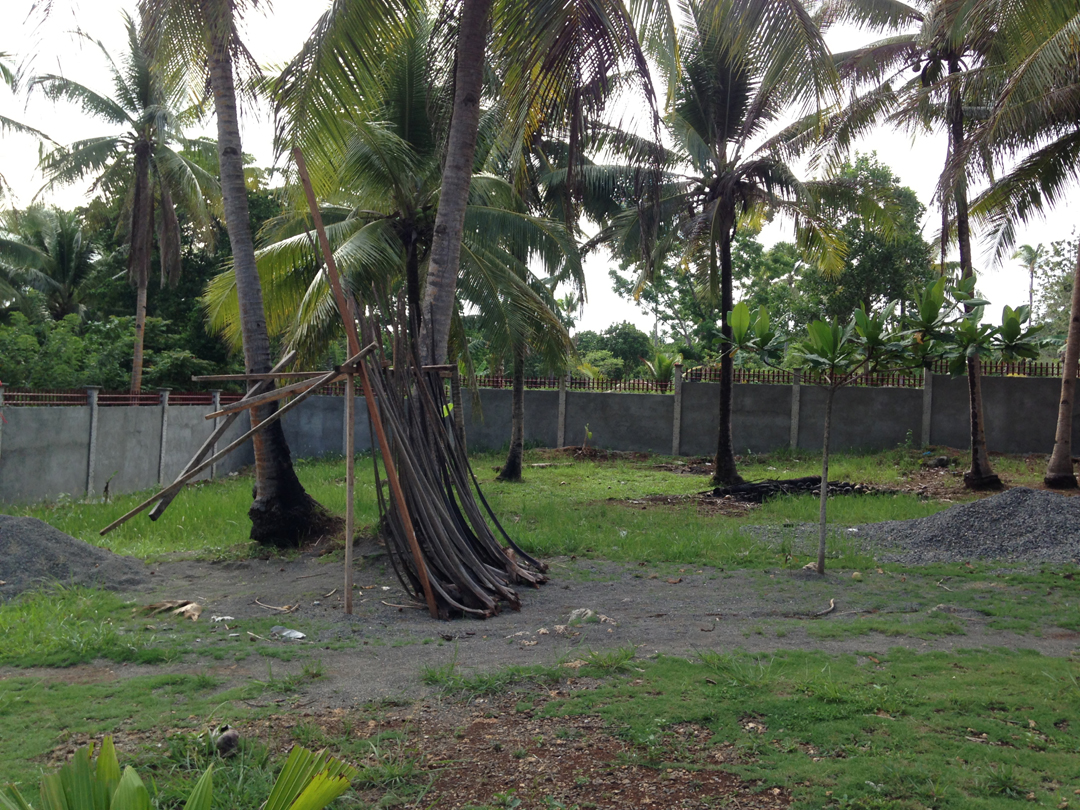
These photos show the iron work installation being completed on the entire fence around the property. The first photo shows the Hut area
with the iron work around the patio and hut and up the walk to the kitchen. The 2nd photo shows the fence area along the walk from the hut to
the kitchen. The last section of iron work is being installed. The 3rd photo shows the wall area to the West and North side of the property.
The 4th photo shows the far corner of the property towards the main gate with all iron work in place.
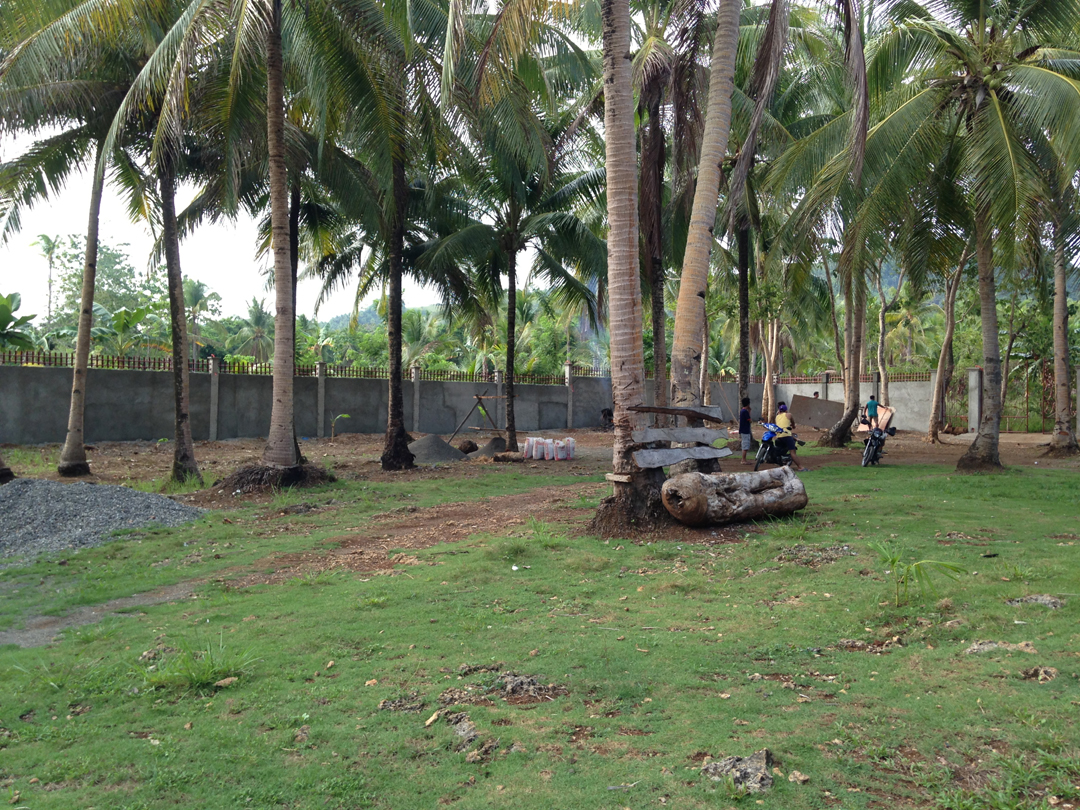
These 2 photos show the kitchen area with the upper and lower mouldings in place and the lights installed.
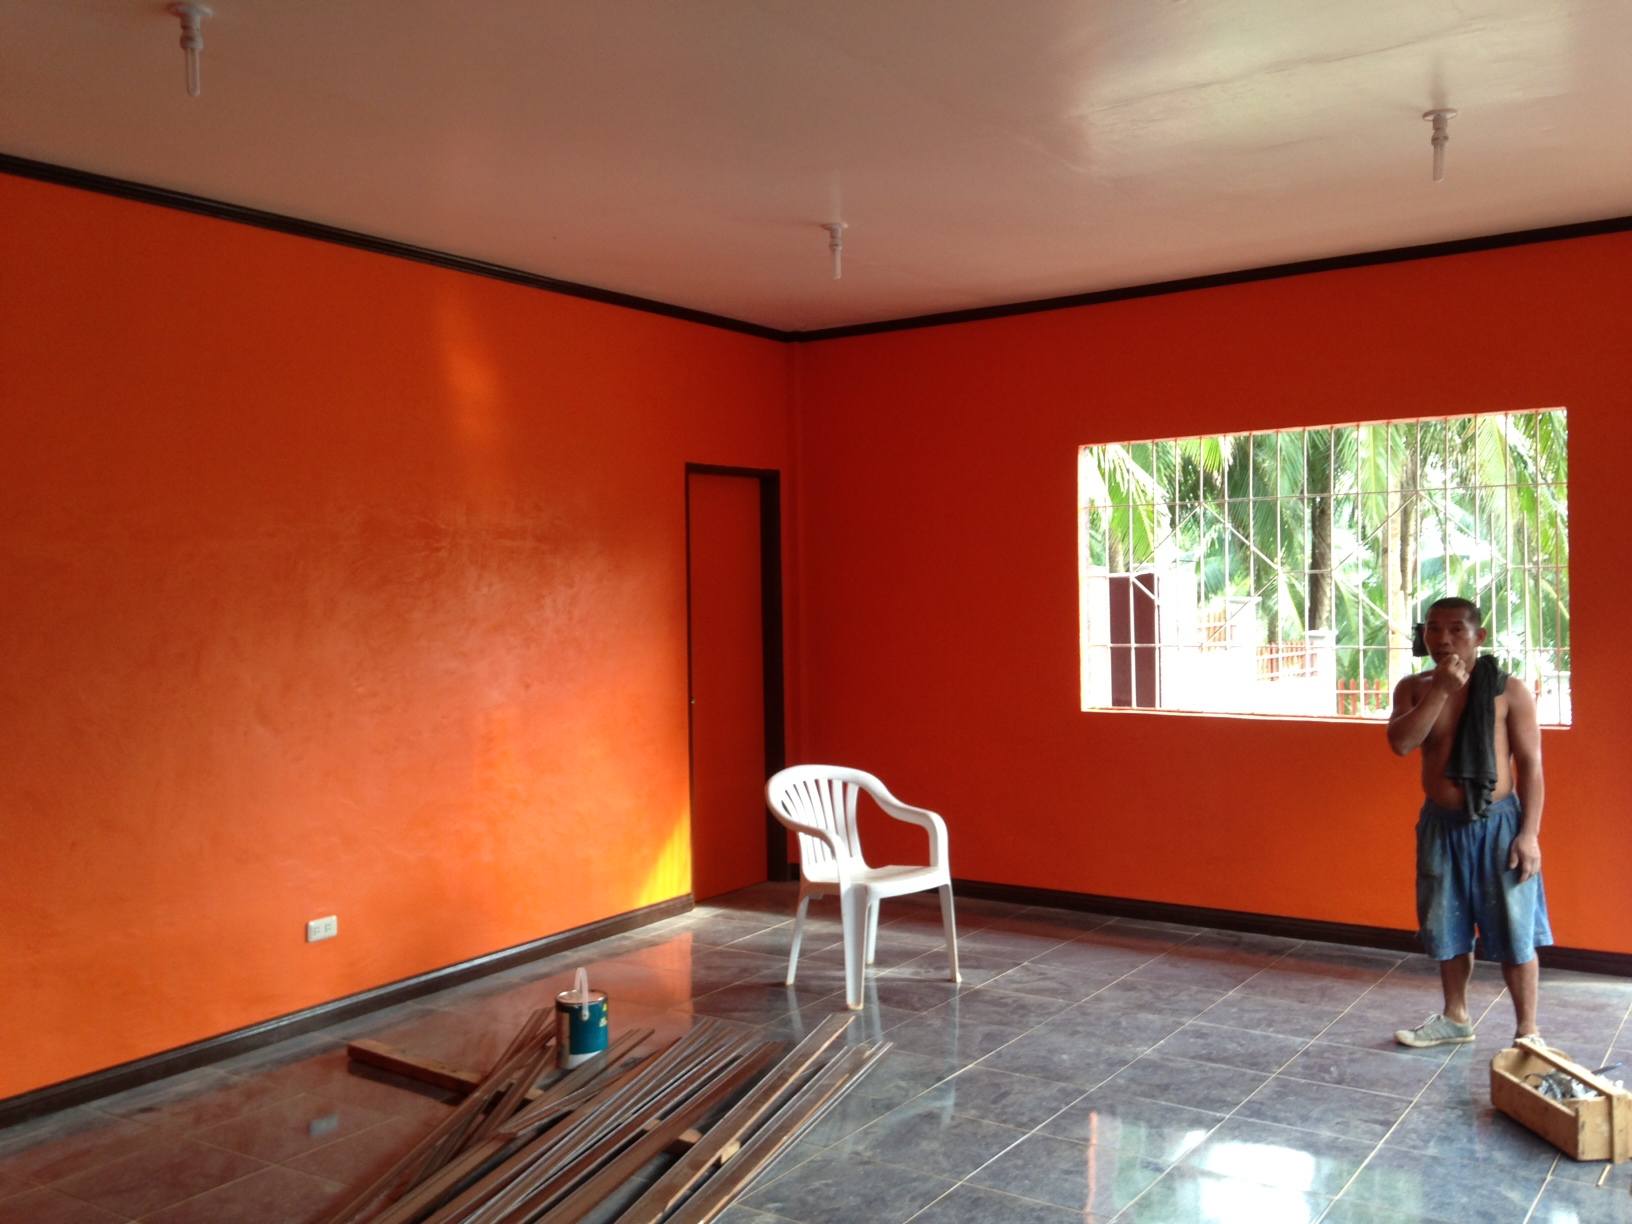
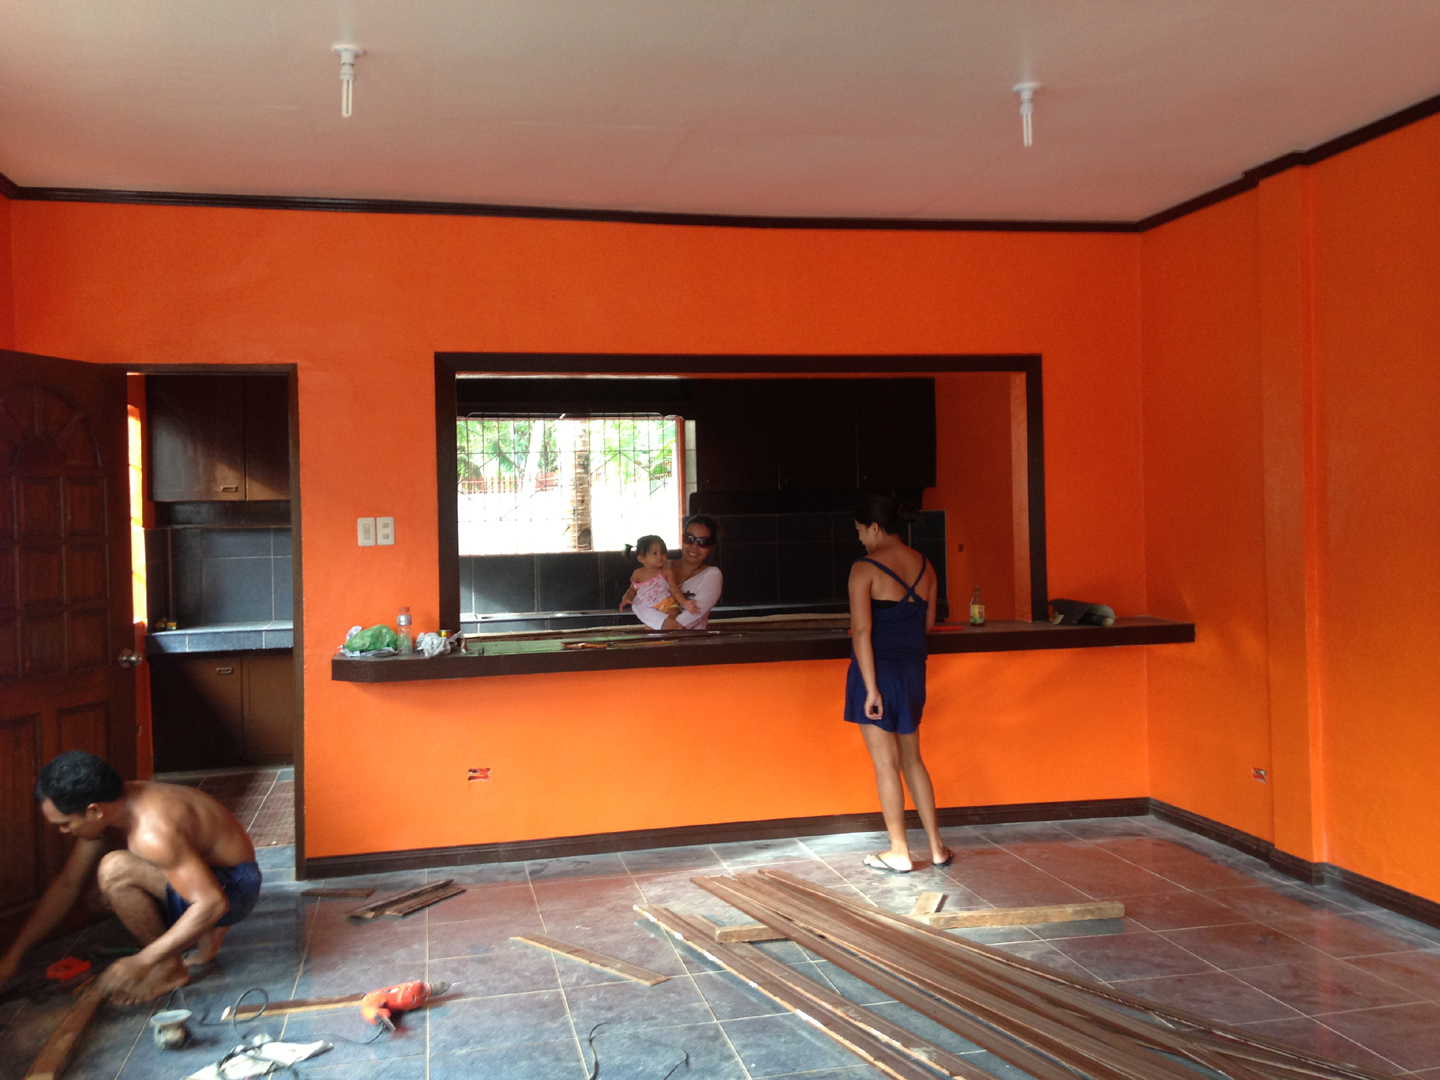
AND....most of the work through June-July-August is going to be fence, kitchen and hut/patio painting and tile work and interior work in the kitchen. Also, there will be
main electrical hook-up to replace the temporary hookup and the water system will be installed. There will be city water AND switch-over to well-pump water as a backup.
Back to Home